- What to know
- Arknights Endfield Ereignis fight details
- Understanding Ereignis’ core mechanics
- Identifying the hand weak points
- Dodging Ereignis’ smash attacks properly
- How to deal damage when the hand is down
- Managing summoned enemies during the fight
- Using allies effectively against Ereignis
- Taking down both hands: the real objective
- The full attack phase explained
- Common mistakes players make
- Gear and preparation tips
- Why Ereignis is an important boss
What to know
- Ereignis is a multi-phase boss built around punish windows, not raw DPS
- His hands are the primary weak points and the key to winning
- Dodging smash attacks correctly creates safe damage opportunities
- Summoned enemies and positioning matter more than gear
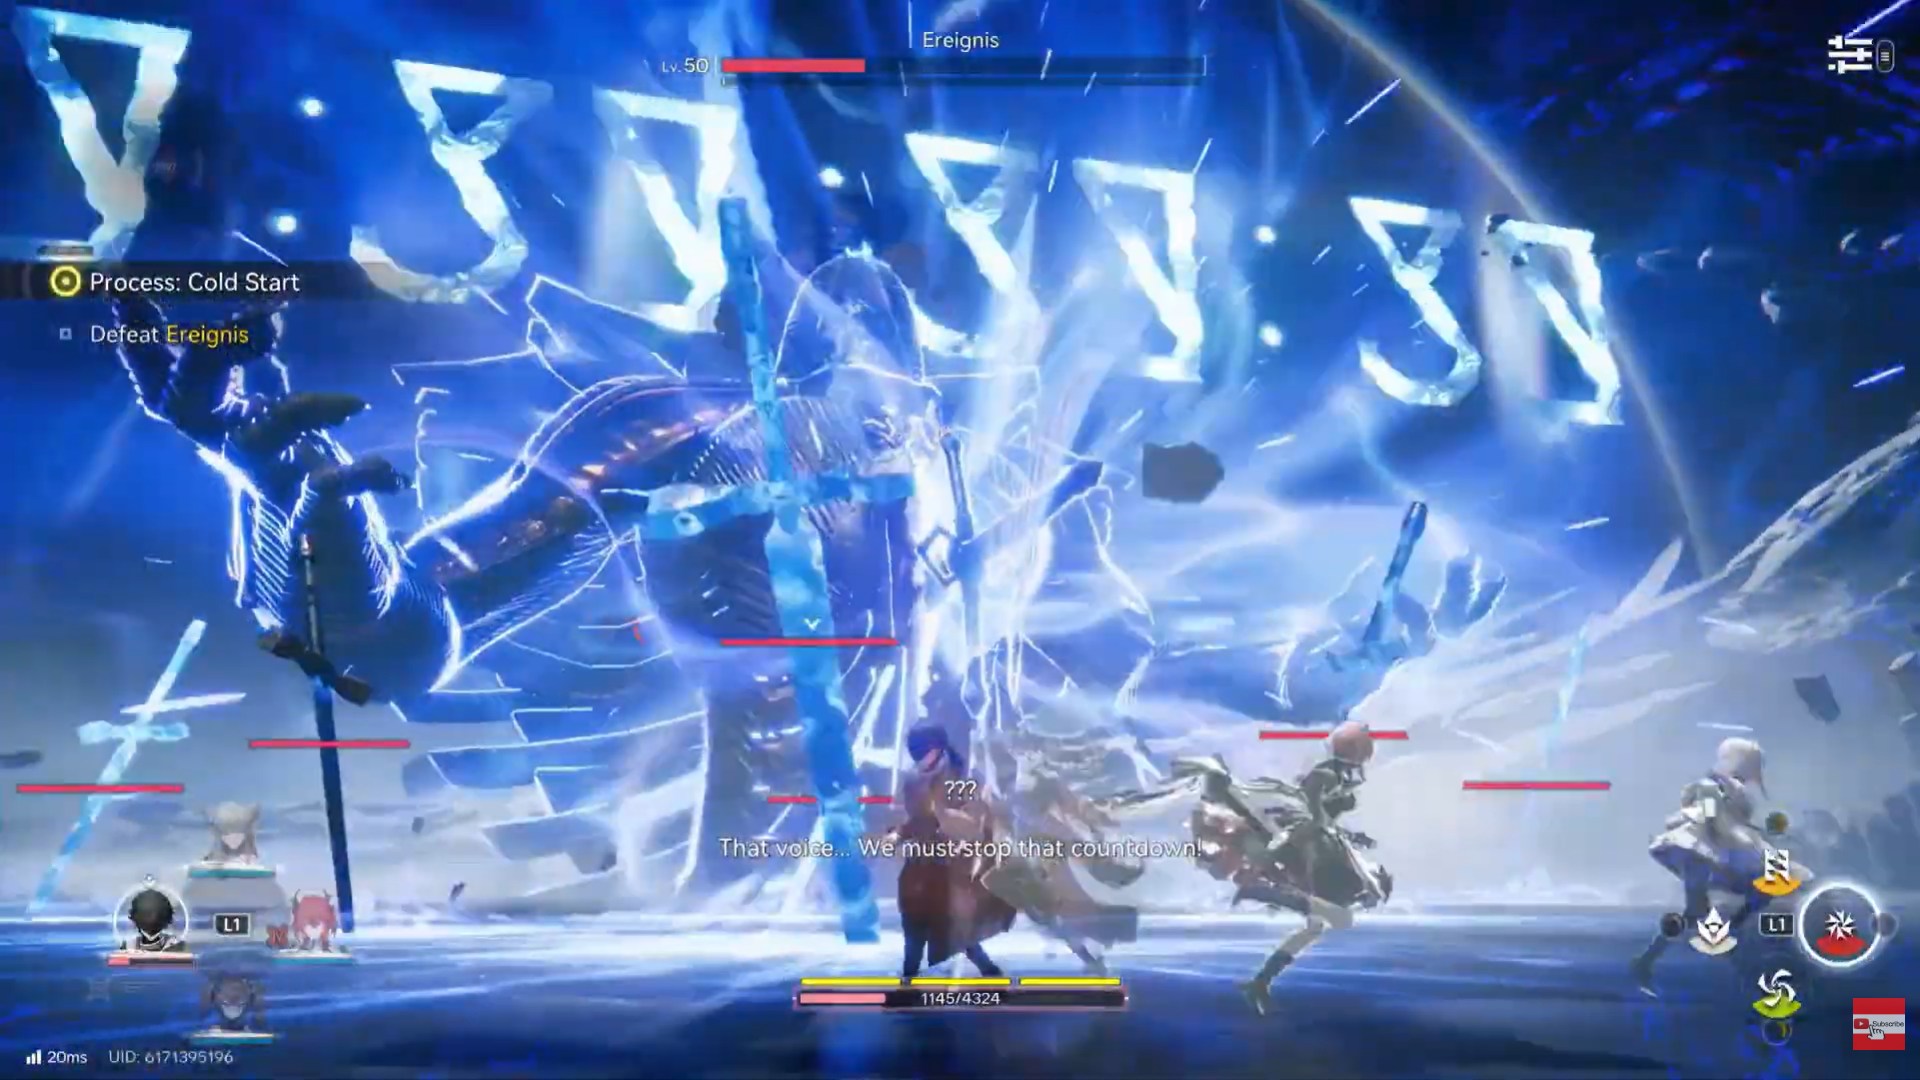
Ereignis is one of the first major “mechanics-check” bosses you’ll face in Arknights: Endfield. Unlike standard elite enemies, this fight isn’t about burning the boss down as fast as possible. Instead, it tests whether you understand attack patterns, positioning, and timing.
If you try to brute-force Ereignis, the fight quickly becomes overwhelming. Once you recognize how his smash attacks work and why his hands are the real targets, the encounter becomes controlled and surprisingly consistent. This guide walks through the fight step by step, explaining what to watch for and how to turn each opening into meaningful damage.
Arknights Endfield Ereignis fight details
| Category | Details |
|---|---|
| Boss name | Ereignis |
| Encounter type | Large-scale boss |
| Core mechanic | Hand weak points |
| Key danger | Smash attacks and adds |
| Win condition | Disable both hands |
| Difficulty driver | Positioning and timing |
Understanding Ereignis’ core mechanics
Ereignis is designed around forced downtime. For most of the fight, his body is not meaningfully vulnerable. Instead, the game wants you to bait specific attacks, dodge them cleanly, and punish the recovery window.
The most important concept to understand is this:
If you are not attacking his hands, you are wasting damage.
His health pool is balanced around hand damage. Hitting other parts of his body outside specific phases barely contributes to progress and often puts you in danger.
Identifying the hand weak points
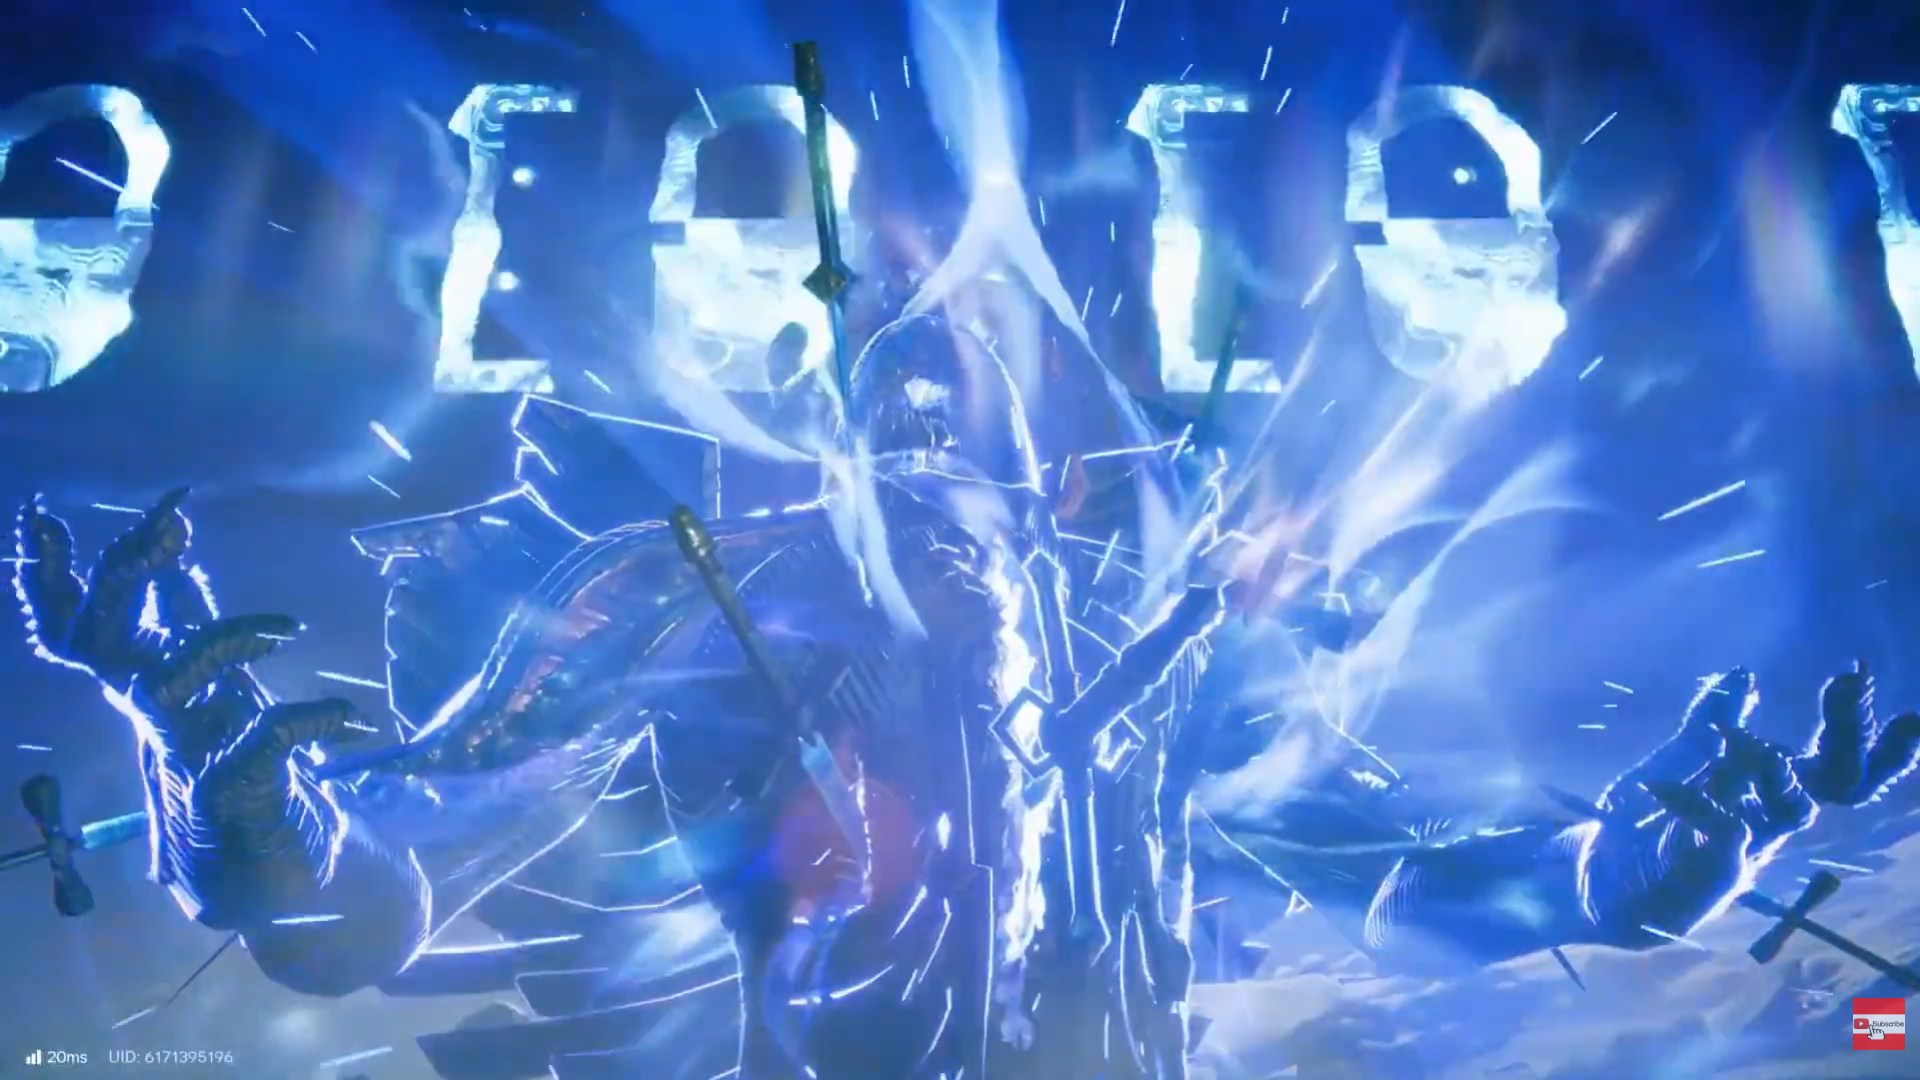
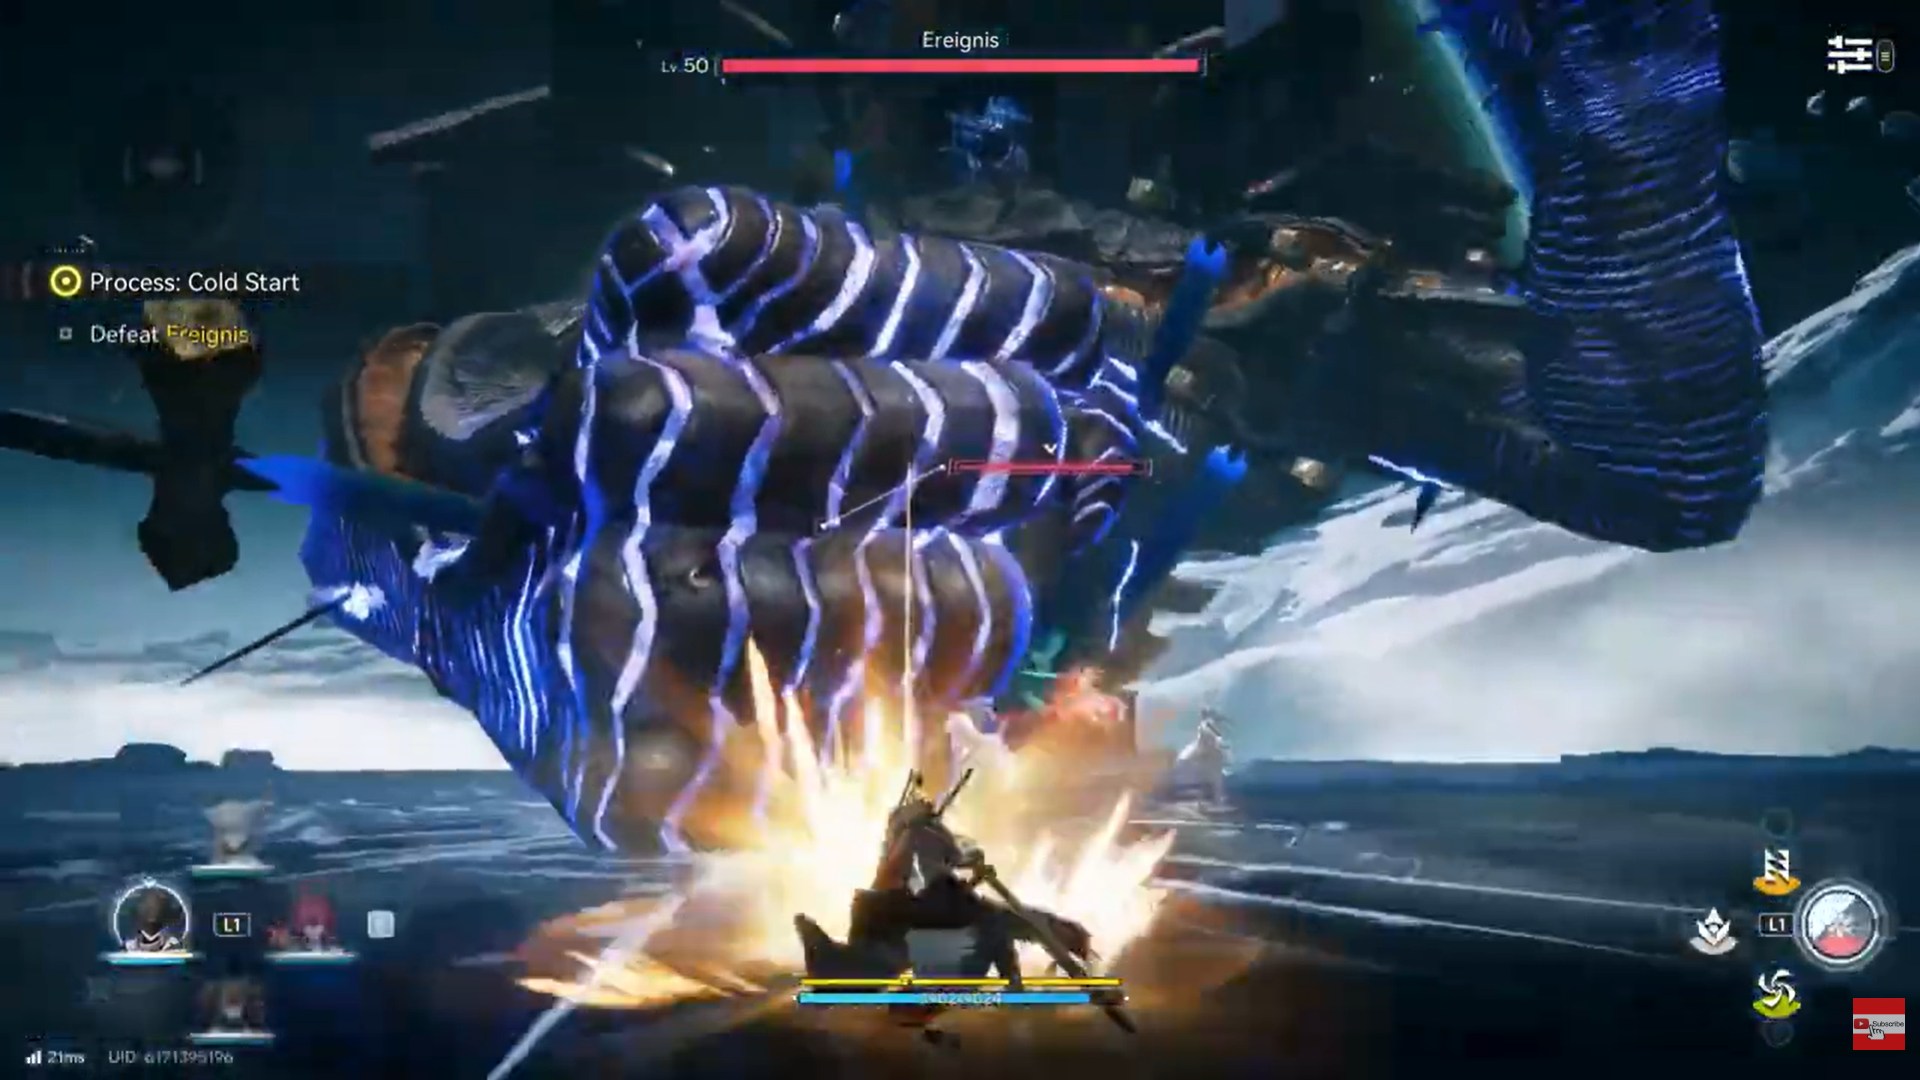
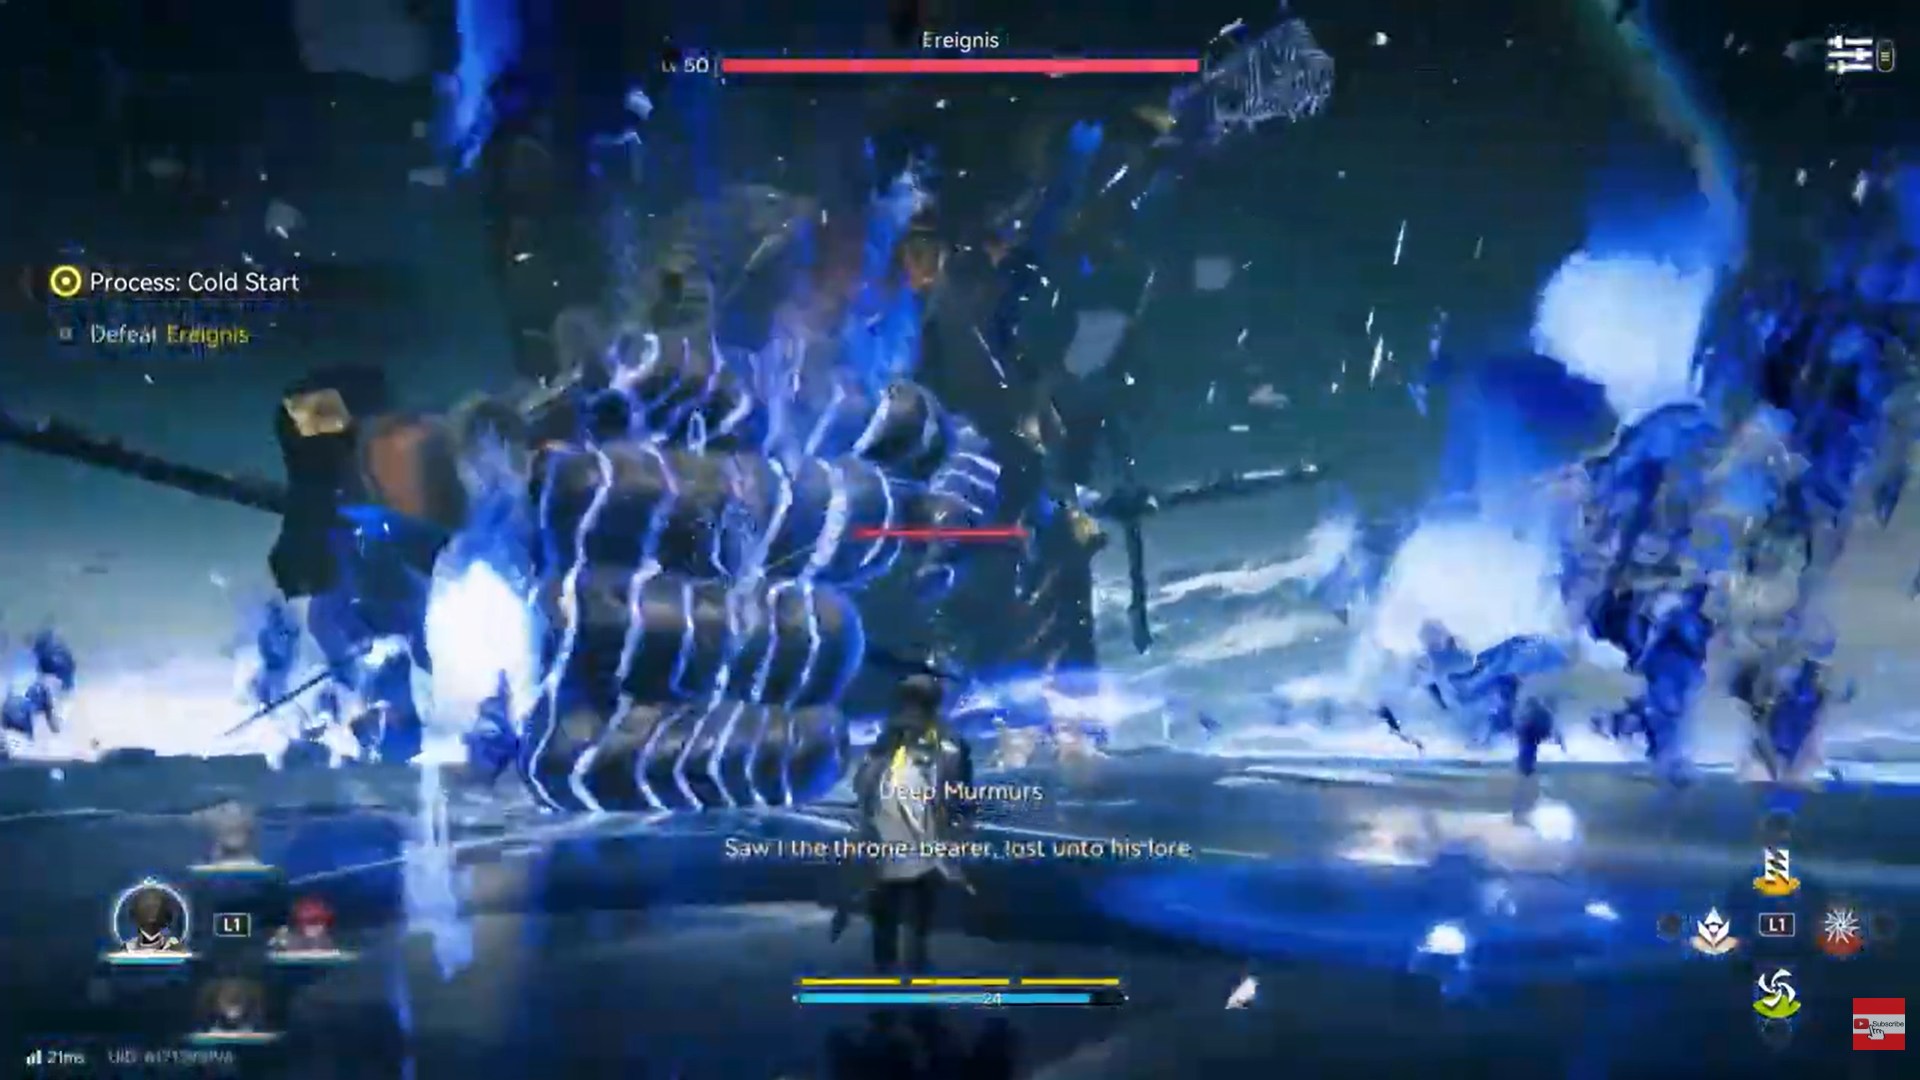
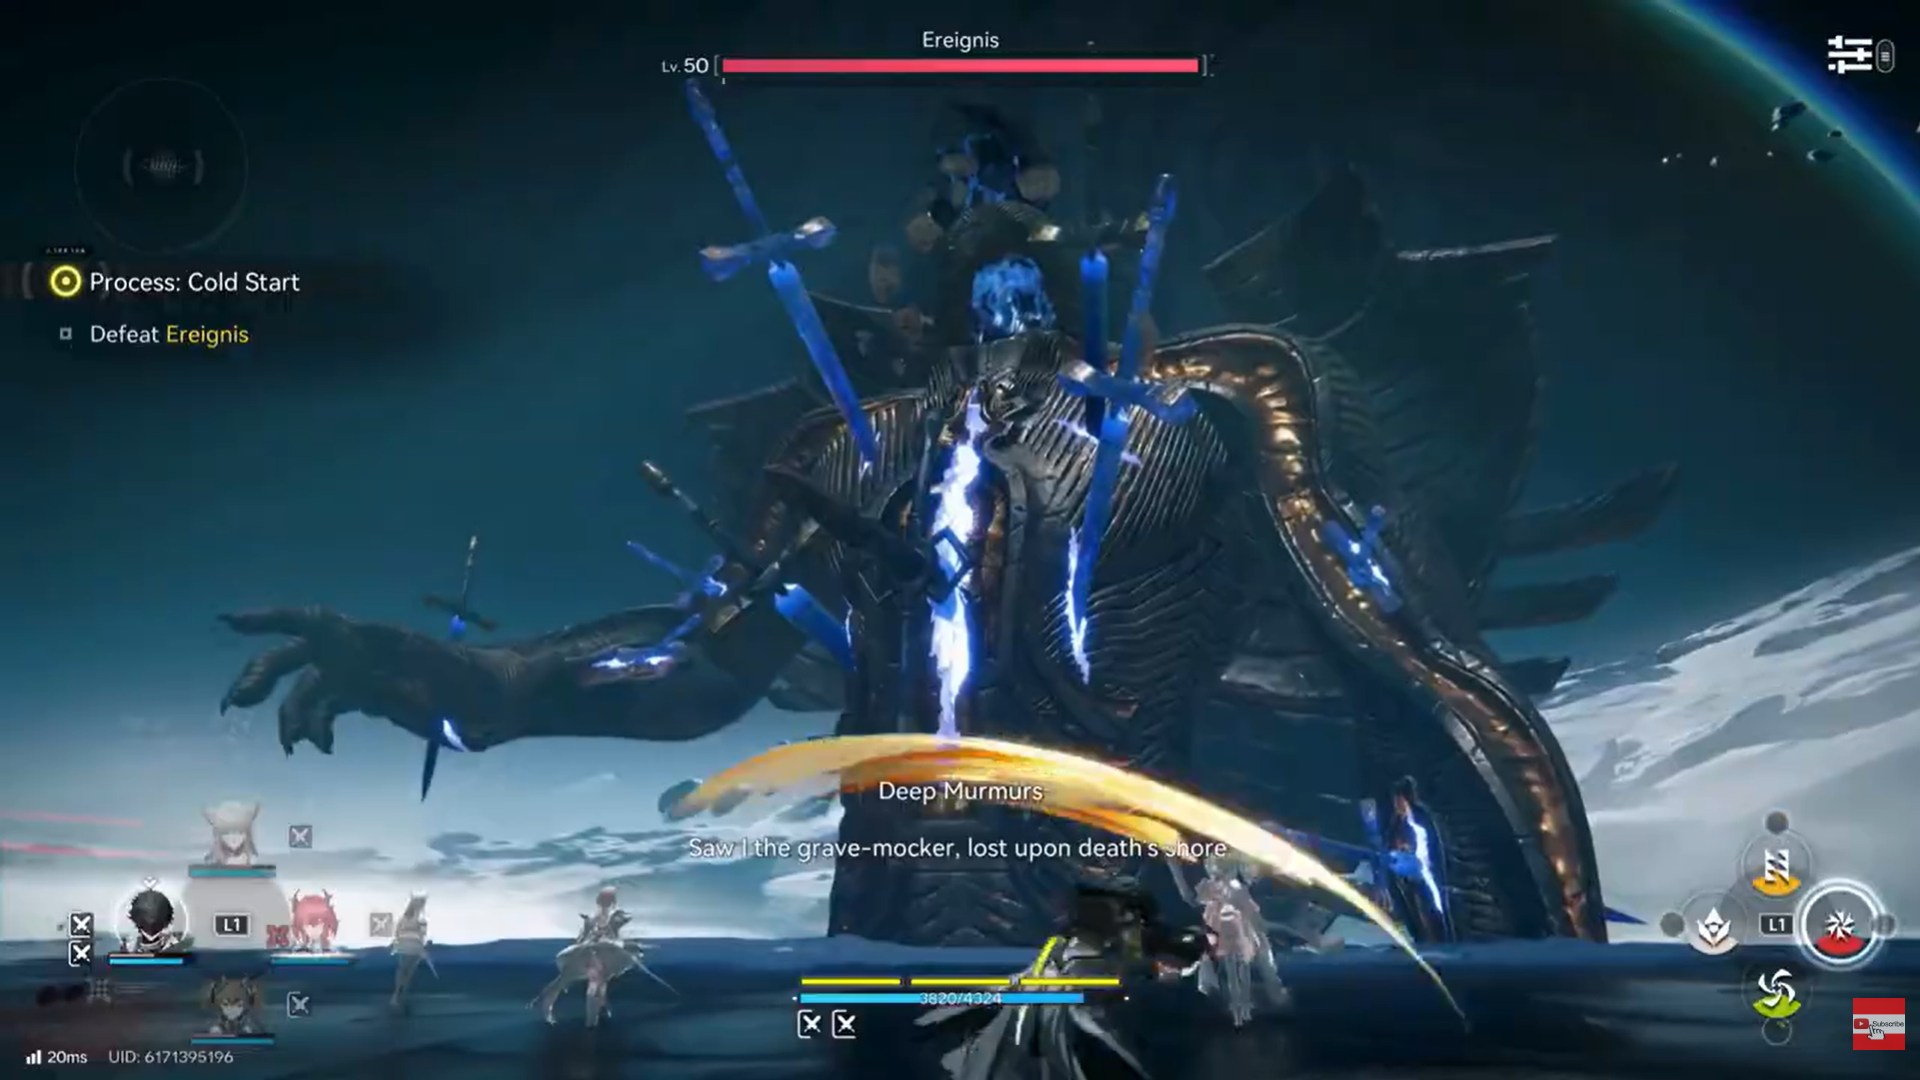
Ereignis fights primarily by slamming his massive hands into the ground. These smashes are not just attacks—they are your opportunities.
When a hand slams down and remains planted for a short duration, it becomes targetable and takes significantly increased damage. This is your main DPS window.
Each hand has its own health pool. You are expected to:
- Dodge the smash
- Move in immediately
- Focus damage on the grounded hand
- Disengage before the next attack
Trying to split damage between hands randomly slows the fight. Focus one hand at a time whenever possible.
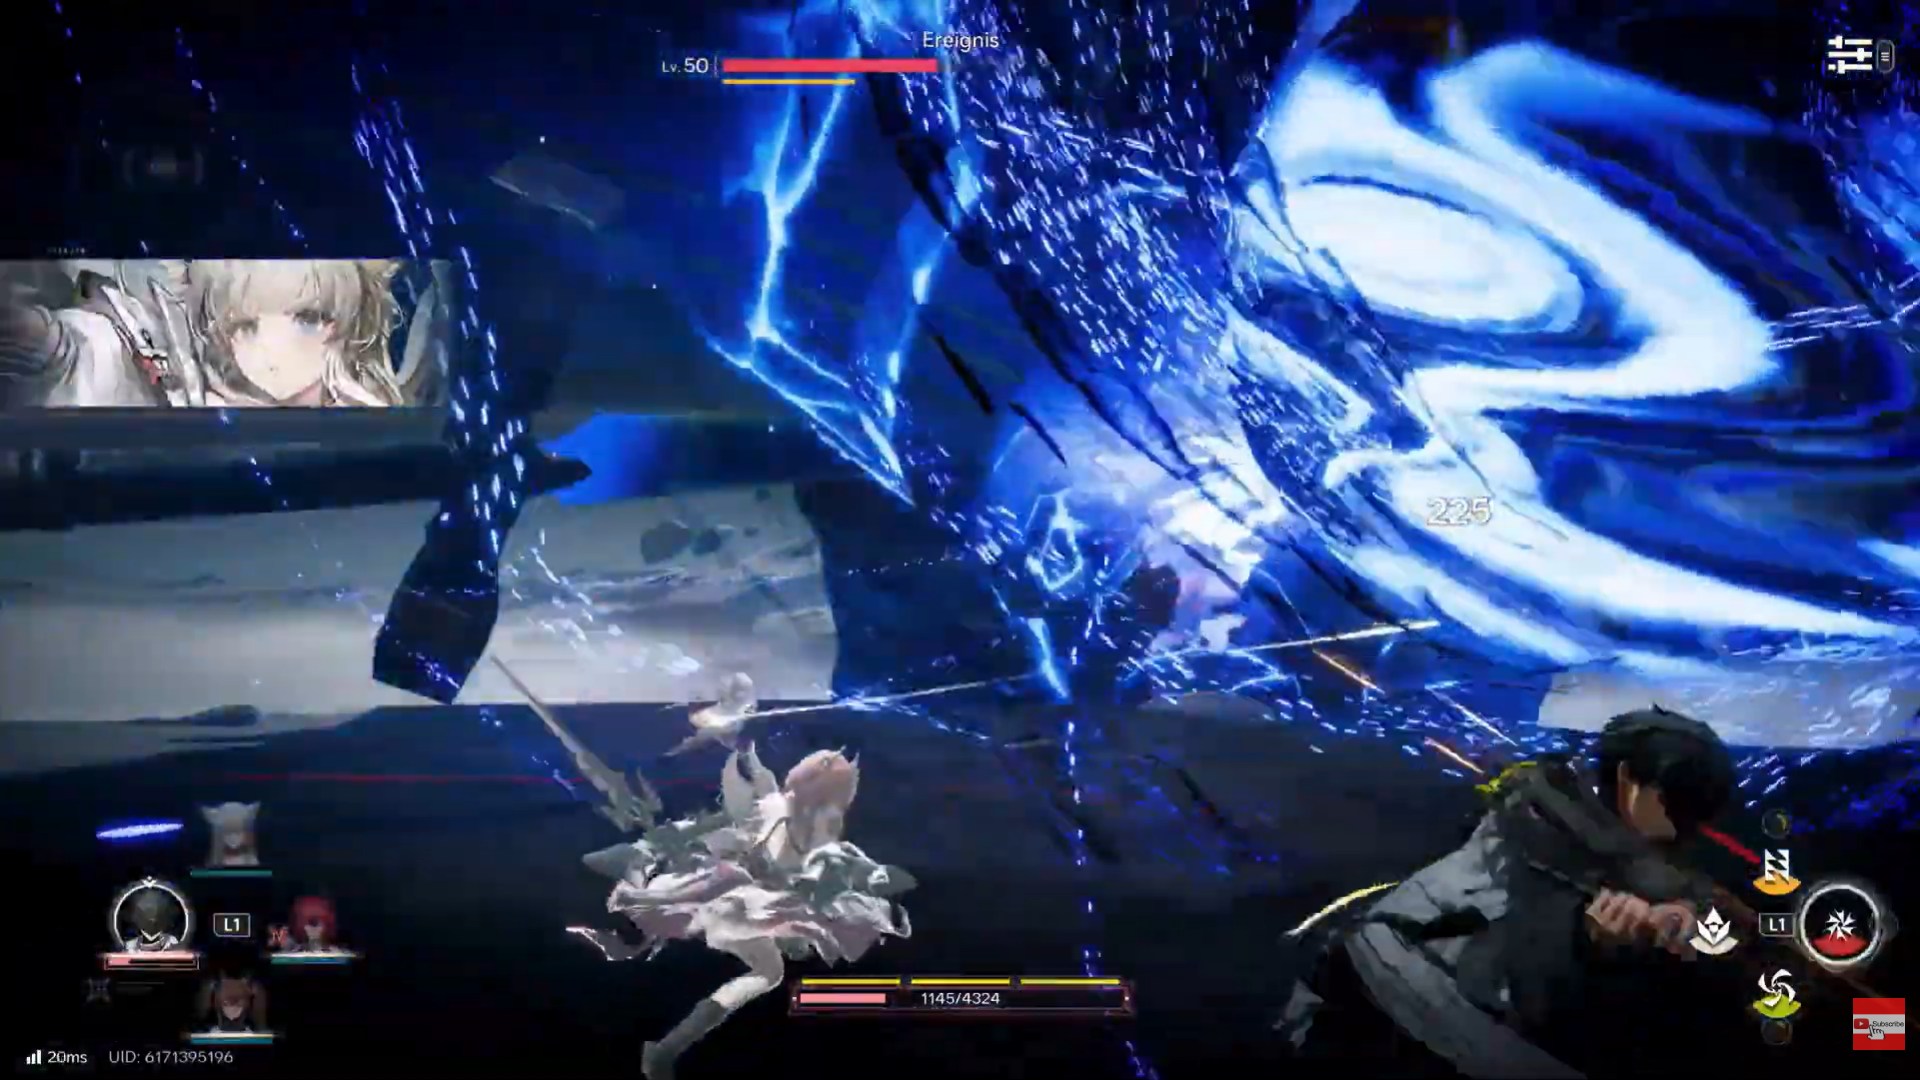
Dodging Ereignis’ smash attacks properly
Reading the smash wind-up
Ereignis’ smash attacks are heavily telegraphed. He raises an arm, pauses briefly, then slams it down in a straight line or targeted area.
This wind-up is intentional. It gives you enough time to reposition if you’re paying attention.
Movement over panic dodging
Avoid panic dodging. Rolling too early often puts you back into the impact zone. Instead:
- Step or sprint out of the marked area
- Save your dodge for last-second correction
- Reposition toward where the hand will land
The goal is not just to survive the smash, but to end up close to the hand when it lands.
Camera control matters
Keep the camera slightly zoomed out and angled upward. Losing sight of the arms is the fastest way to get clipped by a delayed smash.
How to deal damage when the hand is down
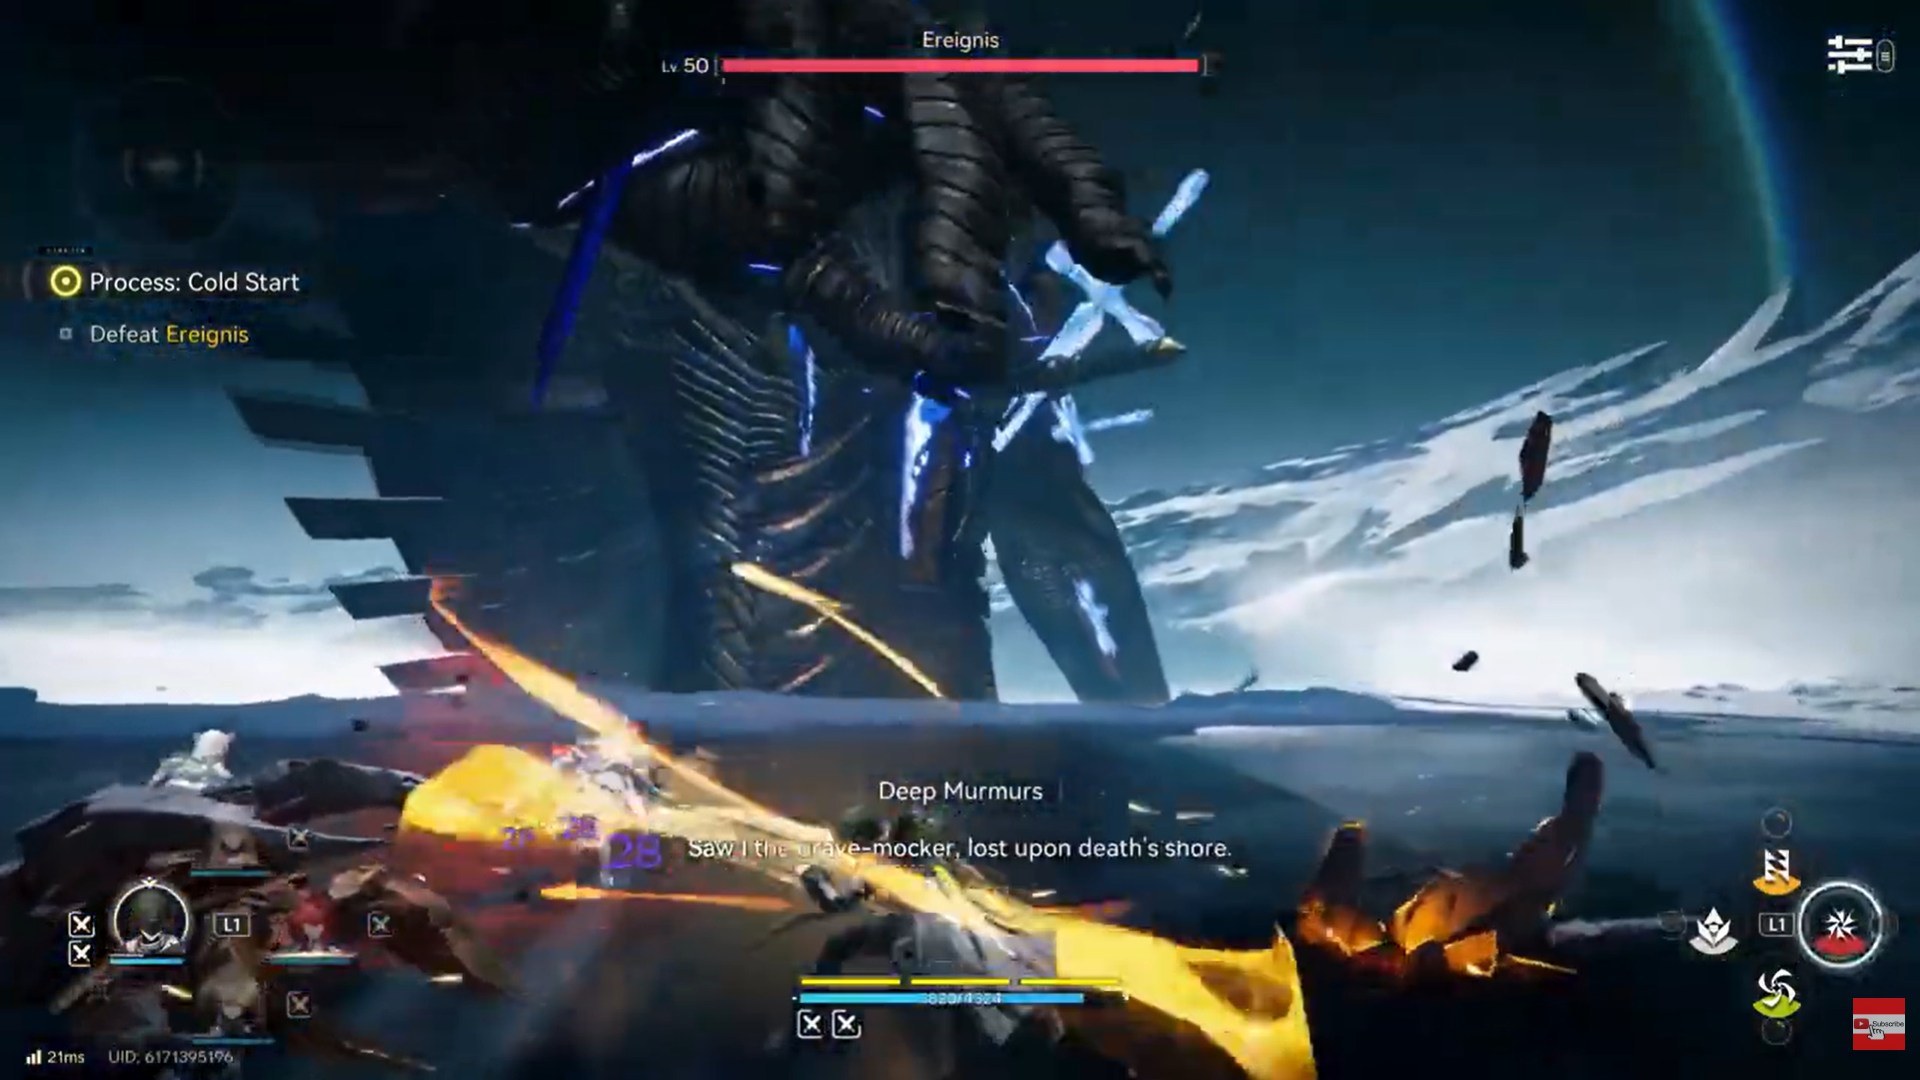
Step 1: Close the distance immediately
As soon as the hand hits the ground, move in. The damage window is short, and hesitation costs you progress.
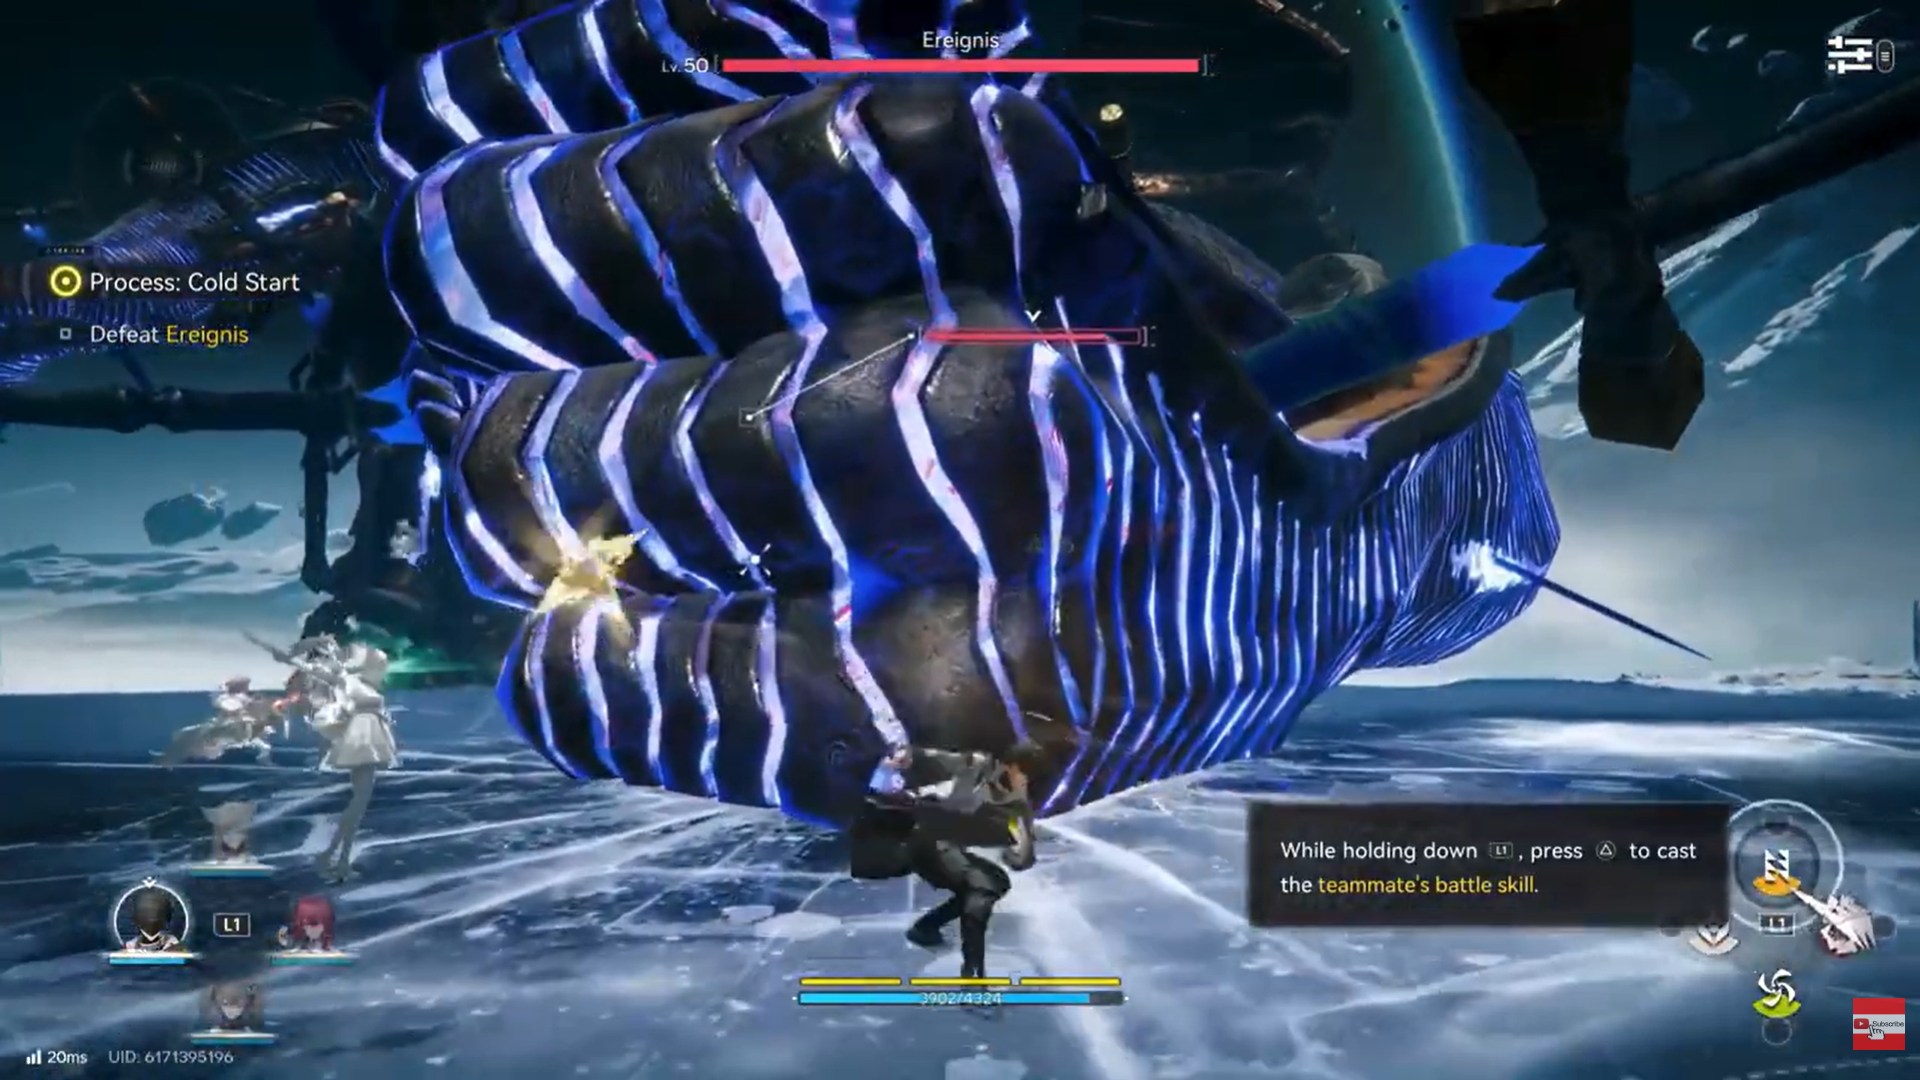
Step 2: Commit your strongest attacks
This is when you unload. Use burst skills, combos, and high-impact abilities. Saving cooldowns for these moments dramatically shortens the fight.
Step 3: Watch for recovery cues
The hand will begin to lift or glow slightly before the next action. Back off as soon as you see this to avoid getting hit during the reset.
Step 4: Reset positioning
After disengaging, reposition toward the center or a clear side lane. This prepares you for the next smash and avoids getting boxed in.
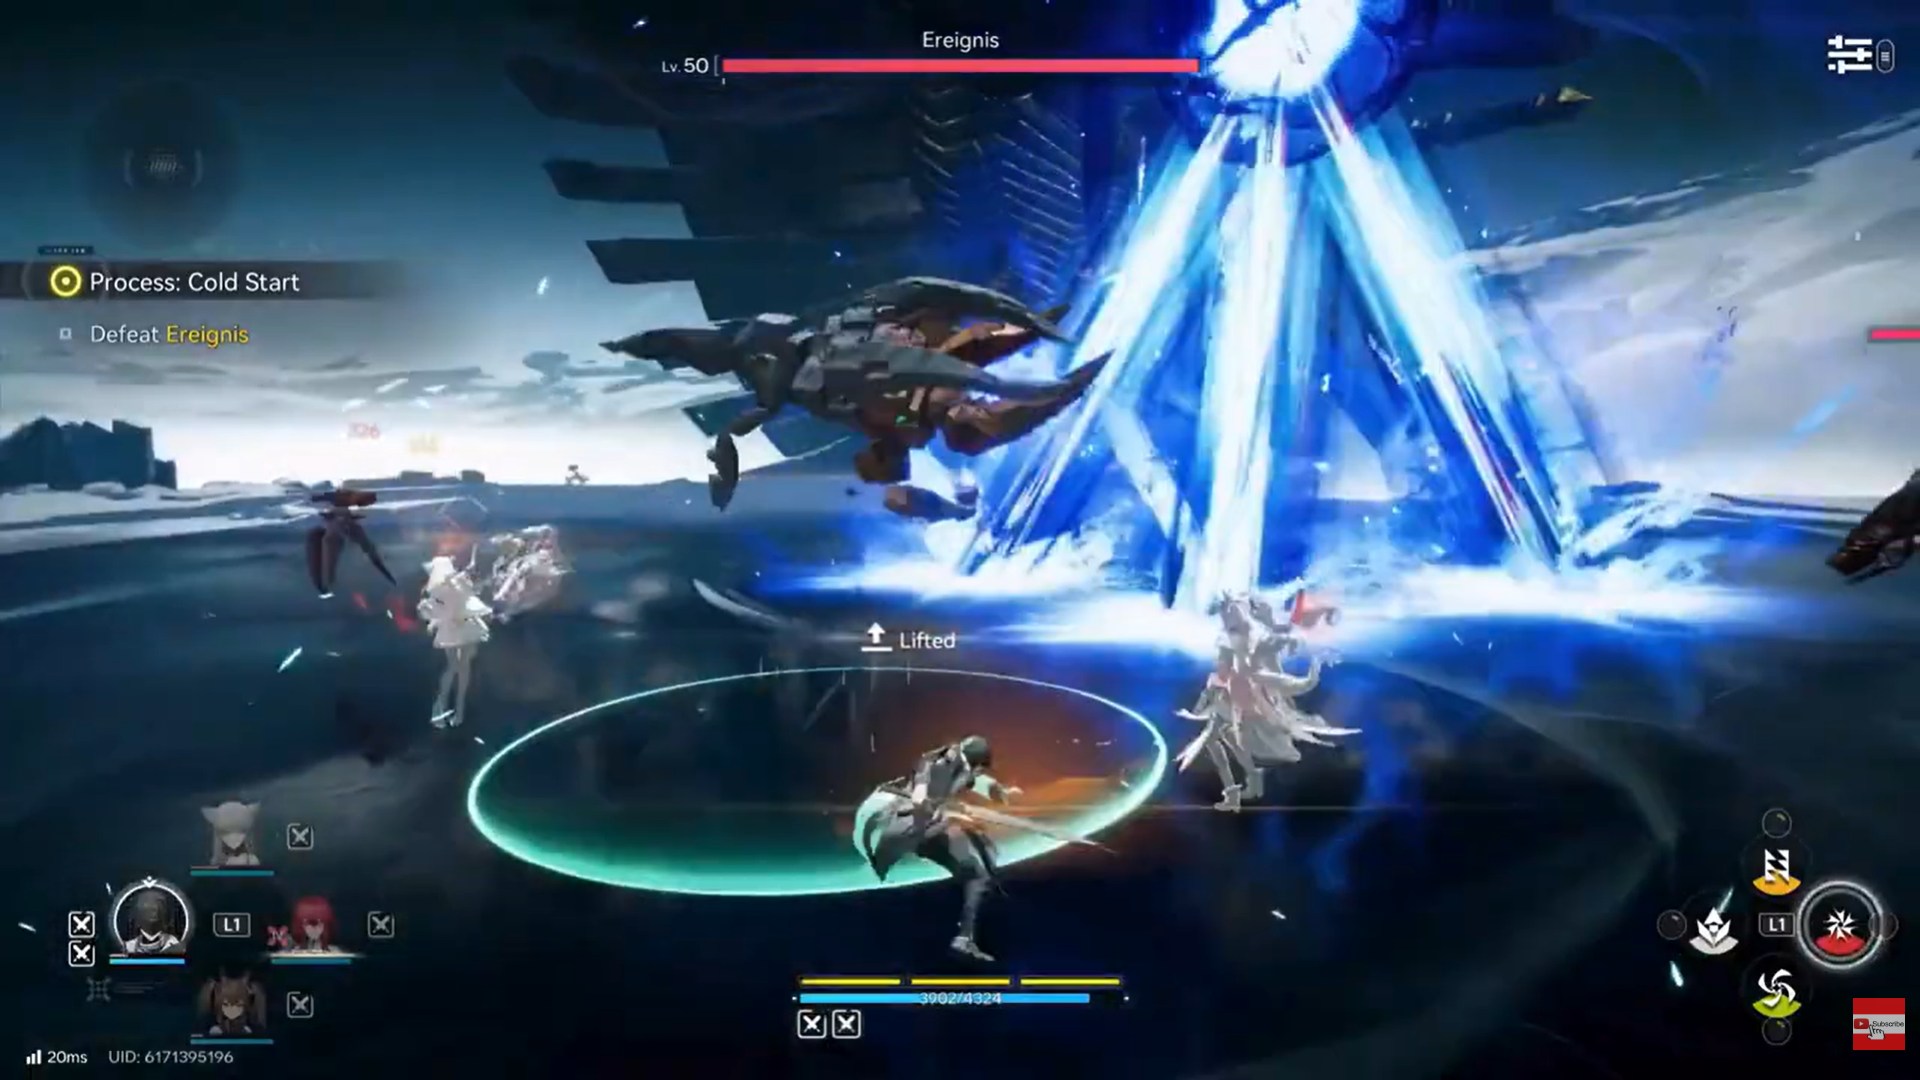
Managing summoned enemies during the fight
At certain points, Ereignis will summon additional enemies to pressure you. These adds serve two purposes:
- They punish tunnel vision on the boss
- They drain resources if ignored
Do not try to ignore them completely. While the hand is your priority, getting surrounded makes dodging smashes far more difficult.
Best approach to add:
- Clear them quickly with AoE or ally abilities
- Use them to charge skills if your kit allows
- Avoid chasing them too far from the boss arena
Efficient add control keeps the fight readable and prevents sudden deaths.
Using allies effectively against Ereignis
Your allies are not just damage sources—they’re pressure management tools.
Use allies to:
- Distract summoned enemies
- Add burst damage during hand-down windows
- Maintain pressure while you reposition
Time ally skills so they overlap with grounded hand phases. Wasting them outside these windows dramatically lowers their value.
If your allies have crowd control or zoning abilities, save those for add waves rather than the boss himself.
Taking down both hands: the real objective
The fight changes significantly once you disable a hand. Each destroyed hand reduces Ereignis’ threat and opens the path to the final phase.
Focus strategy:
- Commit to one hand until it breaks
- Avoid switching targets unless forced
- Use cooldowns aggressively once a hand is low
Breaking the first hand already makes the fight safer. Breaking both hands is what triggers the endgame.
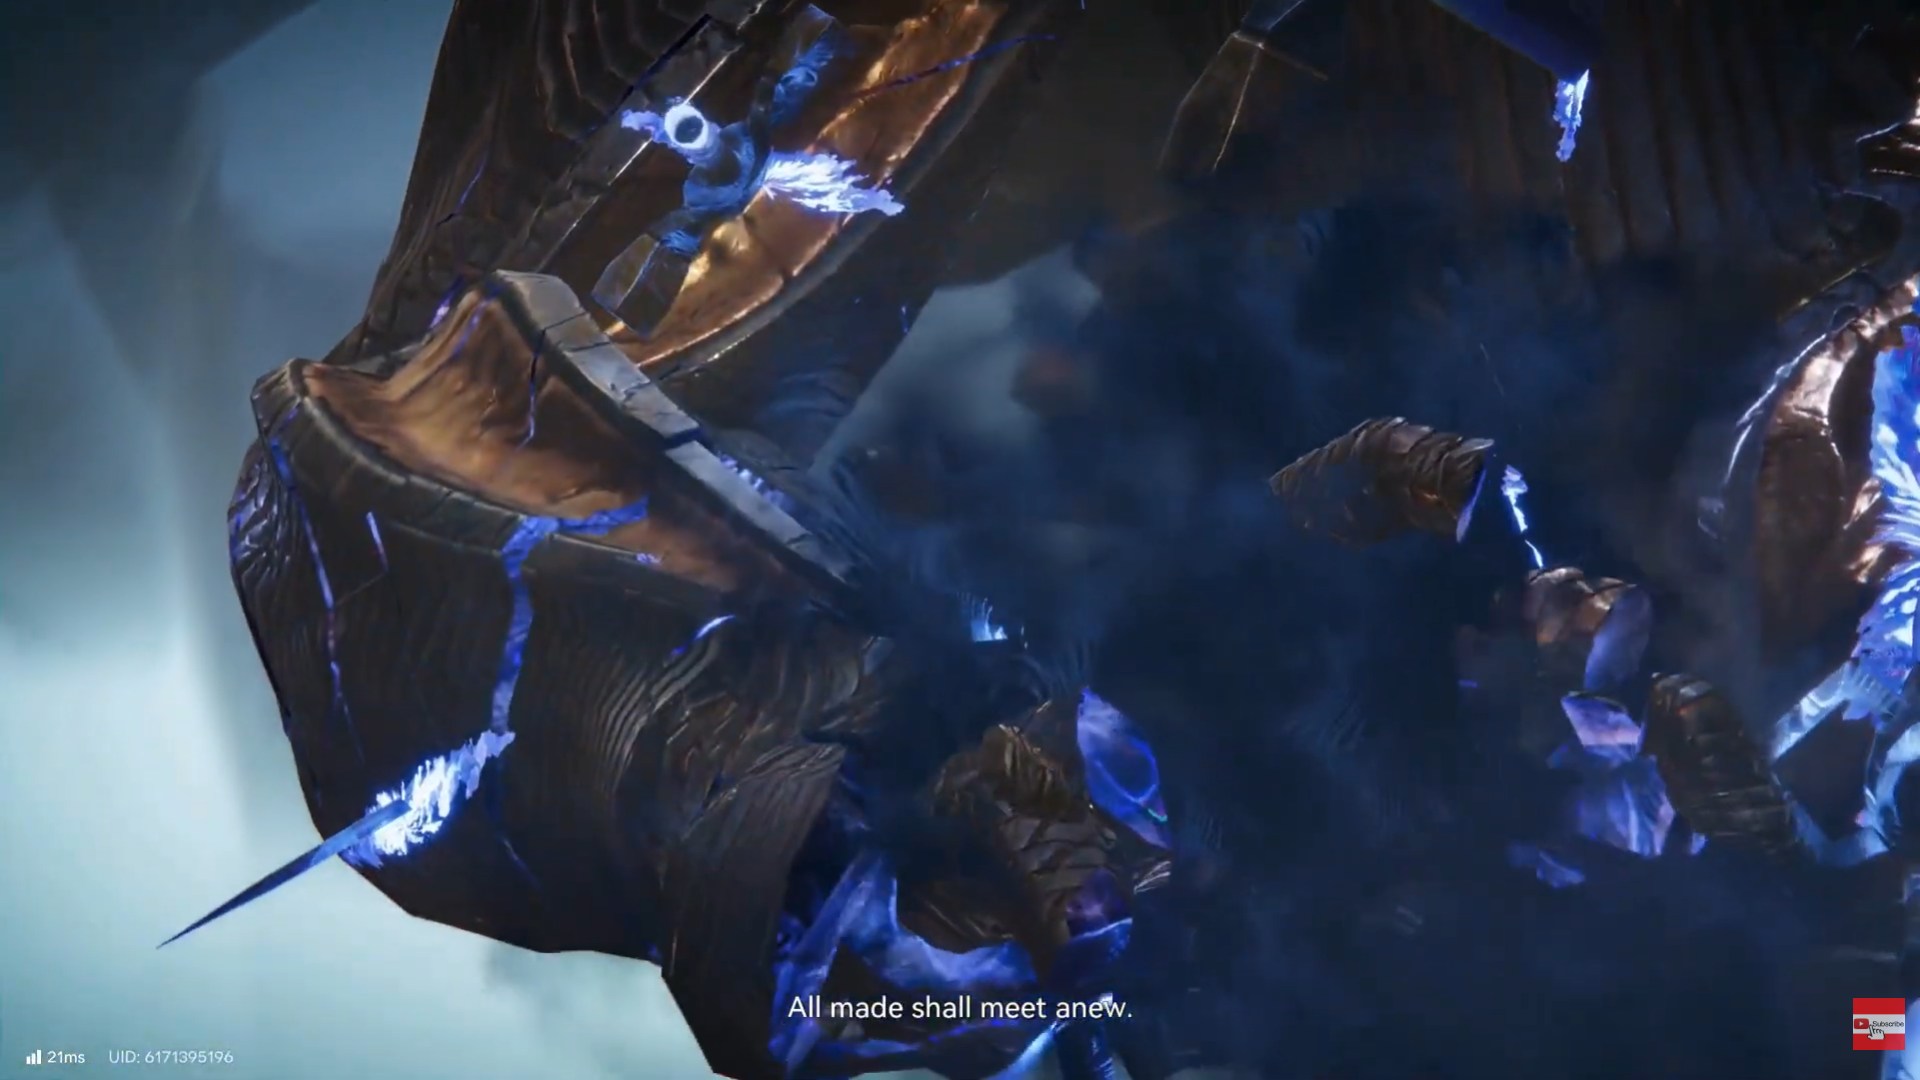
The full attack phase explained
Once both hands are disabled, Ereignis enters a “full attack” or exposed phase. This is your payoff for playing the fight correctly.
During this phase:
- His body becomes fully vulnerable
- Smash frequency drops
- Damage taken increases significantly
This is when you finish the fight. If you’ve managed resources well, this phase is short and decisive.
Commit everything
Use all remaining cooldowns. There is no reason to hold back anymore.
Maintain safe positioning
Even weakened, Ereignis can still deal damage. Stay mobile and avoid standing directly in front of him.
End the fight cleanly
Do not get greedy. Keep attacking, but disengage if you see large telegraphs. A safe finish is better than a reset.
Common mistakes players make
One of the biggest mistakes is attacking the body instead of the hands. This dramatically prolongs the fight and increases the chance of errors.
Another common issue is dodging away from the hand instead of toward it. This wastes the damage window and forces you to chase.
Finally, many players ignore adds for too long. While they’re not lethal on their own, they interfere with movement and make smashes harder to read.
Gear and preparation tips
You don’t need perfect gear to beat Ereignis, but a few preparations help:
- Equip at least one reliable healing option
- Bring allies with burst or AoE capabilities
- Ensure stamina and consumables are ready
Mechanical execution matters far more than raw stats in this fight.
Why Ereignis is an important boss
Defeating Ereignis isn’t about rushing him down. It’s about learning when not to attack, dodging with intention, and turning every hand smash into meaningful progress.
Ereignis teaches a lesson that Endfield repeats often: bosses are puzzles, not damage checks. Once you internalize how to bait attacks and punish recovery windows, many later encounters become much easier to understand.
This fight rewards patience, awareness, and discipline—skills that carry through the rest of the game.
Focus the hands, control the adds, use allies wisely, and the fight becomes predictable and manageable. Once both hands fall, Ereignis follows shortly after.
We hope this Ereignis guide for Arknights: Endfield offered all the clarity you were looking for and made your experience smoother. If you have any feedback, suggestions, or questions, drop them in the comments below. We actively read and respond, so feel free to reach out whenever you need extra help or guidance.