- What to know
- Hub Base Power Plant sealed crate puzzle details in Arknights Endfield
- What the Sealed Crate puzzle is testing in Arknights Endfield
- Where to find the Sealed Crate puzzle in Arknights Endfield
- How the three-switch system works
- How to locate and activate the first switch
- Why the other switches are inaccessible
- Understanding the Electric Nexus
- How power routing works in Endfield
-
How to power the Electric Nexus step by step
- Step 1: Locate your main production facility (AIC)
- Step 2: Open the build or placement menu
- Step 3: Place the first relay tower near the AIC
- Step 4: Extend the power line outward
- Step 5: Respect the distance limit
- Step 6: Connect relay towers with power cables
- Step 7: Reach the Electric Nexus
- Step 8: Confirm power delivery
- How to activate the second switch inside the barrier
- How to activate the third switch upstairs
- Opening the Sealed Crate and claiming rewards
- Rewards from the Sealed Crate puzzle
- Why this puzzle is important beyond the rewards
- Common mistakes players make in this puzzle
- Tips for solving similar puzzles later
What to know
- The sealed crate puzzle requires activating three separate switches
- Two switches are locked behind an energy barrier
- Power must be routed to an Electric Nexus using relay towers
- This power-routing mechanic repeats throughout Arknights: Endfield
In Arknights: Endfield, environmental puzzles are often used to teach core systems that reappear later in the game. The sealed crate puzzle at the Hub Base Power Plant is one of the first major examples of this design philosophy.
At first glance, the puzzle looks simple: a sealed crate, a few glowing interaction points, and an energy barrier blocking access. In reality, it’s your first real test of power routing, a system you’ll rely on repeatedly as you explore facilities, expand bases, and unlock restricted areas. This guide explains the puzzle clearly and thoroughly so you can solve it without confusion—and understand why it matters beyond just opening a crate.
Hub Base Power Plant sealed crate puzzle details in Arknights Endfield
| Element | Purpose |
|---|---|
| Sealed crate | Reward container |
| Three shining objects | Required activation switches |
| Energy barrier | Blocks access to two switches |
| Electric Nexus | Powers the barrier |
| Relay towers | Carry power from AIC to the Nexus |
What the Sealed Crate puzzle is testing in Arknights Endfield
This puzzle is not about combat or reflexes. Instead, it teaches you:
- How power is generated from your main production area
- How to extend power using relay towers
- How distance limits affect cable placement
- How powered systems unlock environmental interactions
Understanding this puzzle now saves you time later, as the same mechanics appear in multiple regions and facilities.
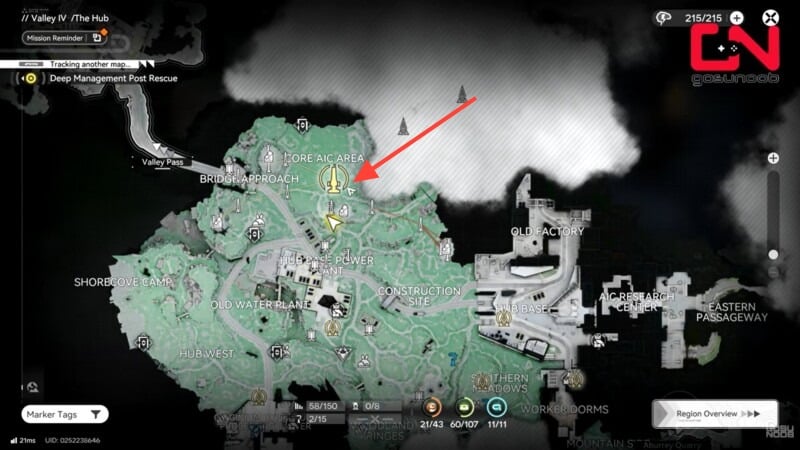
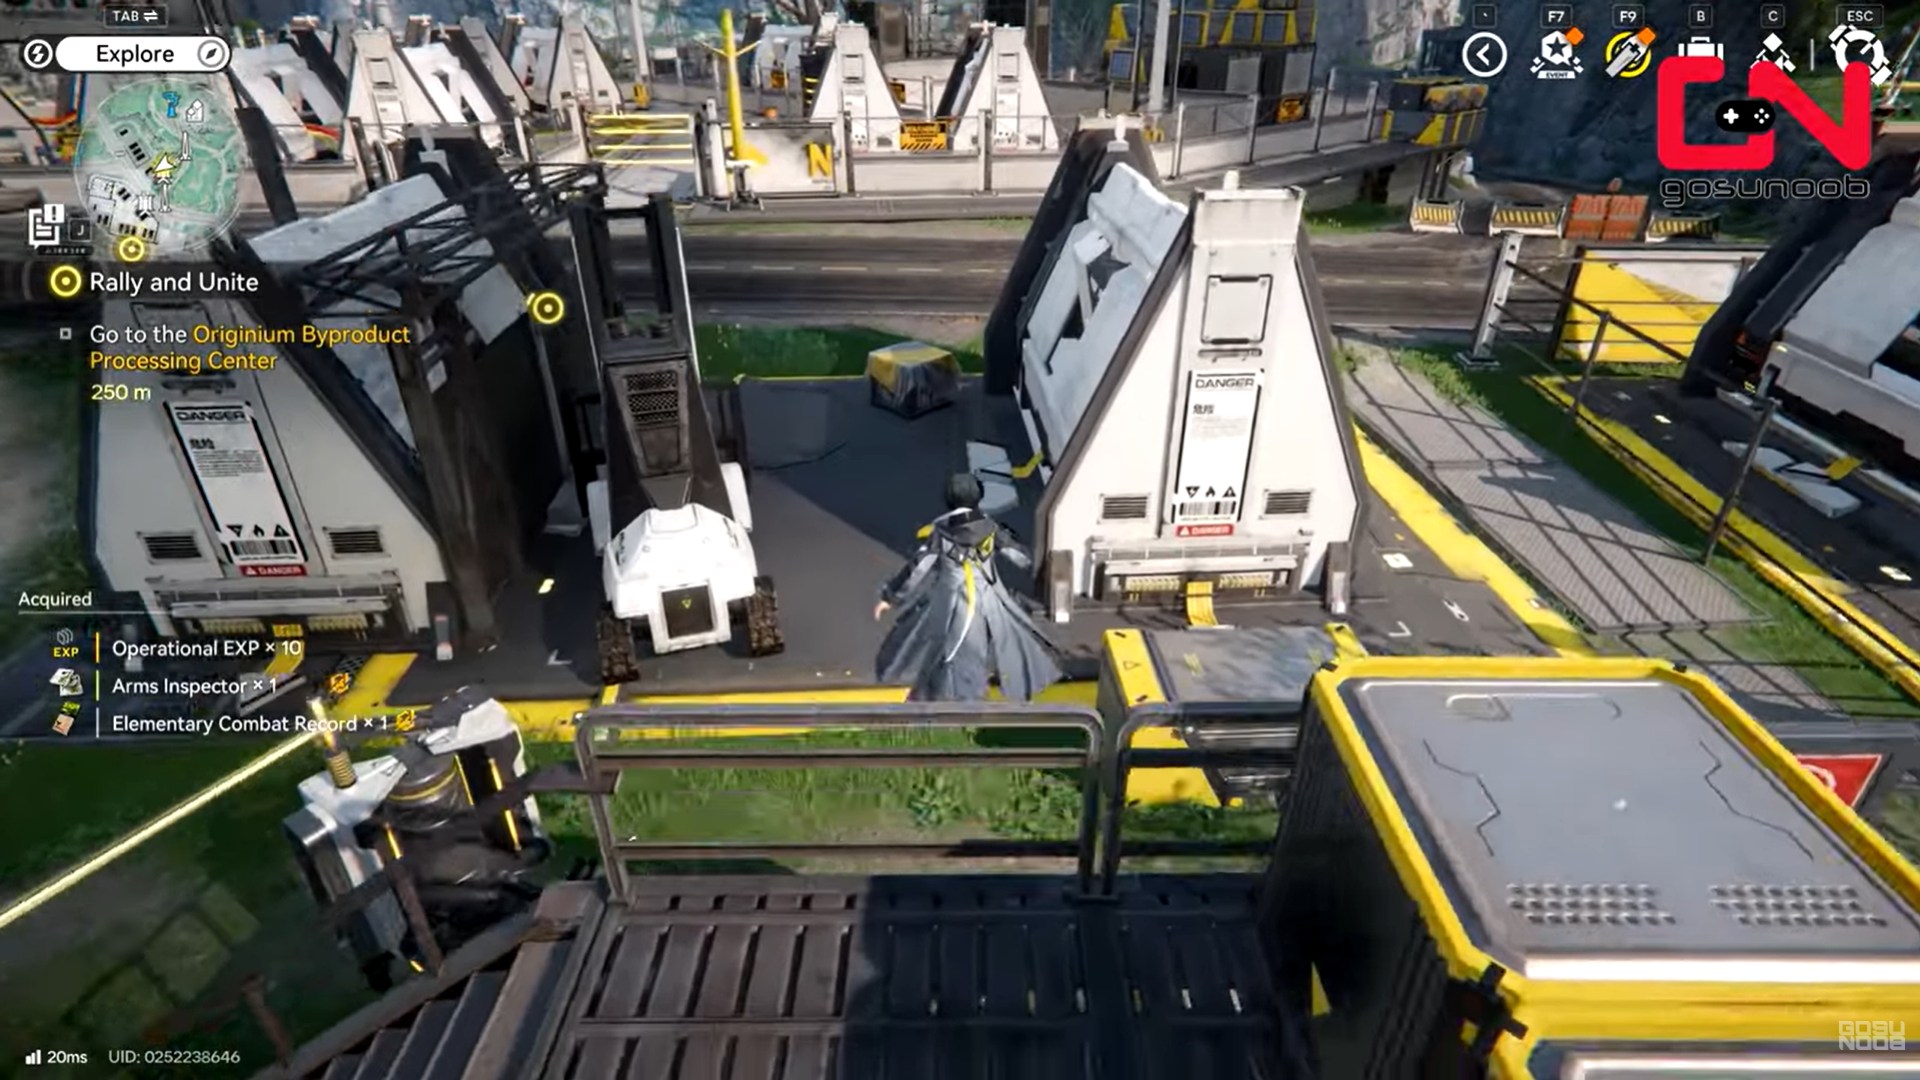
Where to find the Sealed Crate puzzle in Arknights Endfield
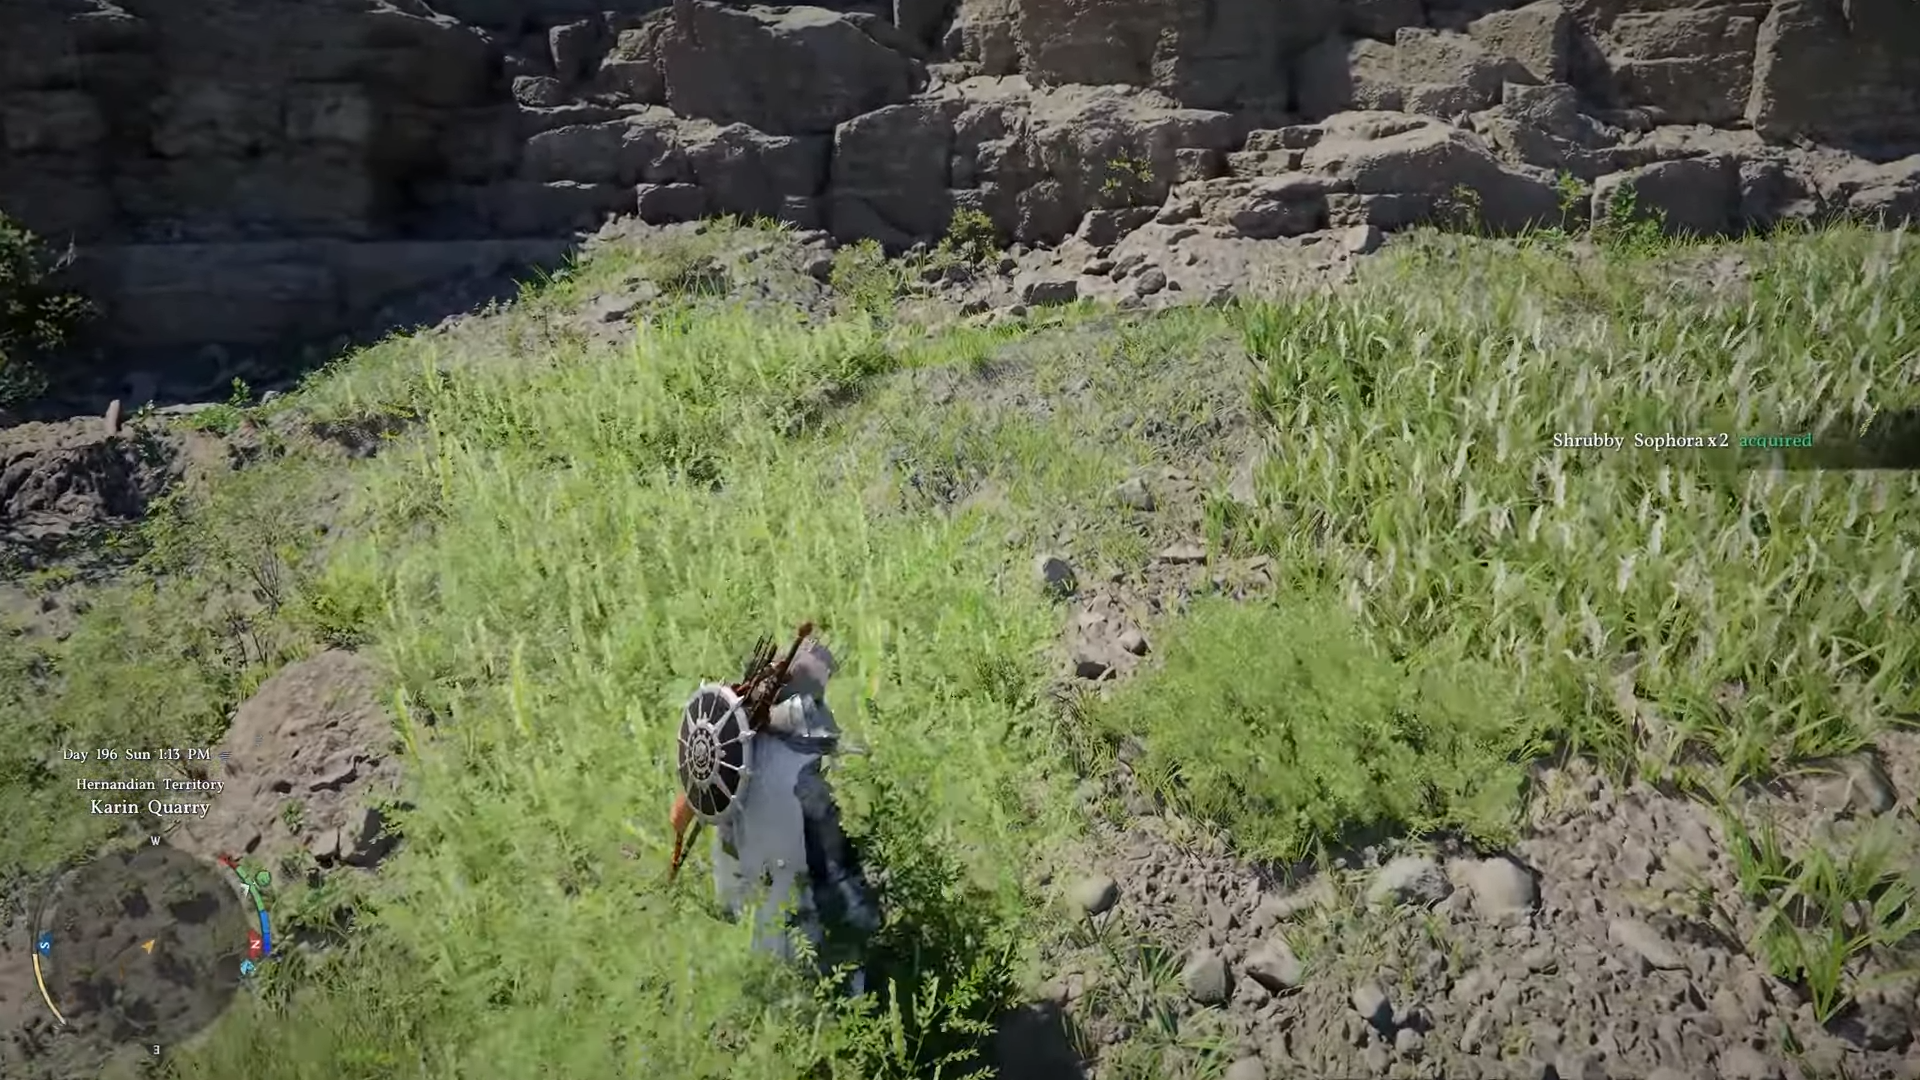
The sealed crate puzzle is located at the Hub Base Power Plant, a facility connected to your early-game hub area. You’ll encounter it naturally while exploring the hub’s surroundings.
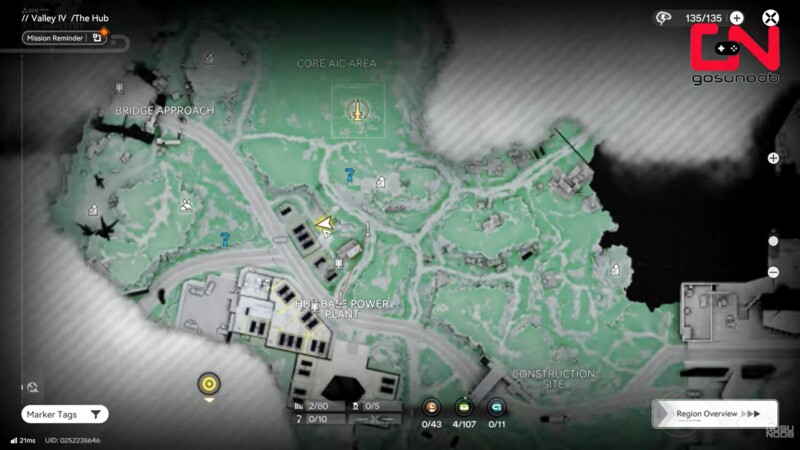
The sealed crate itself is easy to spot, but interacting with it reveals that it cannot be opened until all three switches are activated.
How the three-switch system works
The sealed crate is locked by three shining objects, which act as switches.
- One switch is accessible immediately
- Two switches are locked behind an energy barrier
- The energy barrier is controlled by an Electric Nexus
You must activate all three switches to open the crate.
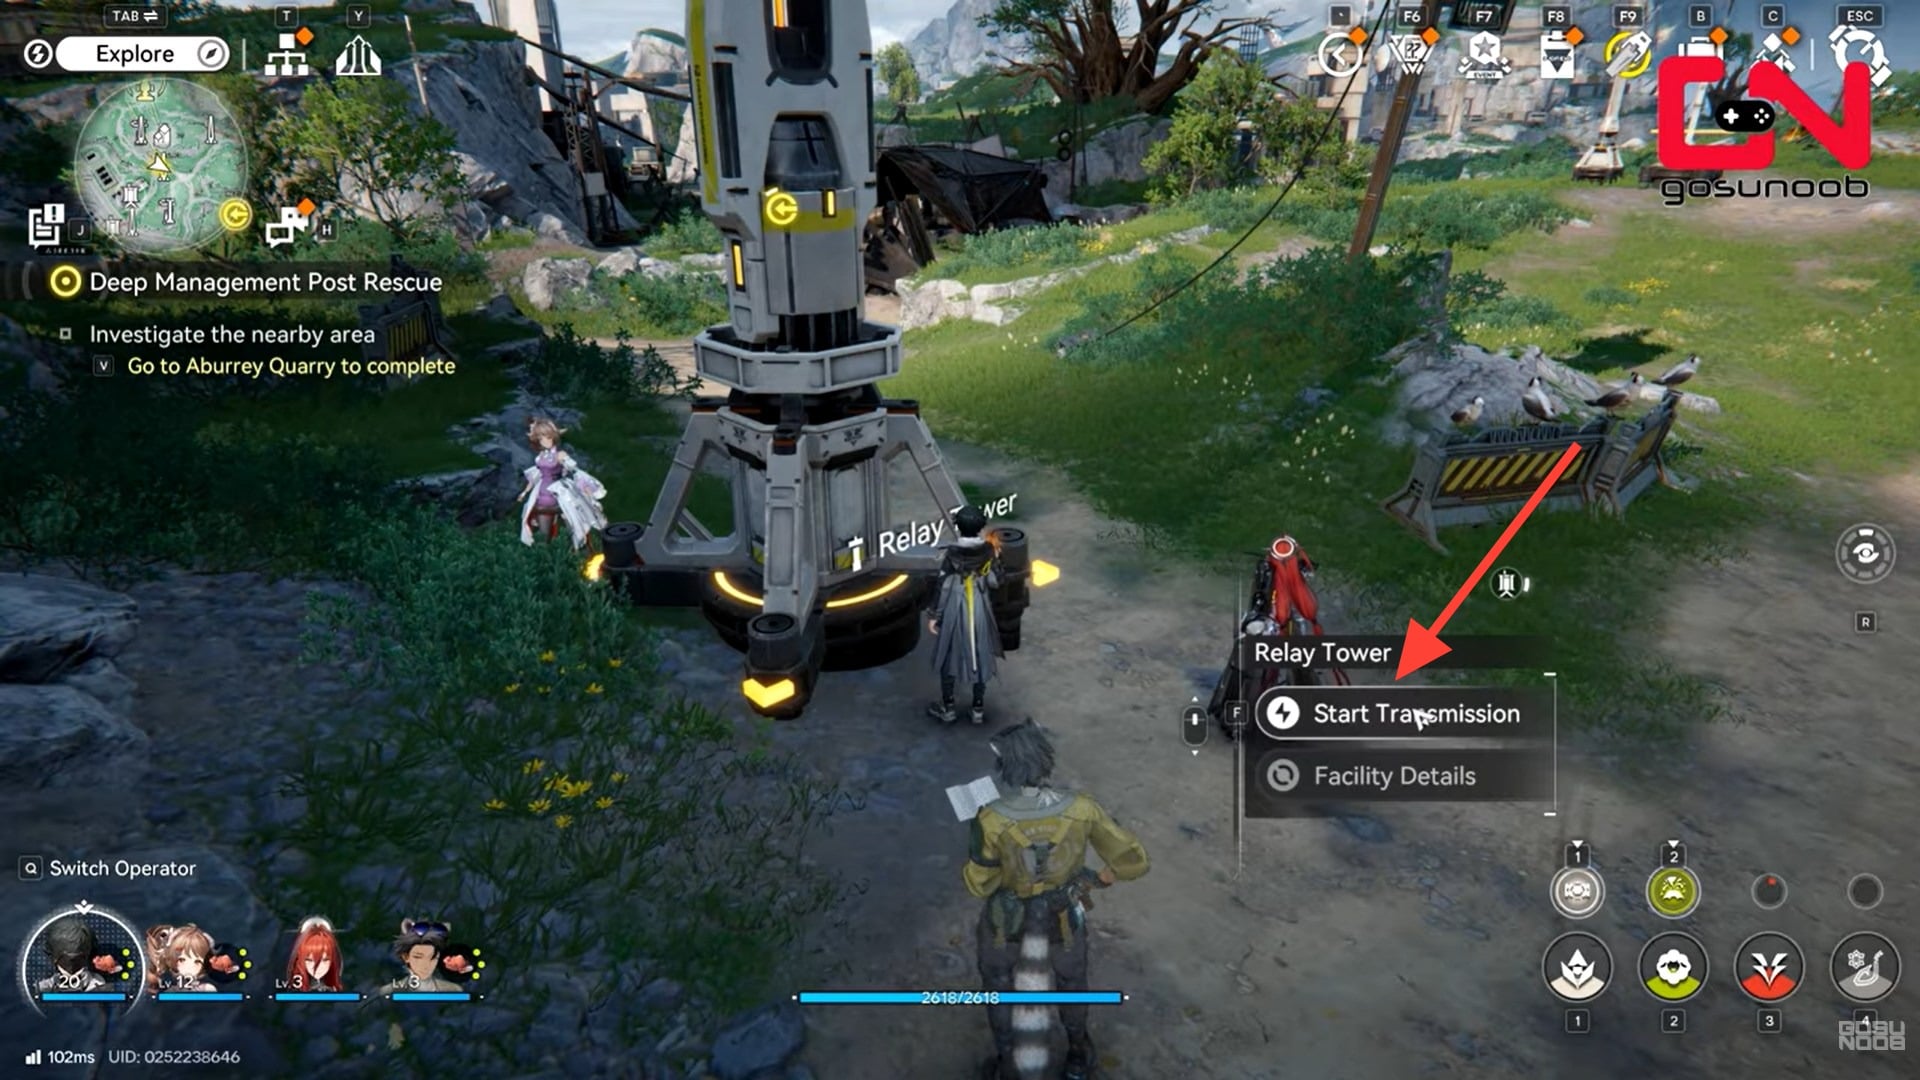
How to locate and activate the first switch
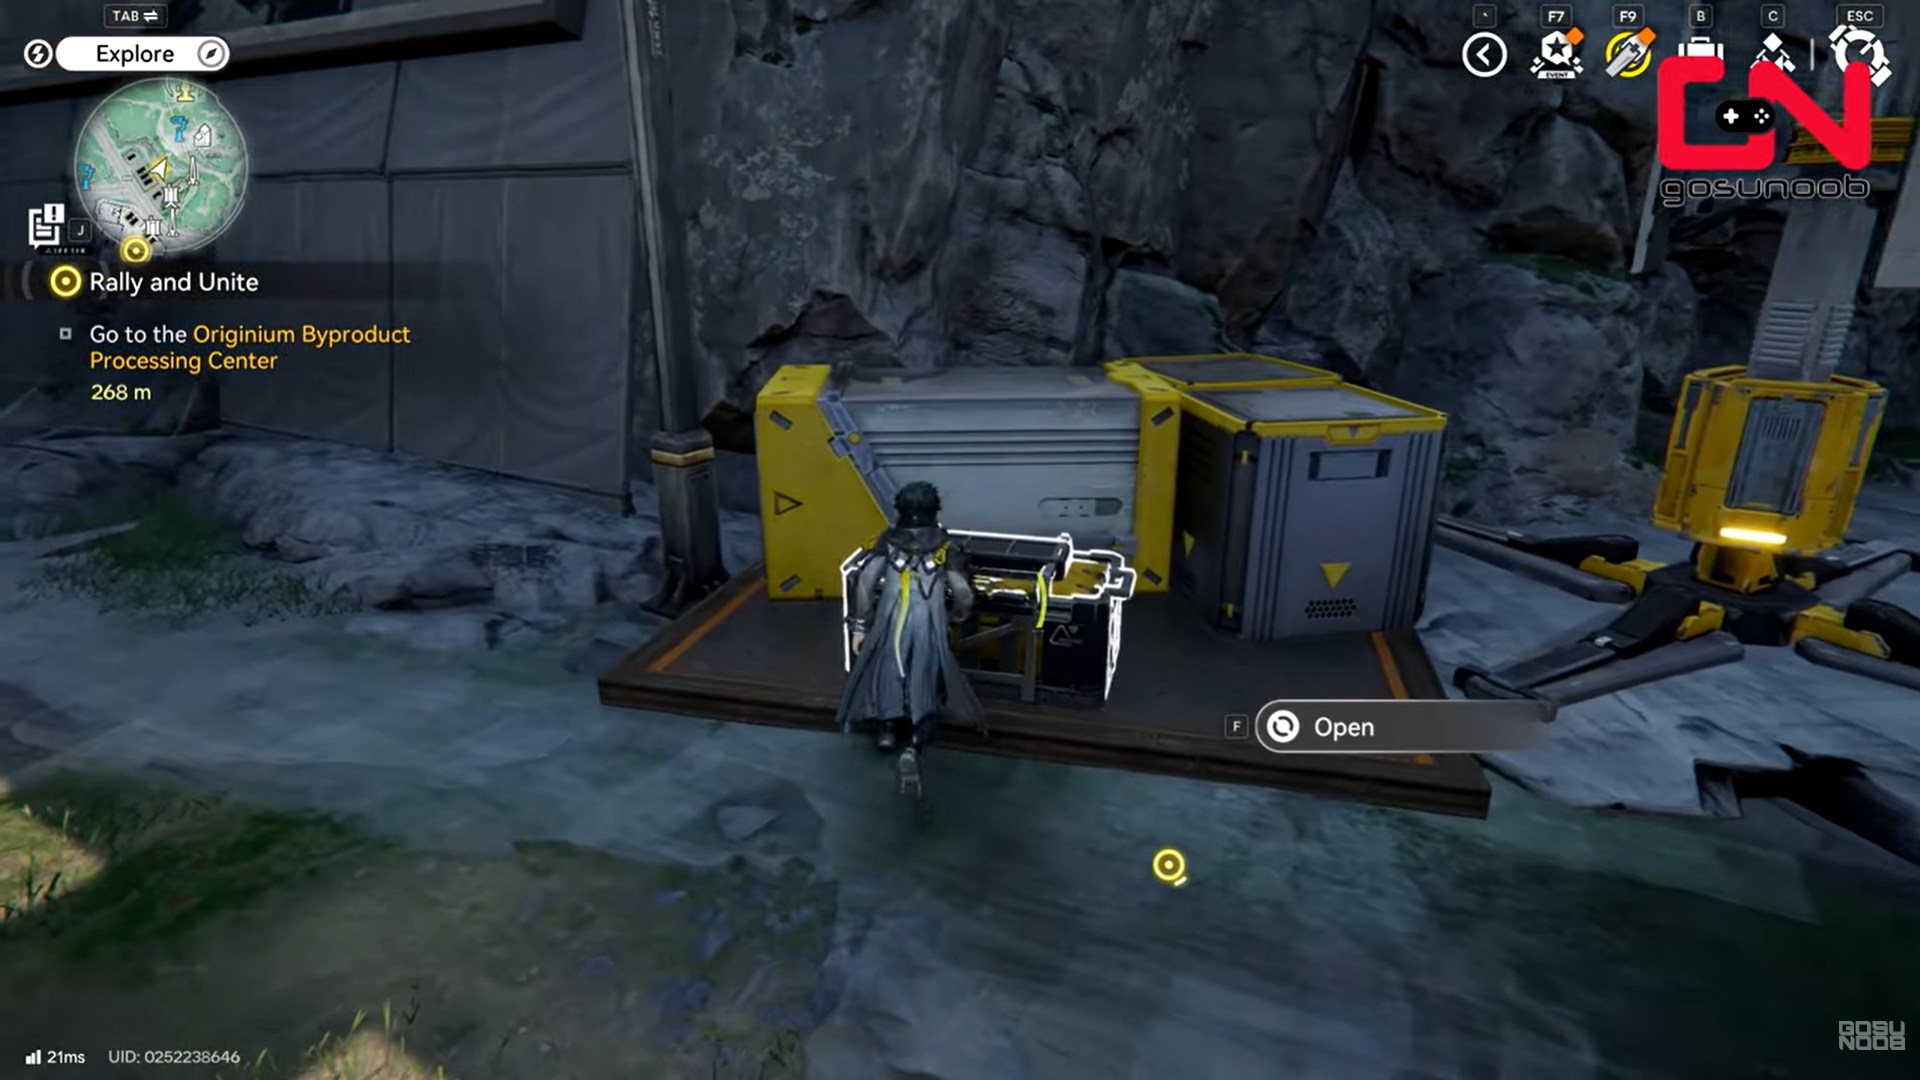
Step 1: Explore the exterior of the power plant
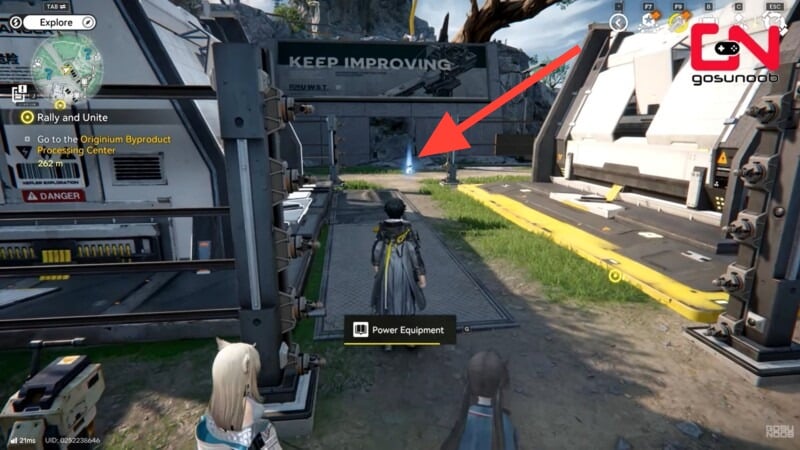
From the sealed crate, move around the outside of the facility. The first shining object is located outdoors near machinery and structural components.
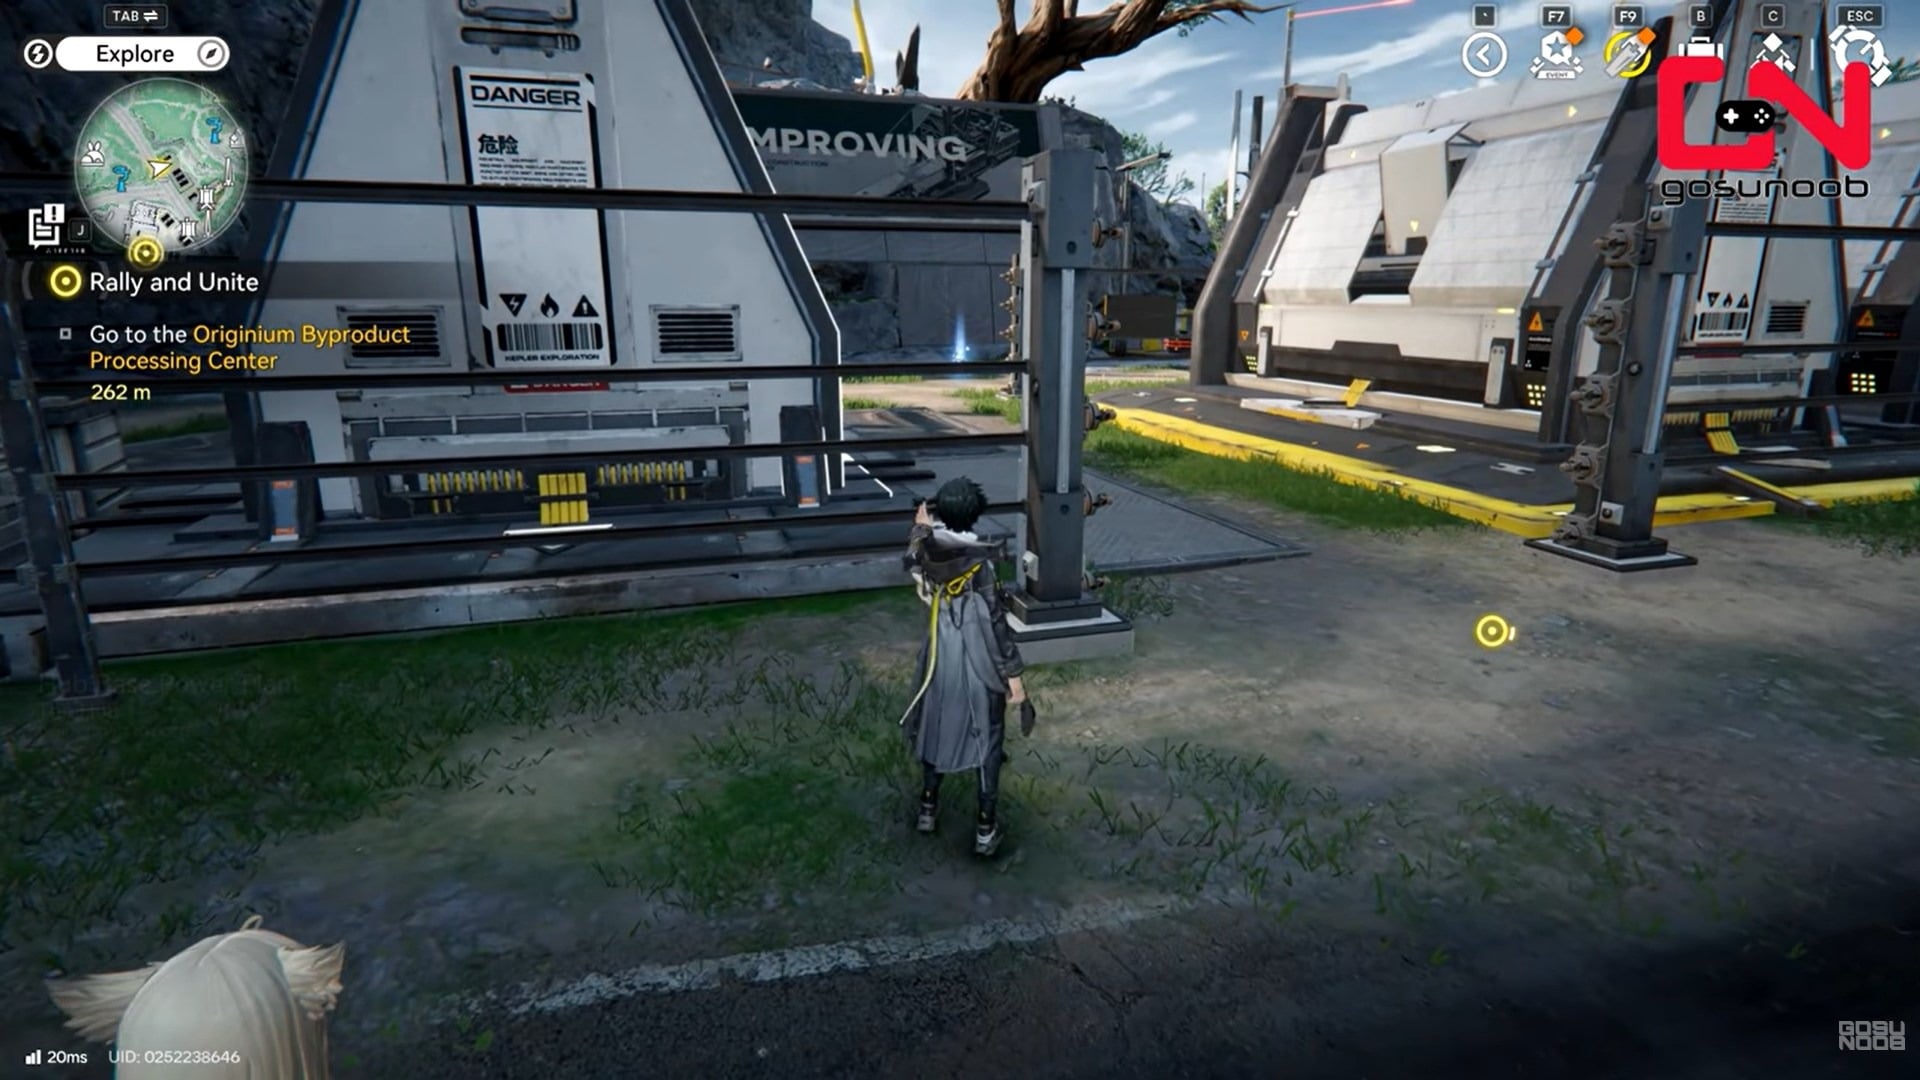
Step 2: Interact with the shining object
Once you find it, interact with the object to activate the first switch. This part requires no power or special setup.
After activation, the crate remains sealed, indicating that additional switches are still locked.
Why the other switches are inaccessible
The remaining two switches are located inside a caged area protected by an energy barrier. Attempting to enter without power will fail, and the game provides no alternative path.
This is your signal that you need to engage with the power-routing system.
Understanding the Electric Nexus
The Electric Nexus is a device that controls the energy barrier.
- When unpowered, the barrier remains active
- When powered, the barrier deactivates
- It does not generate power on its own
To activate the Nexus, you must supply power from your main production facility, commonly referred to as the AIC.
How power routing works in Endfield
Power routing is based on a simple but strict rule set:
- Power originates from production facilities
- Power travels through relay towers
- Each power cable has a maximum range
- Broken or overstretched links interrupt the network
In this puzzle, you are expected to build a temporary power line to the Electric Nexus.
How to power the Electric Nexus step by step
Step 1: Locate your main production facility (AIC)
Return to the core hub area where your AIC is located. This is your power source.
Access the construction interface that allows you to place relay towers.
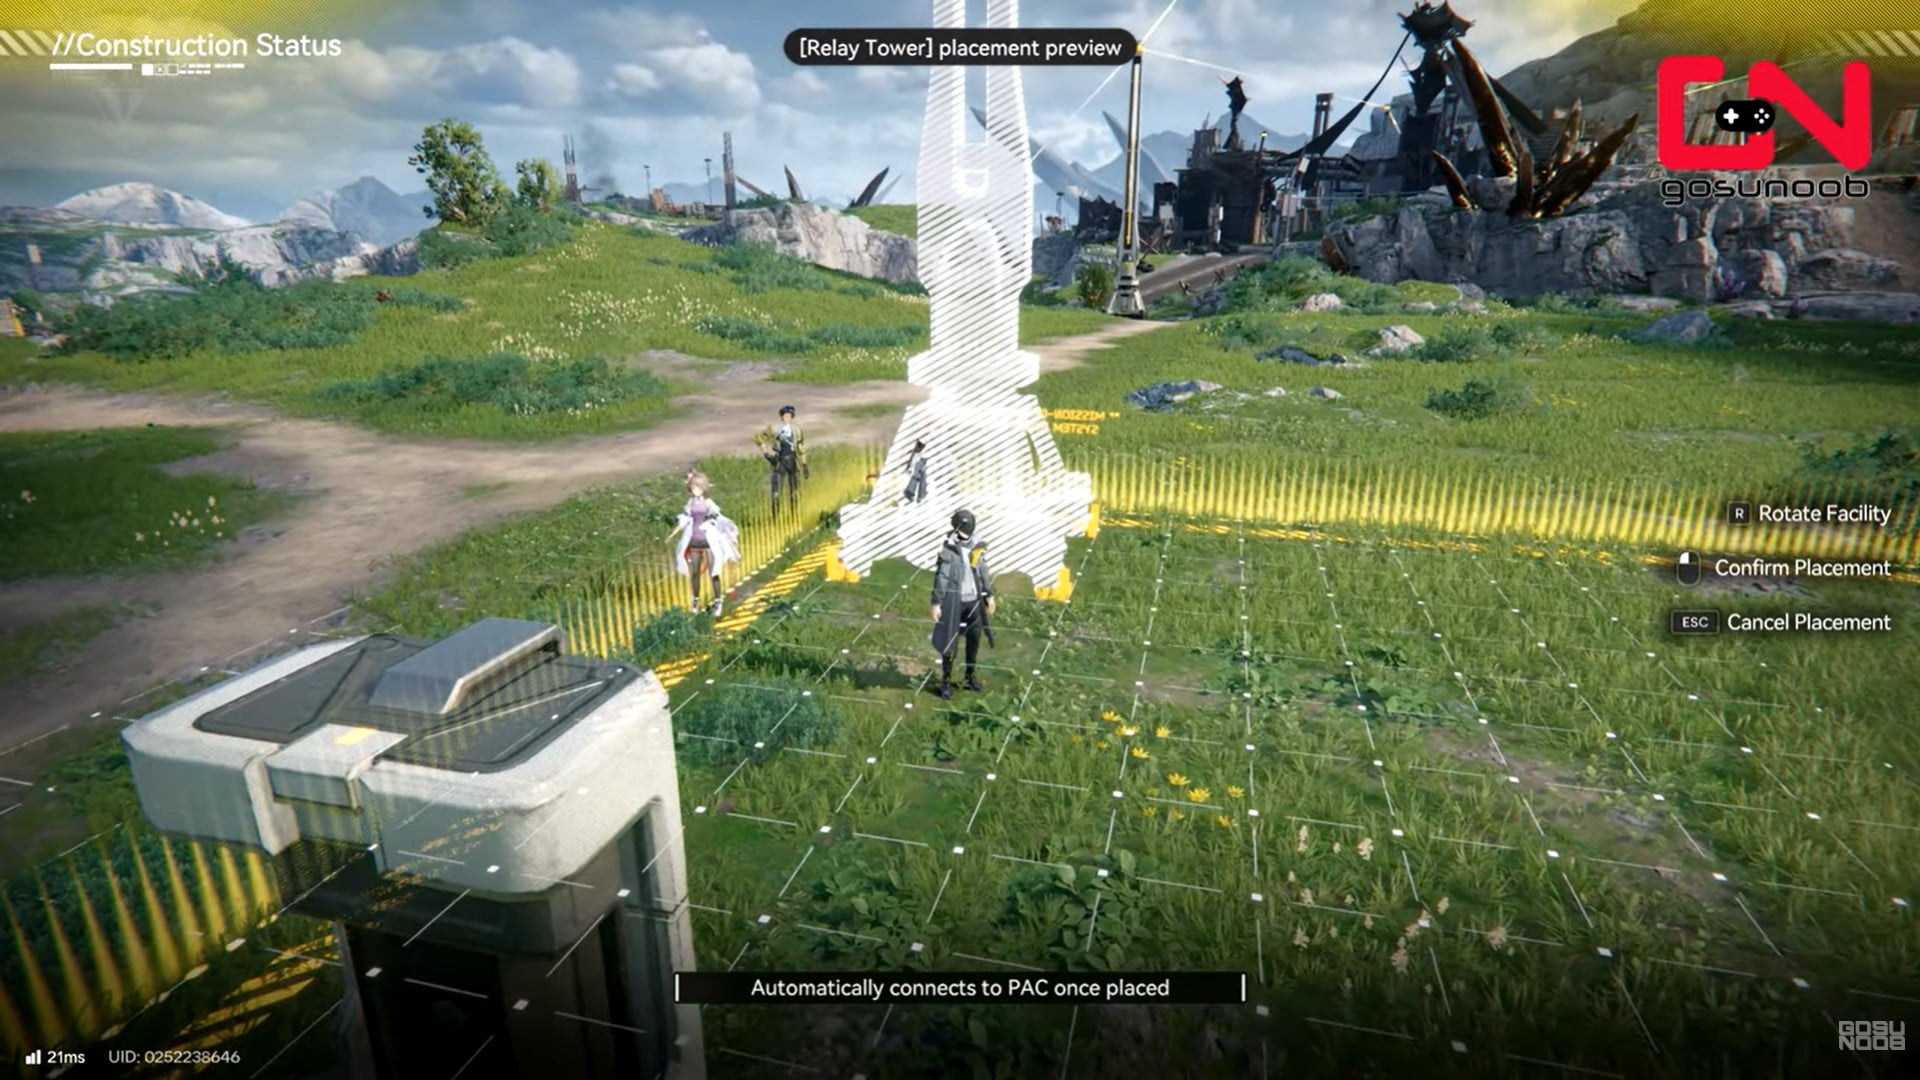
Step 3: Place the first relay tower near the AIC
Position the relay tower close enough for it to receive power directly from the AIC.
Step 4: Extend the power line outward
Continue placing relay towers in a chain leading toward the Electric Nexus.
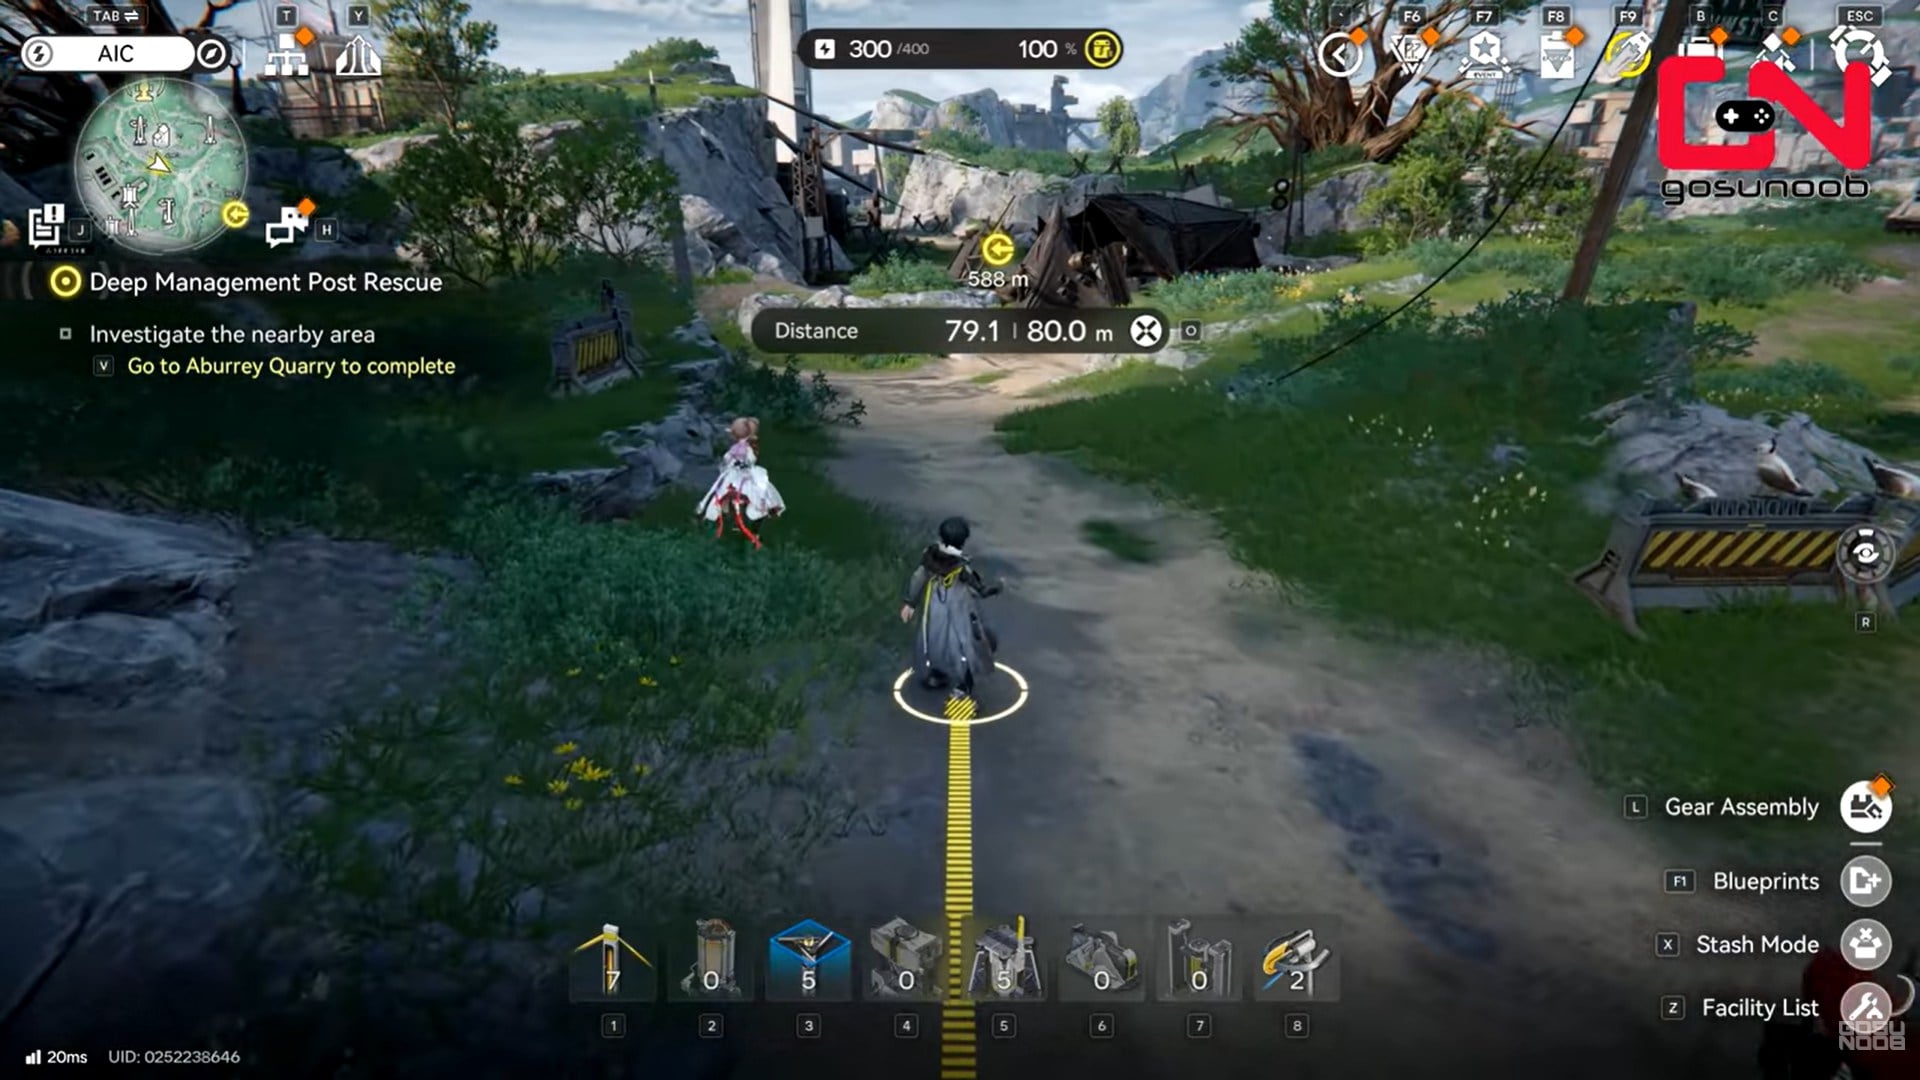
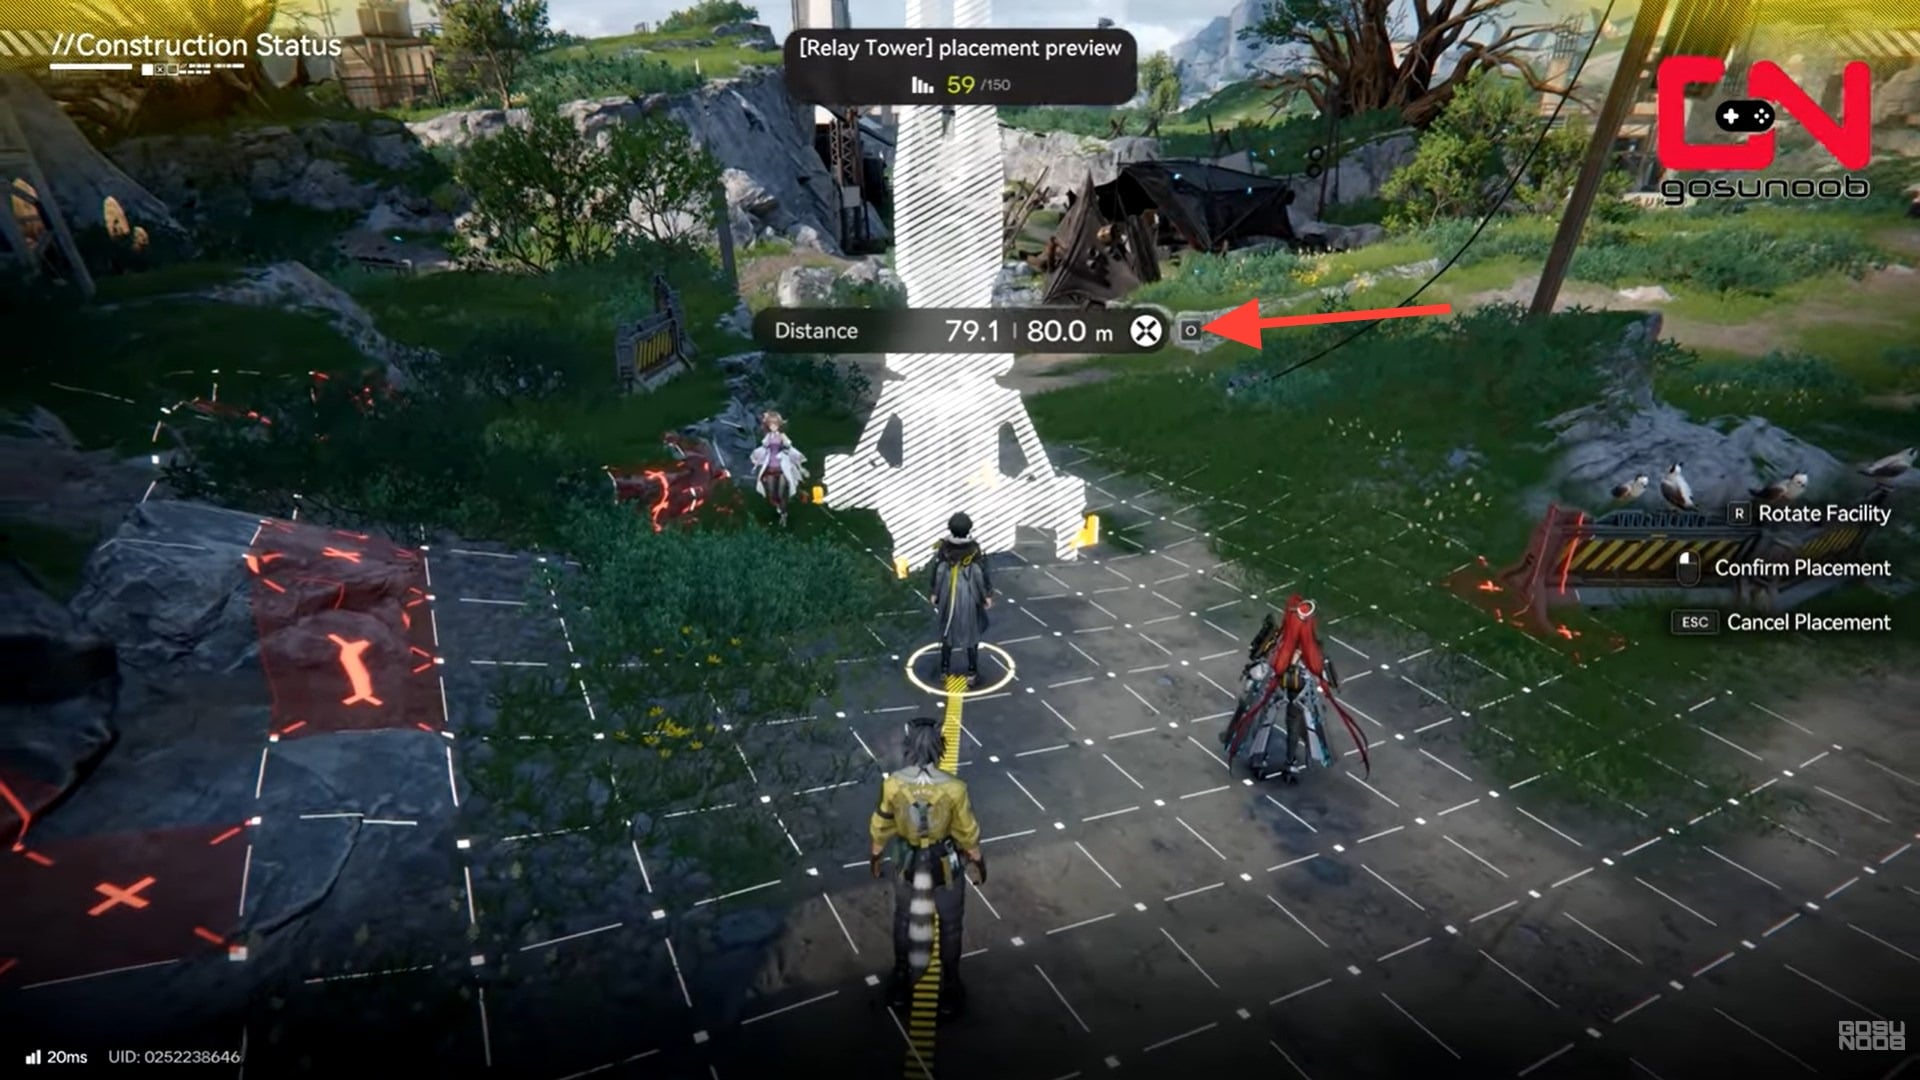
Step 5: Respect the distance limit
Each cable run must stay within approximately 80 meters. If towers are placed too far apart, the connection will fail.
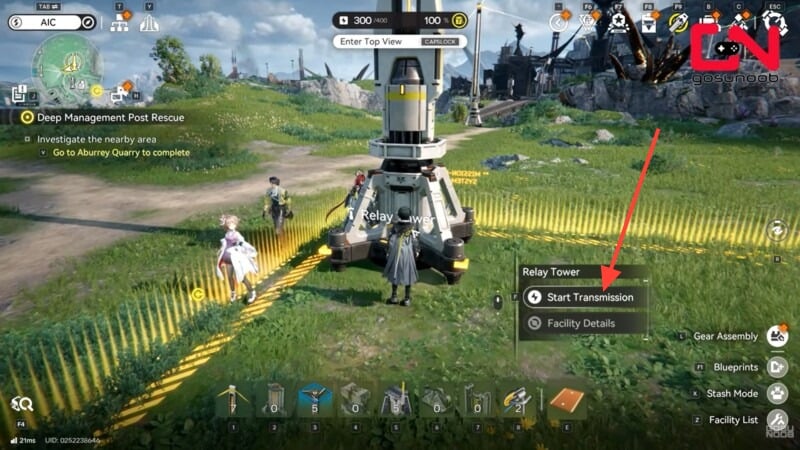
Step 6: Connect relay towers with power cables
Ensure each relay tower is properly linked. Visual indicators show whether power is flowing.
Step 7: Reach the Electric Nexus
Place the final relay tower close enough to connect directly to the Nexus.

Step 8: Confirm power delivery
Once powered, the Electric Nexus activates, and the energy barrier shuts down.
This completes the most important part of the puzzle.
How to activate the second switch inside the barrier
Step 9: Enter the previously blocked area
With the energy barrier disabled, walk into the caged area.
Step 10: Locate the second shining object
Inside the enclosure, you’ll see another glowing interaction point.
Step 11: Interact to activate the switch
Activate it to progress the crate unlock sequence. You can stab on this yellow box here to bag some Amethyst Components for free.
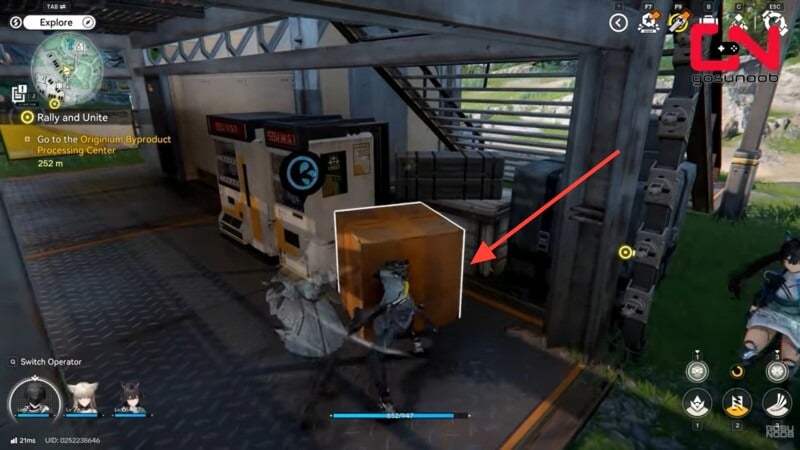
The sealed crate will still remain locked, indicating one final switch remains.
How to activate the third switch upstairs
The final switch is not on the ground level.
Step 12: Look for stairs or an upper platform
Inside the power plant structure, locate the staircase or ramp leading upward.
Step 13: Go upstairs
Climb to the upper level of the facility.

Step 14: Find the third shining object
The final switch is located on the upper floor, clearly visible once you reach the correct area.
Step 15: Activate the final switch
Interact with the object to complete the puzzle.
Opening the Sealed Crate and claiming rewards
Once all three switches are activated:
- The sealed crate unlocks automatically
- You can interact with it immediately
- Rewards are granted directly to your inventory
The exact rewards may vary, but sealed crates typically contain upgrade materials, progression items, or resources useful for early-to-mid game development.
Rewards from the Sealed Crate puzzle
| Category | Item / Reward | Quantity | Notes |
|---|---|---|---|
| Weapon | Aggeloslayer | 1 | New weapon; equipped by Endfield operators to significantly boost combat capability |
| Currency | T-Creds | 900 | Standard in-game currency |
| Material | Arms Inspector | 6 | Likely used for weapon inspection, upgrades, or progression |
Other rewards may also be unlocked.
Why this puzzle is important beyond the rewards
The Hub Base Power Plant puzzle is effectively a tutorial disguised as exploration content. It teaches you:
- How to plan relay tower placement
- How to manage distance limits
- How to identify power-controlled barriers
- How environmental systems depend on infrastructure
Later areas reuse these mechanics with more complexity, often under time pressure or enemy threat.
Common mistakes players make in this puzzle
- Placing relay towers too far apart
- Forgetting to connect cables between towers
- Trying to power the Nexus from the wrong source
- Missing the upstairs switch after disabling the barrier
If the barrier doesn’t deactivate, the issue is almost always a broken power connection.
Tips for solving similar puzzles later
The sealed crate puzzle at the Hub Base Power Plant is one of Arknights: Endfield’s most important early lessons. While the rewards are useful, the real value lies in understanding how power routing works. Once you grasp relay tower placement and Electric Nexus activation, many later puzzles feel far more intuitive.
- Always trace power back to a known source
- Use visual power indicators to confirm flow
- Keep relay towers evenly spaced
- Expect vertical exploration after unlocking barriers
Recognizing these patterns speeds up future puzzle-solving significantly.
If you ever find yourself blocked by energy barriers later in the game, this puzzle is the blueprint for how to solve them.
We hope this sealed crate puzzle guide for Arknights: Endfield offered all the clarity you were looking for and made your experience smoother. If you have any feedback, suggestions, or questions, drop them in the comments below. We actively read and respond, so feel free to reach out whenever you need extra help or guidance.