In StarRupture‘s survival loop where ruptures reset the surface every cycle, you build factories amid alien threats and cataclysms. Use the following 20 tips to accelerate progress and build your rupture-proof empire.
- Tip 1: Grab starting ship food
- Tip 2: Slide down hills efficiently
- Tip 3: Watch sky for rupture warnings
- Tip 4: Drop items during ruptures
- Tip 5: Explore caves after ruptures
- Tip 6: Loot bases during enemy downtime
- Tip 7: Exit shelter early post-rupture
- Tip 8: Use F to deconstruct and scan
- Tip 9: Unlock and deploy building drone
- Tip 10: Interpret machine colors
- Tip 11: Reconfigure without fear
- Tip 12: Check base buildable space
- Tip 13: Safely relocate base cores
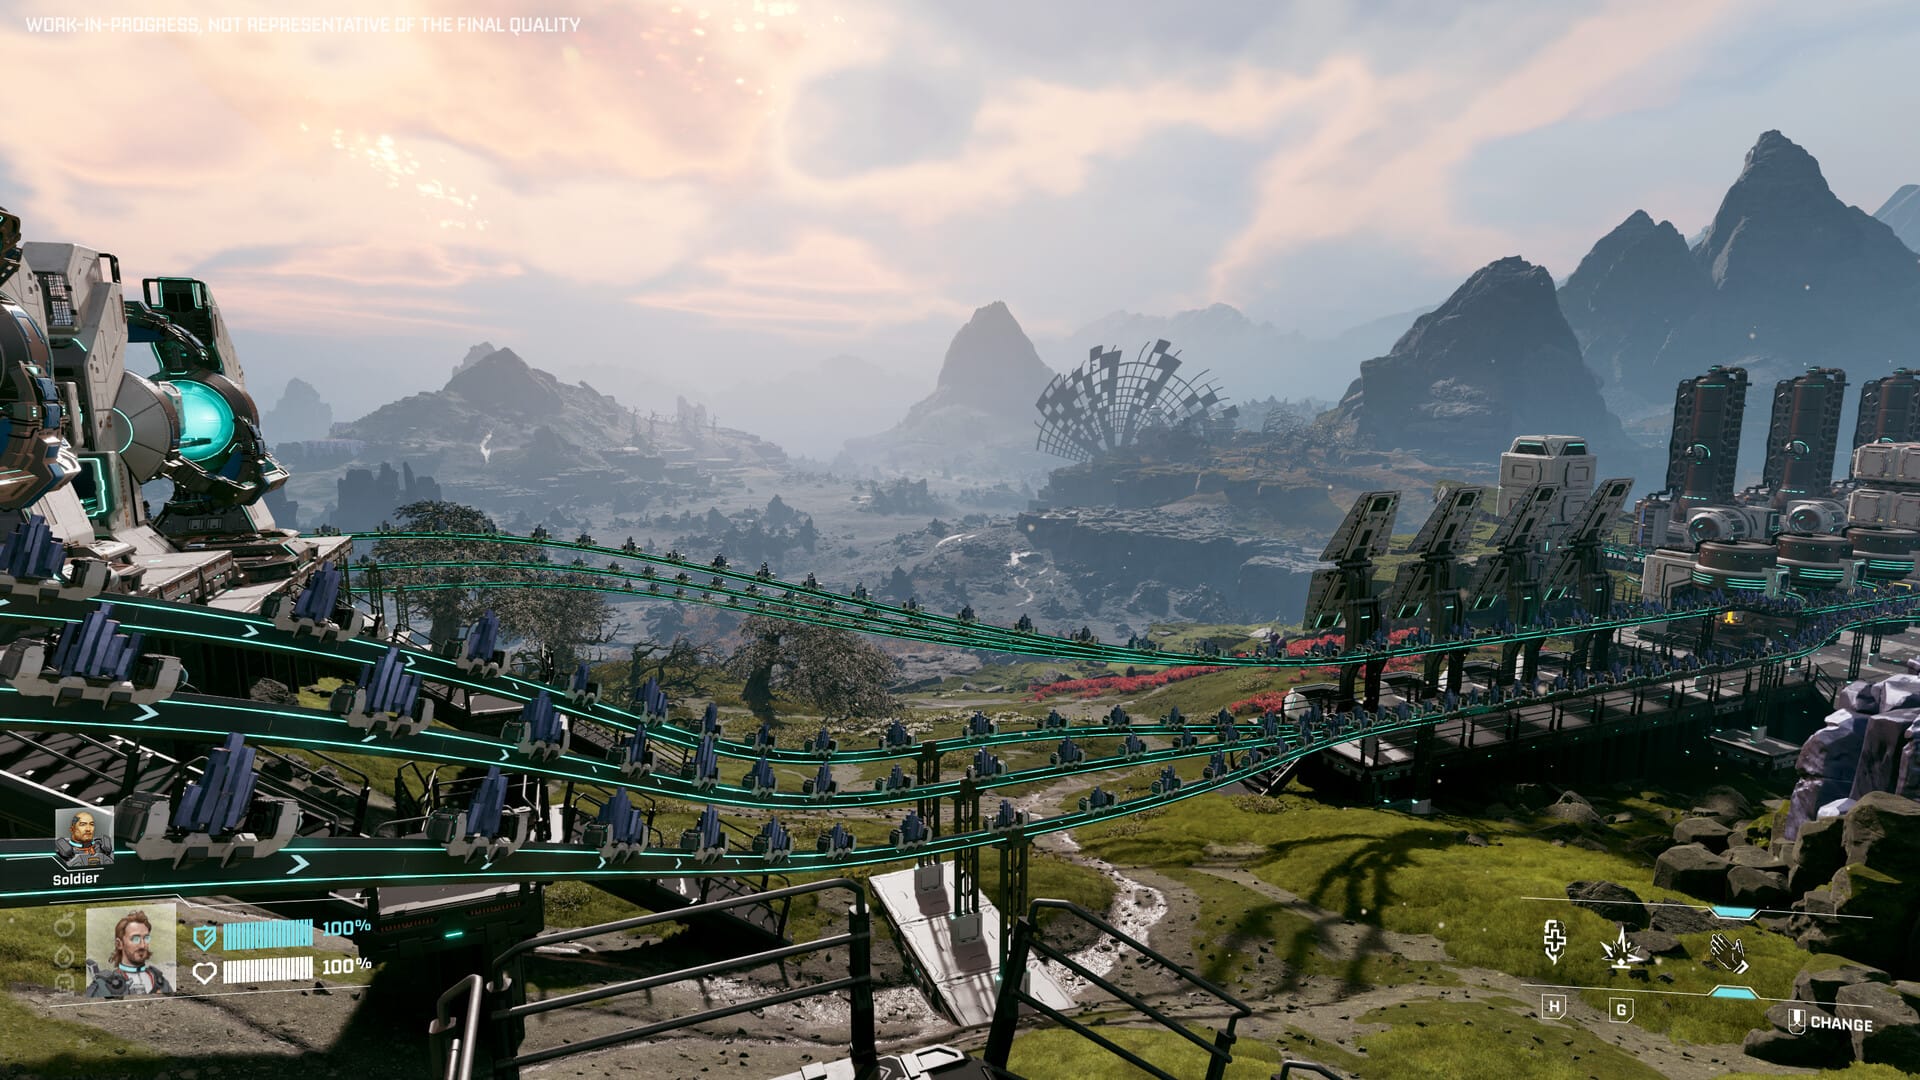
- Tip 14: Upgrade rails by snapping
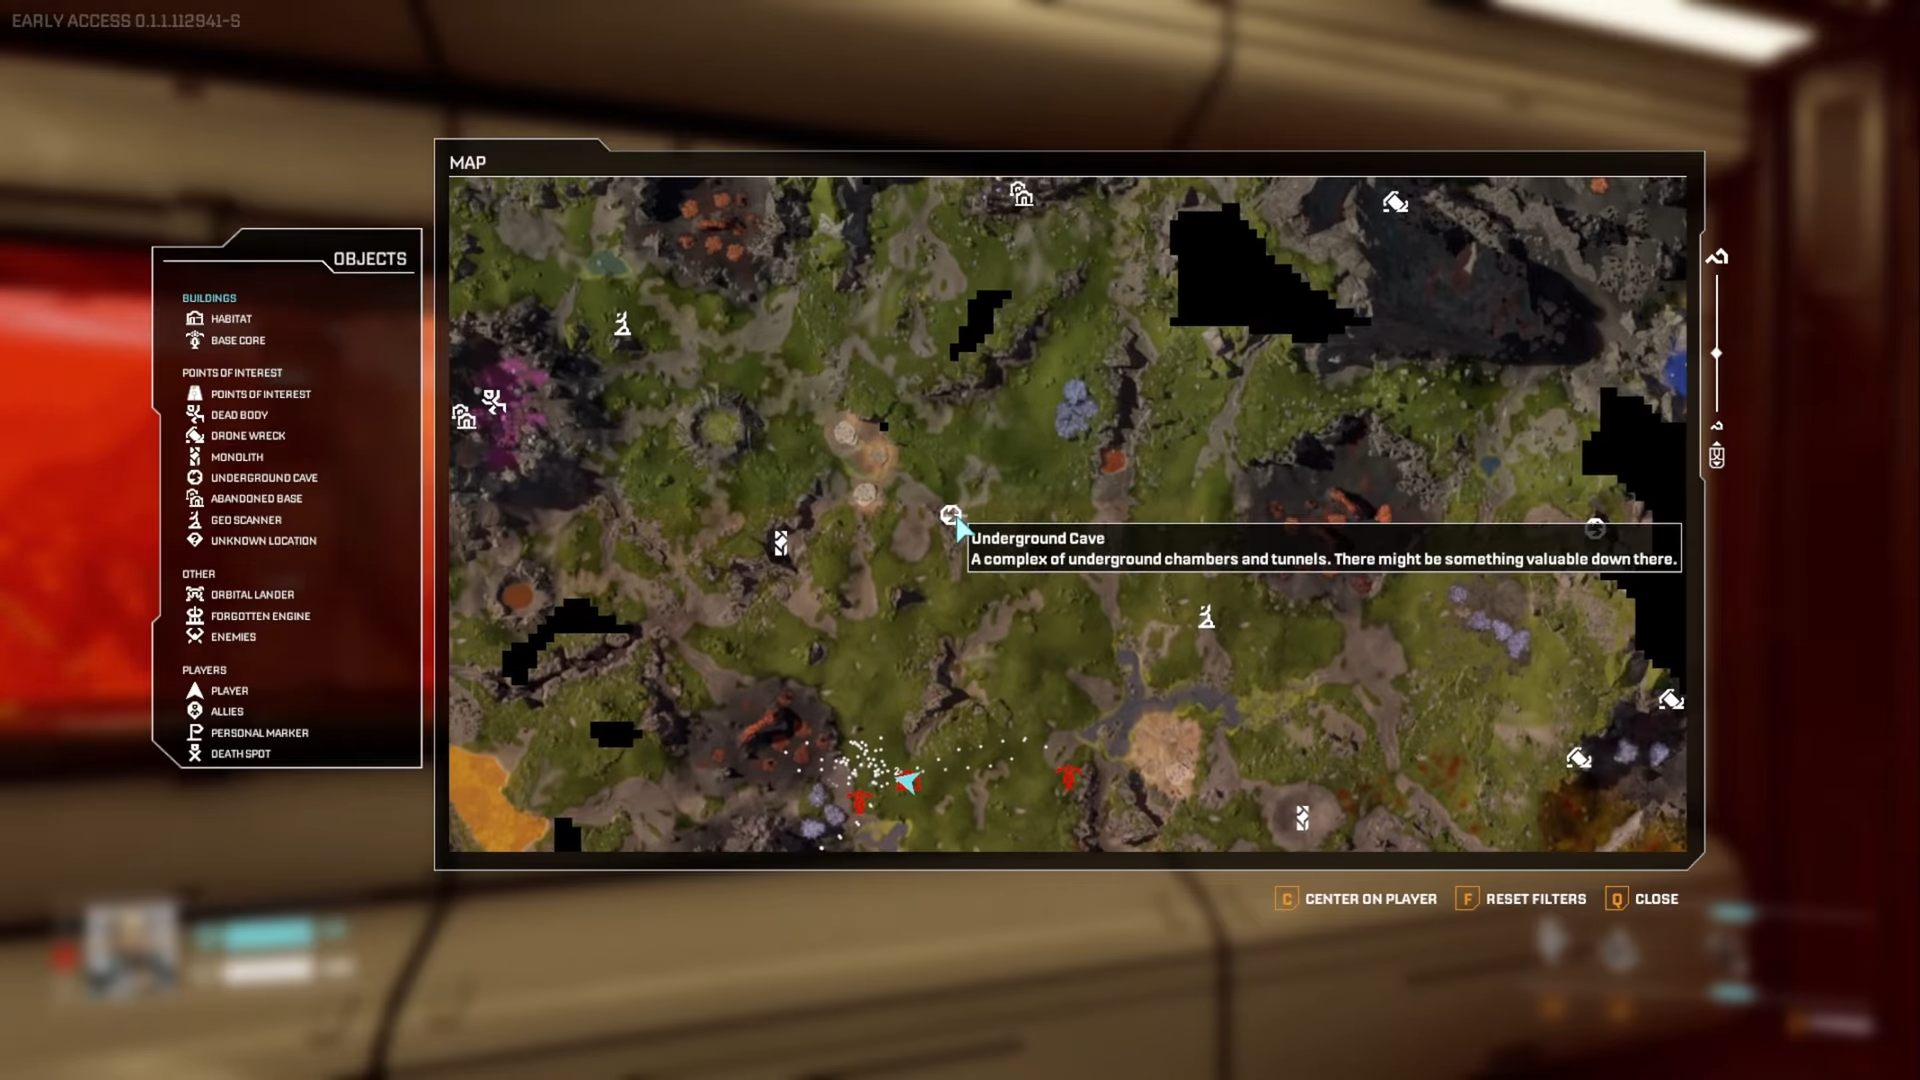
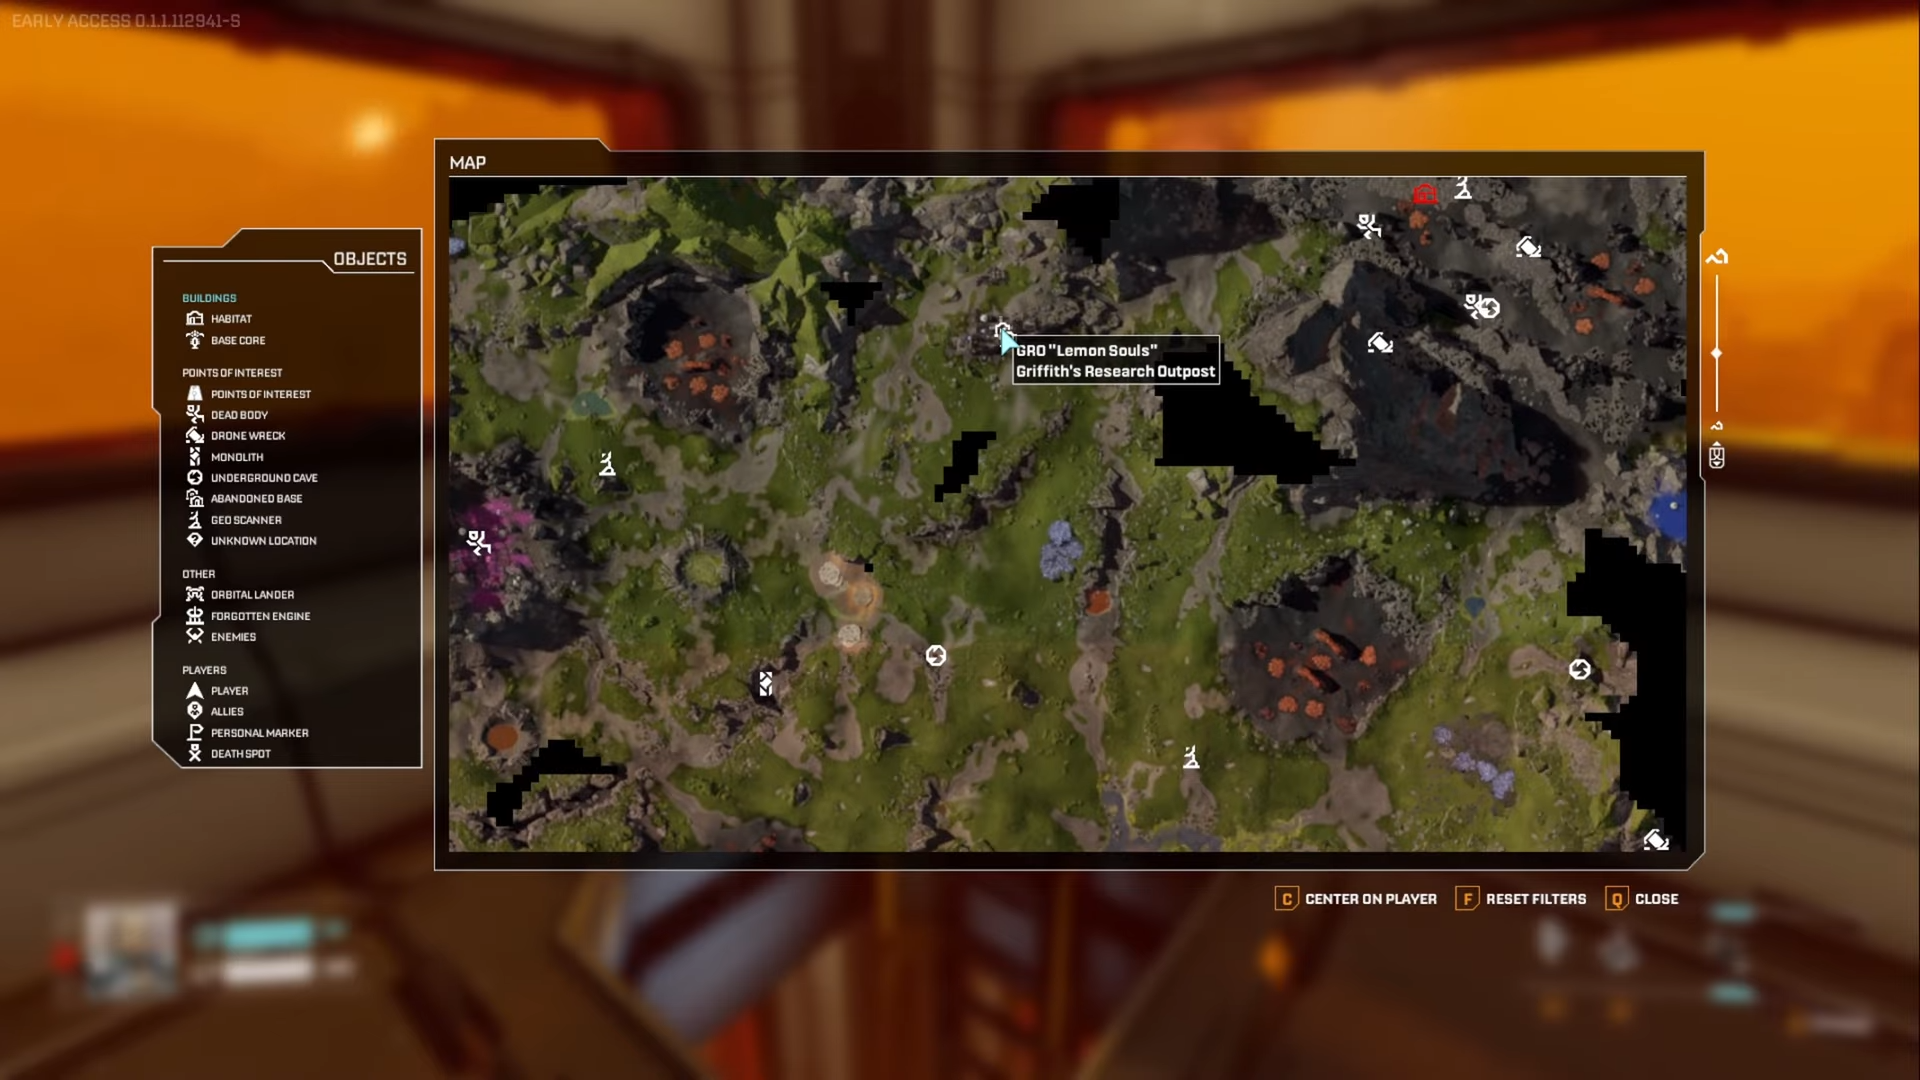
- Tip 15: Map radiation as borders
- Tip 16: Recharge throwables/heals
- Tip 17: Optimal starting resource clusters
- Tip 18: Fall forgivingly with double-jump
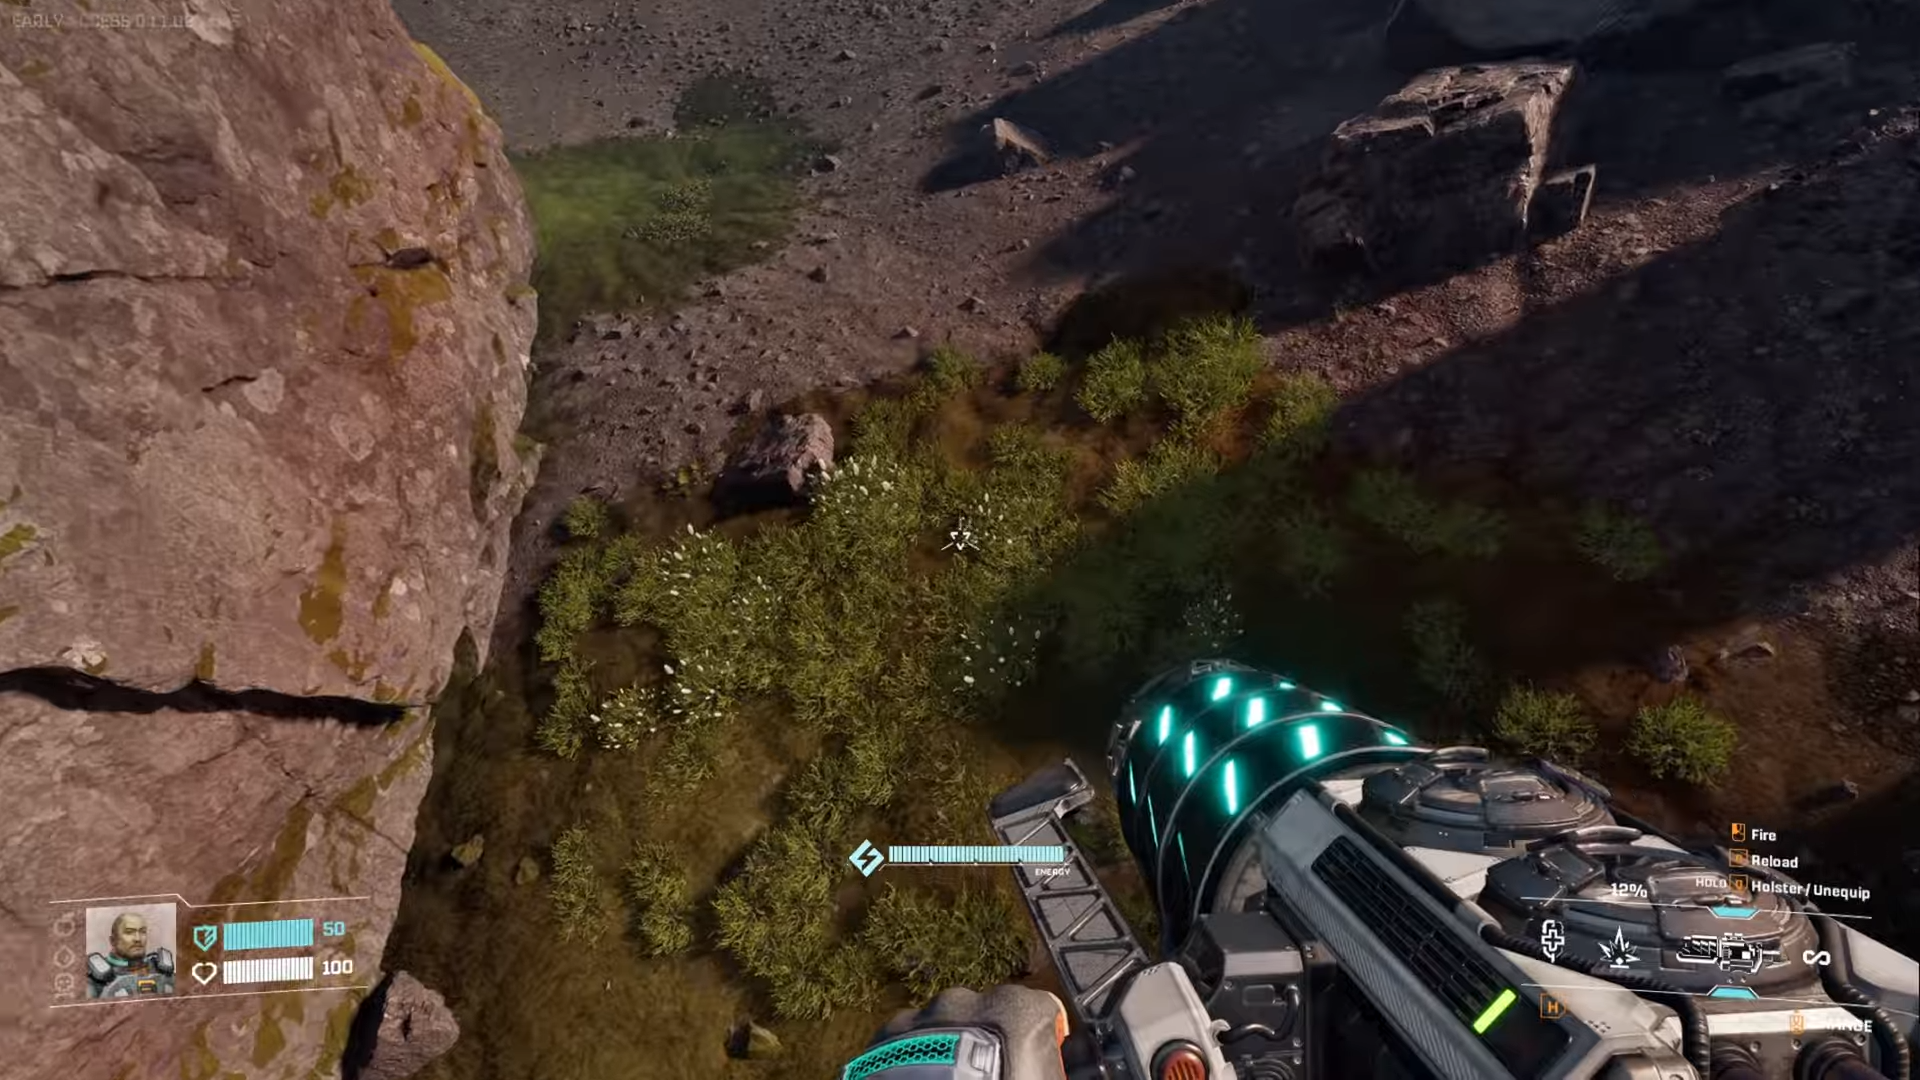
- Tip 19: Outrun and mine enemies
- Tip 20: Favorite build items
Tip 1: Grab starting ship food
Check your lander immediately—food stocks keep hunger at bay early, buying time for foraging Polifruit/Hydrobulbs (zero toxicity).
Tip 2: Slide down hills efficiently
Hold Ctrl while sprinting to slide slopes, regaining energy instead of draining it. Great for quick traversal without sprint cooldowns.
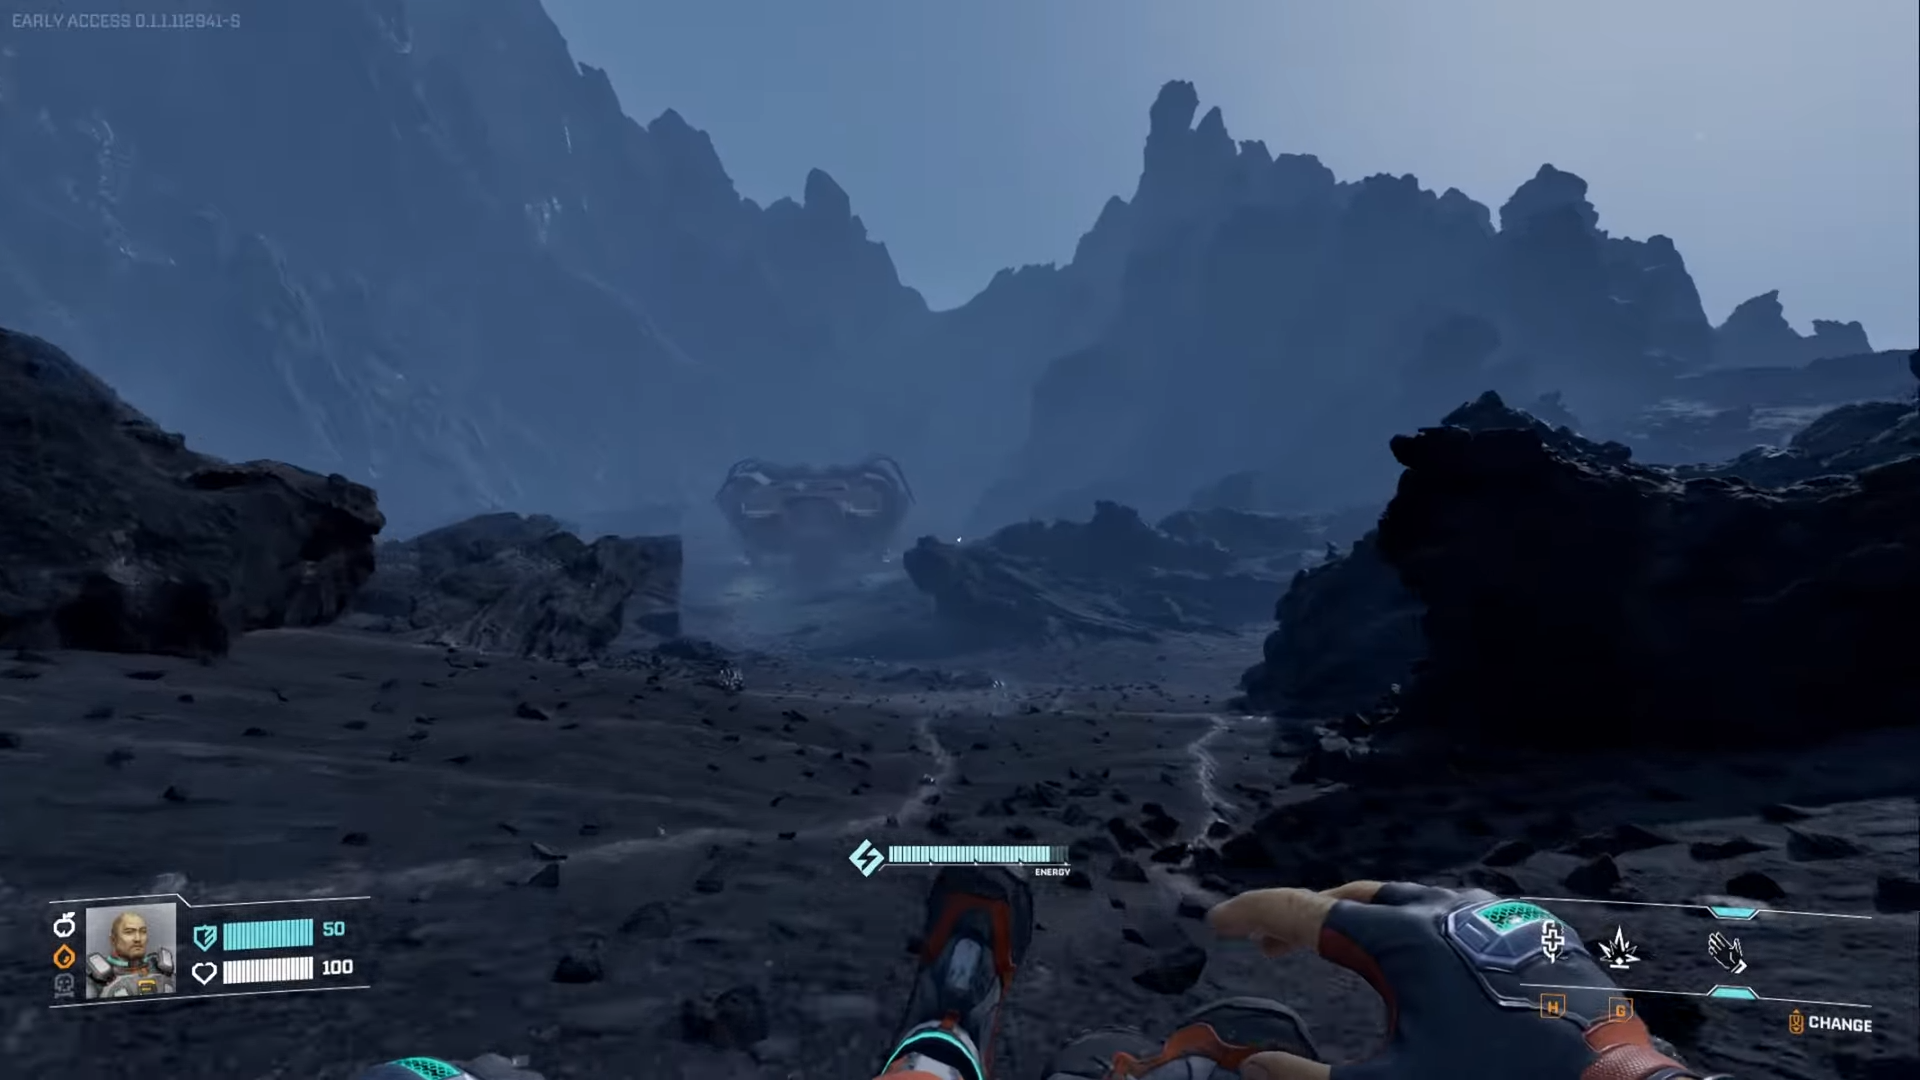
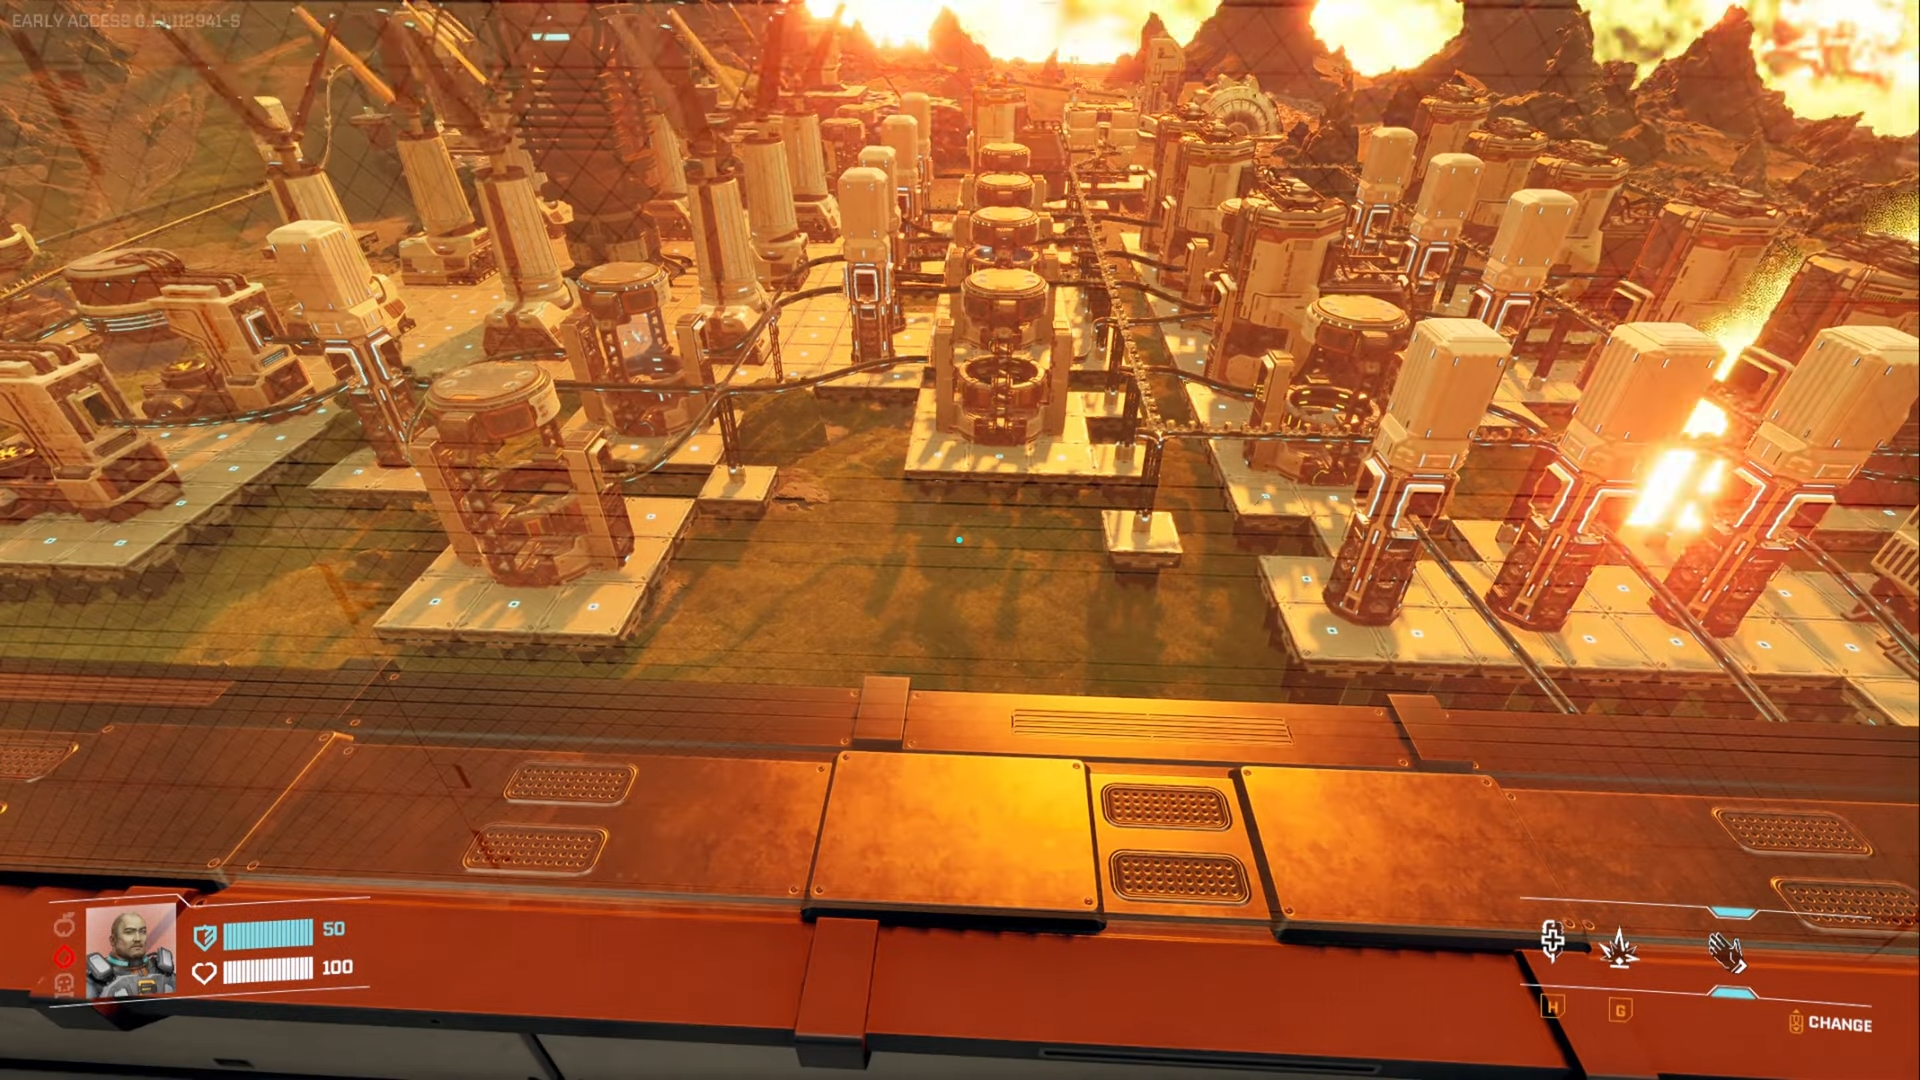
Tip 3: Watch sky for rupture warnings
Orange skies, swirling clouds precede alerts—plan trips accordingly to avoid getting caught out.
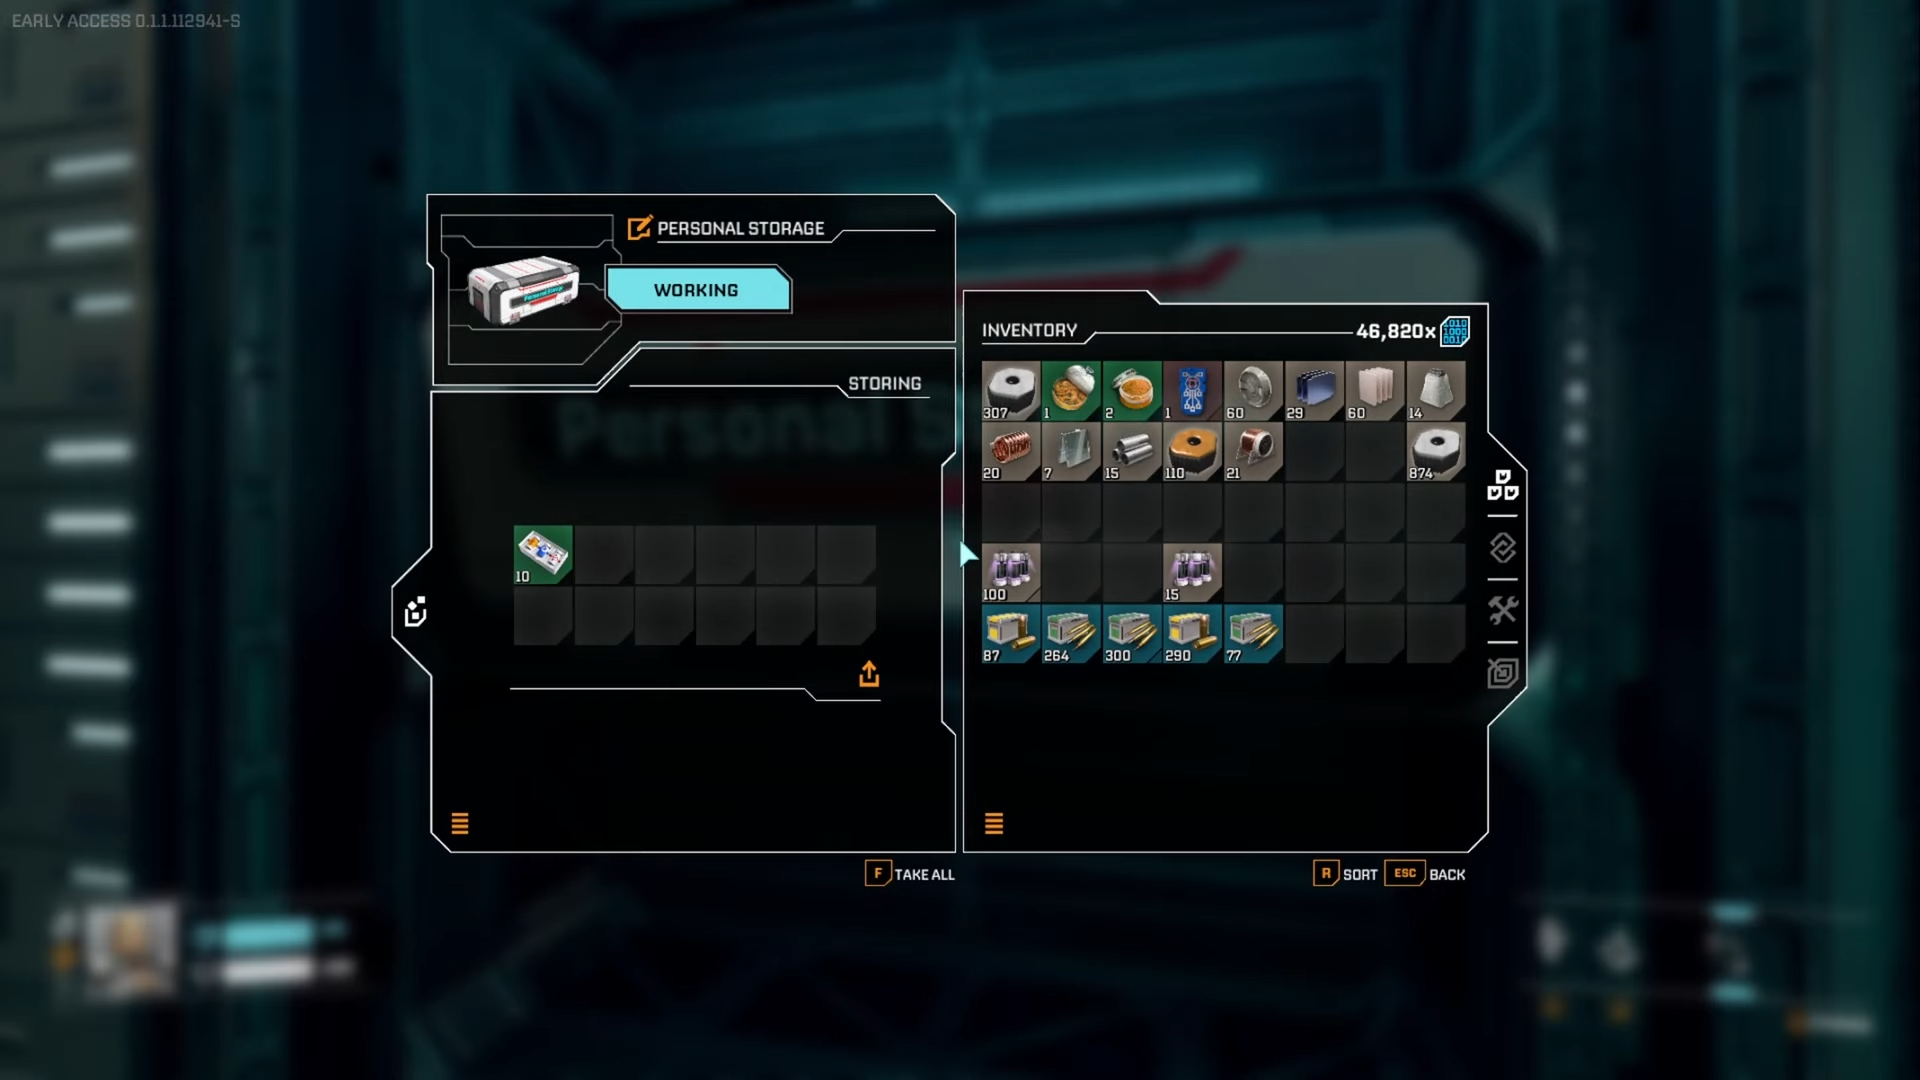
Tip 4: Drop items during ruptures
Toss unwanted inventory on ground; incineration cleans it without menus. Only reliable trash method.
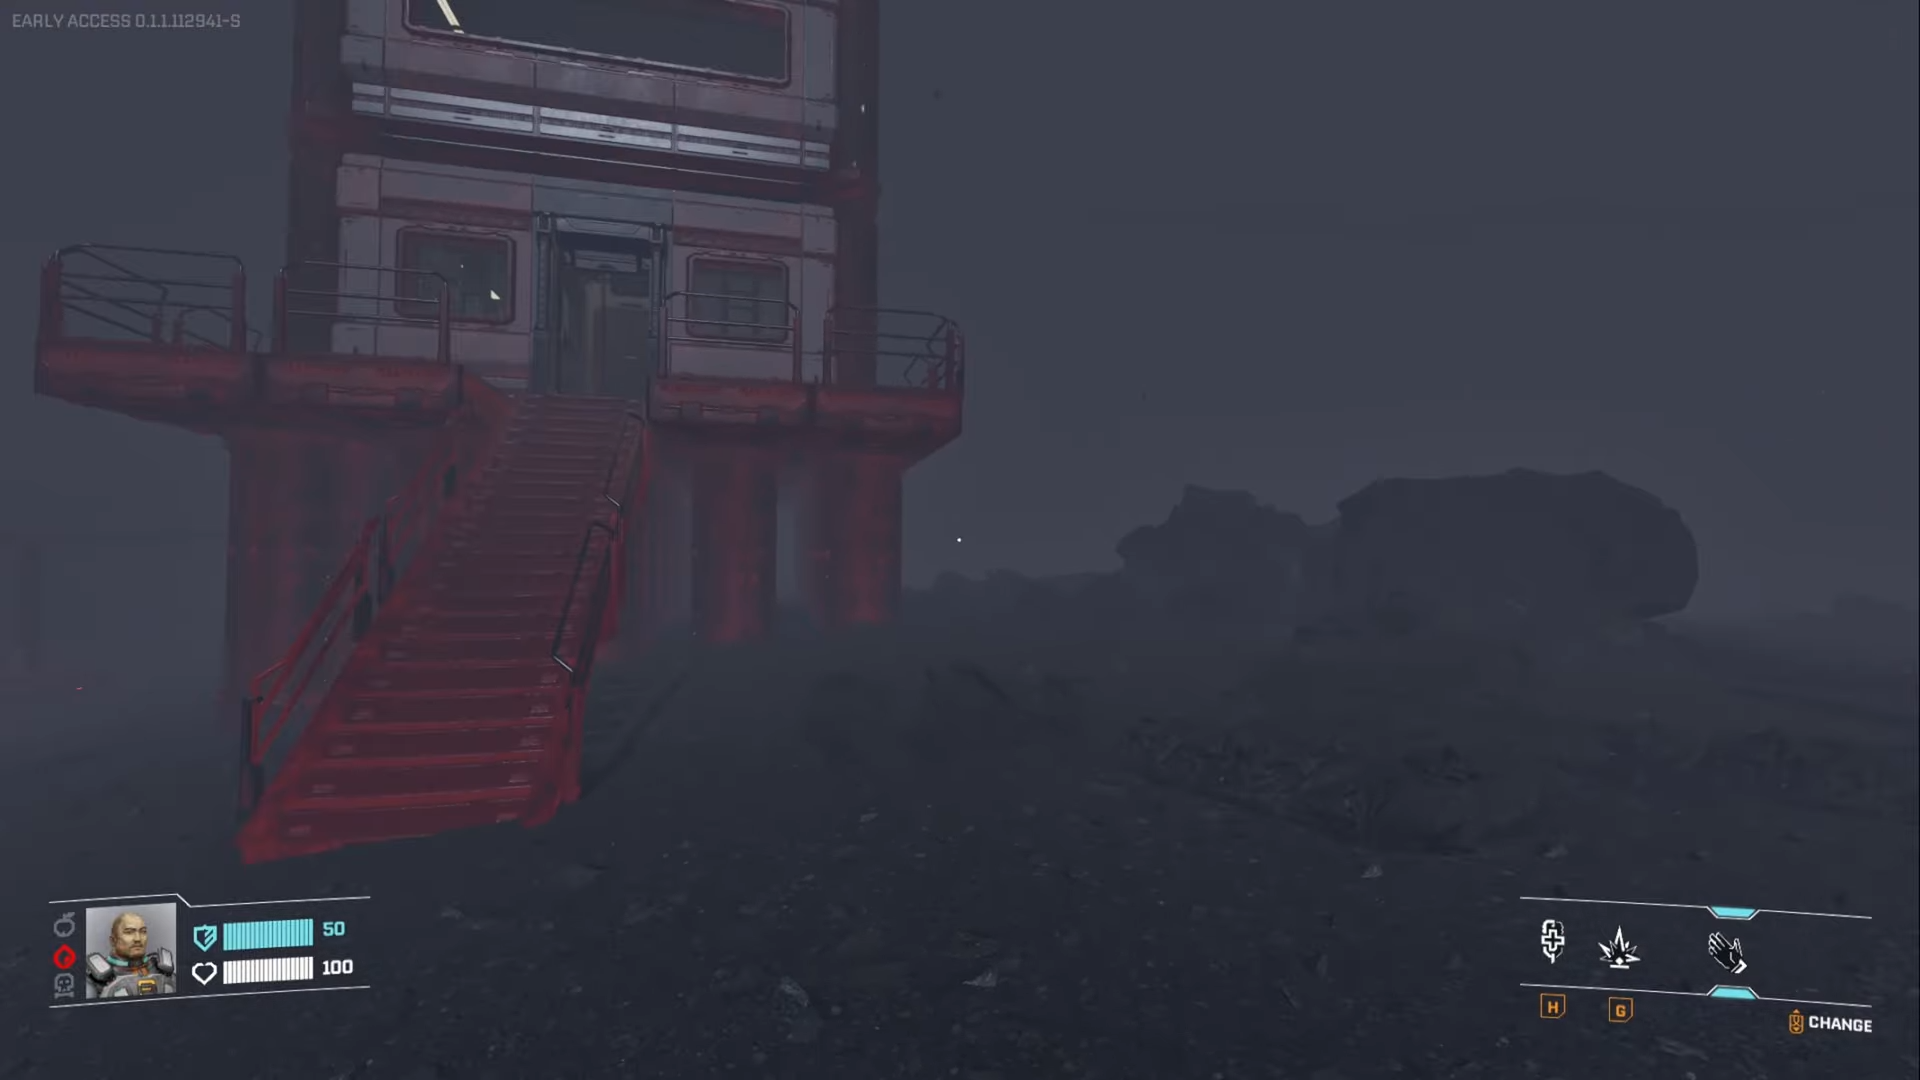
Tip 5: Explore caves after ruptures
Entrances unlock post-wave; loot safely as enemies vanish 10-15 minutes. Prime for rare materials like Ignitium.
Tip 6: Loot bases during enemy downtime
Hit houses for blueprints before respawns—post-rupture window (for 10 minutes after the rupture) is key.
Tip 7: Exit shelter early post-rupture
Peek when slightly yellow; experiment—rush back if health drops fast.
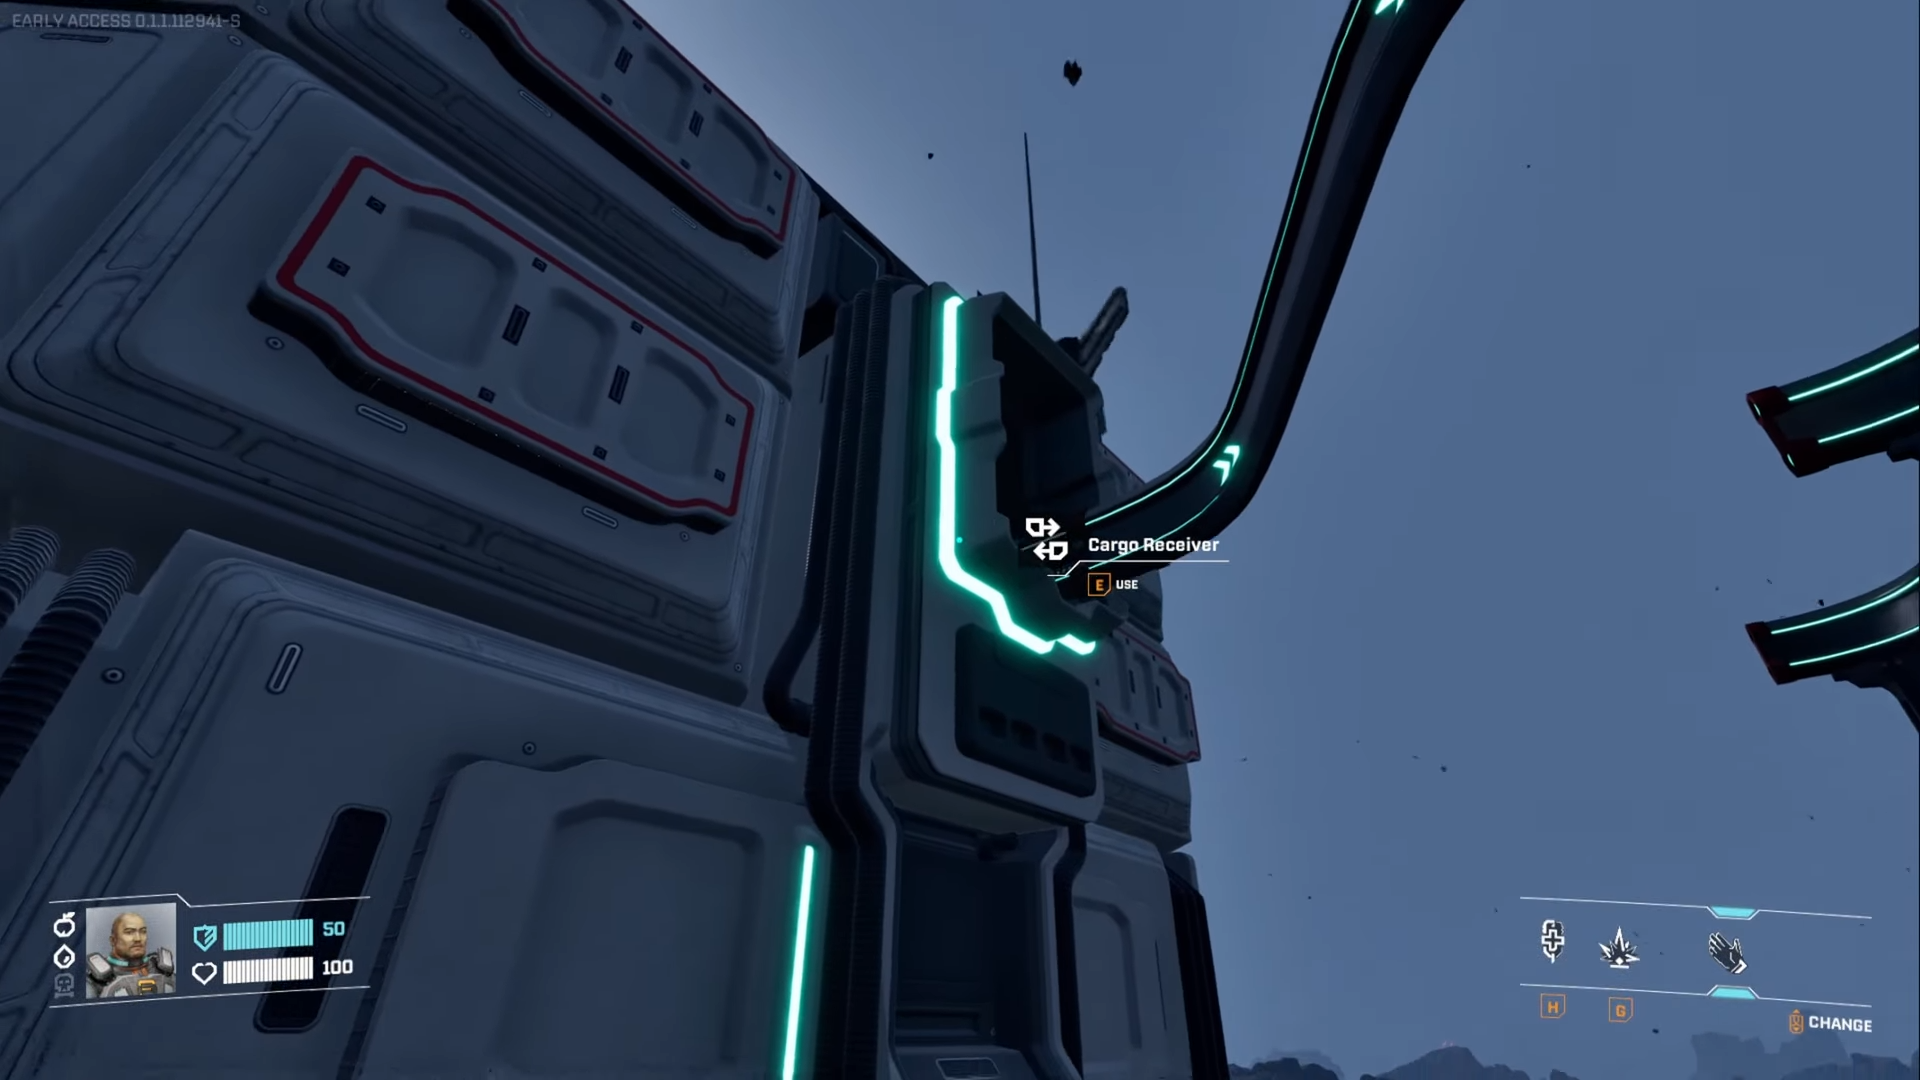
Tip 8: Use F to deconstruct and scan
Hold F breaks builds, reveals hidden mining nodes (Helium-3 shines).
Tip 9: Unlock and deploy building drone
Clever Robotics Lv4; in build mode, select item + C for grid-snapped flying cam.
Step 1: Enter drone
B build, item select, C activate; Space up, Ctrl down.
Step 2: Precision tools
Y locks height, Ctrl vertical snap, X aligns nearby.
Step 3: F remove, R favorite
Streamline repeats like furnaces/rails.
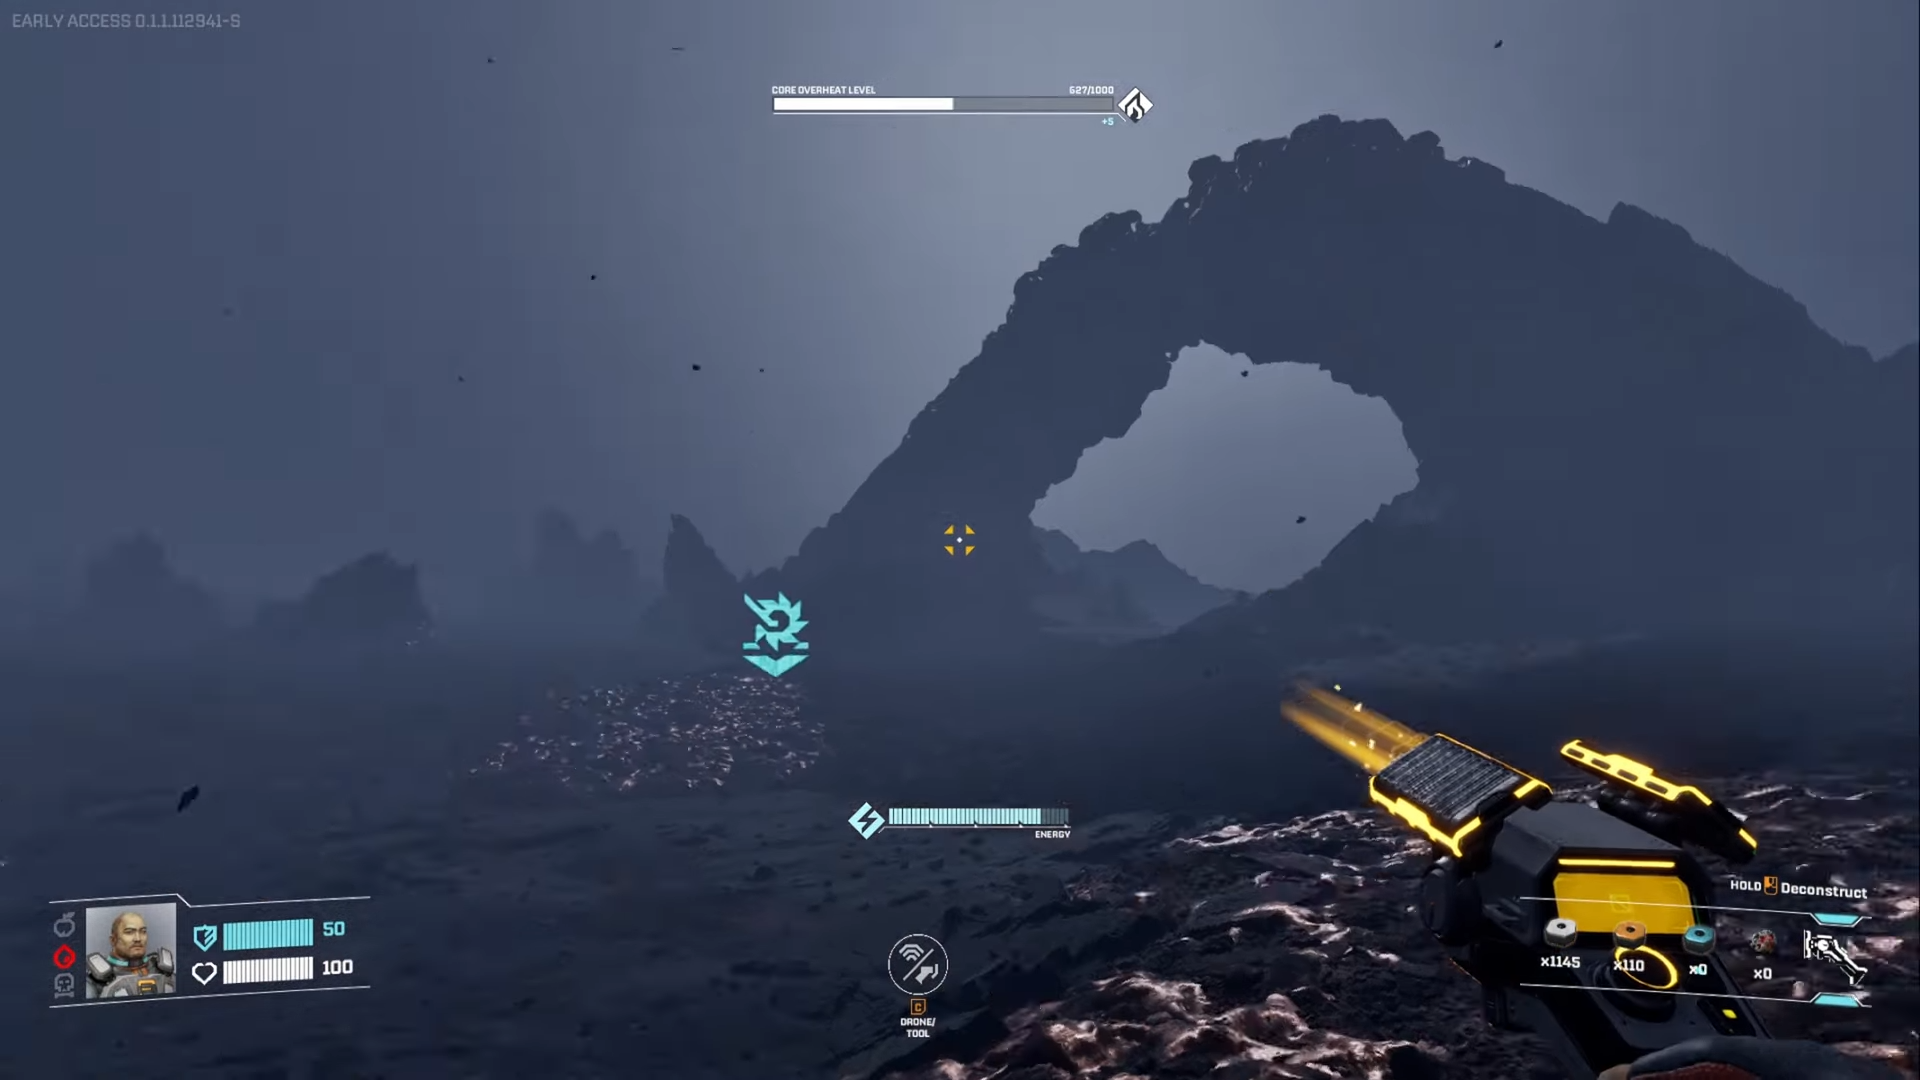
Tip 10: Interpret machine colors
Colors mean different things:
- Green: flowing
- Yellow: jammed/full/missing inputs
- Red: powerless.
Tip 11: Reconfigure without fear
Expect constant tweaks; leave space for growth.
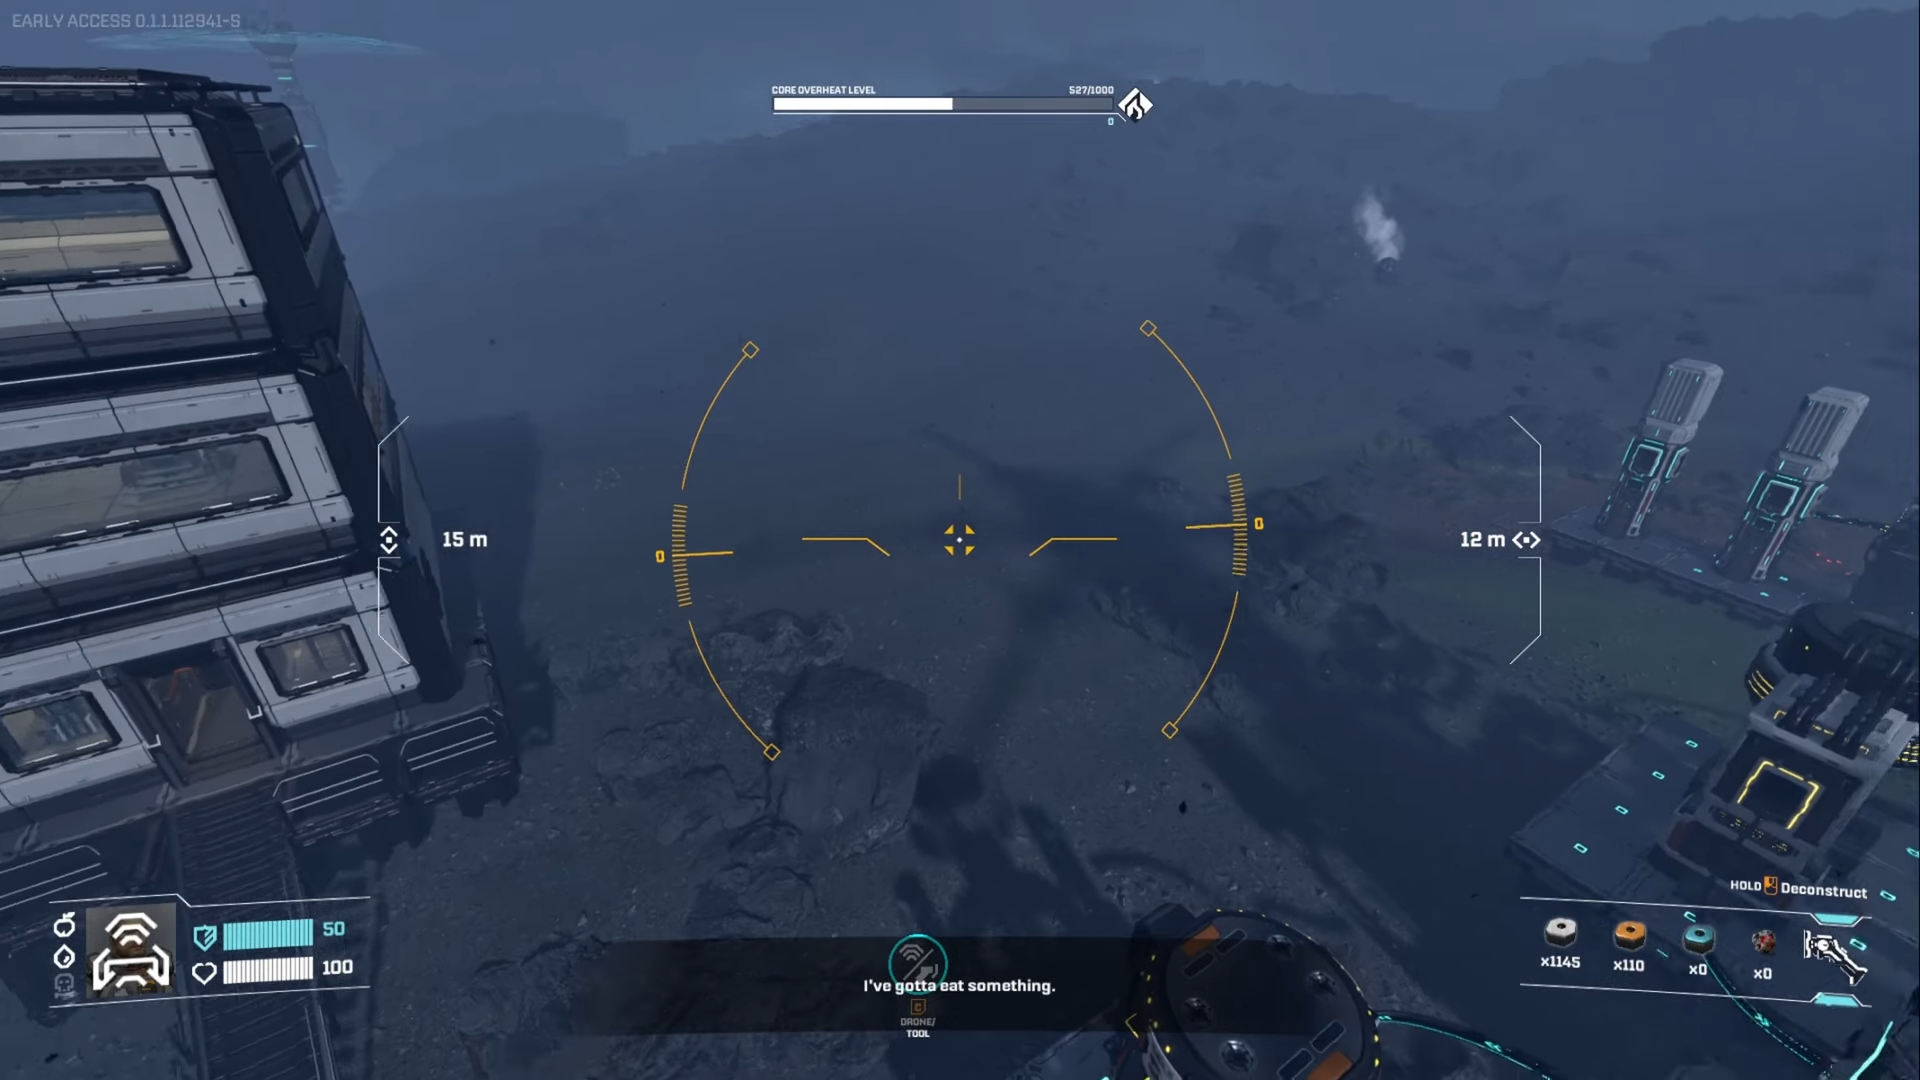
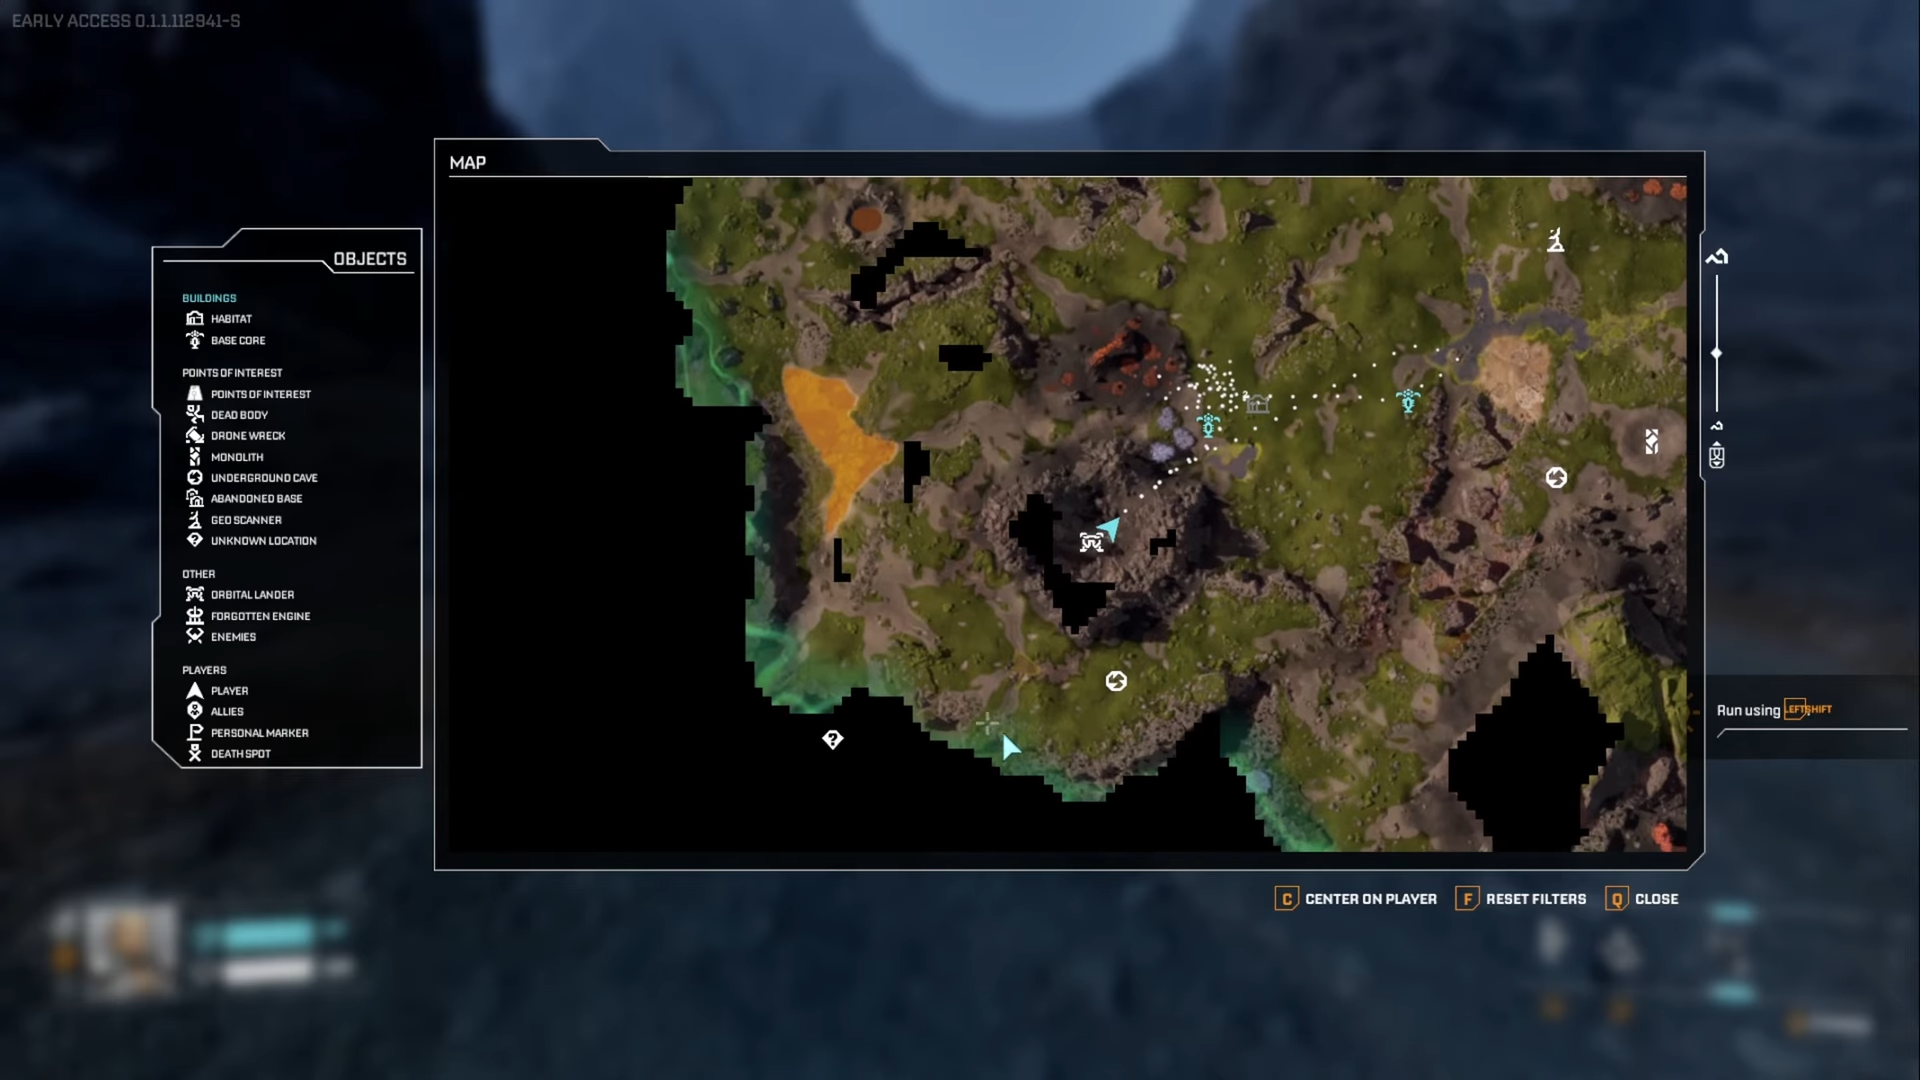
Tip 12: Check base buildable space
Drone + core select + Space zoom-out shows gray area—expand with linked cores.
Tip 13: Safely relocate base cores
F deconstruct powers down (no loss); move, reconnect reactivates.
Tip 14: Upgrade rails by snapping
Place v2+ over old—no delete needed.
Tip 15: Map radiation as borders
Early access limits: treat glowing edges as impassable.
Tip 16: Recharge throwables/heals
Grenades from meteors and enemies; heals from bio/plants/kills.
Tip 17: Optimal starting resource clusters
Near calcium/iron/copper/helium hubs—multi-cores cover all.
Tip 18: Fall forgivingly with double-jump
Damage is already low with long falls. But you can last-second jump to zero health loss.
Tip 19: Outrun and mine enemies
Outpace foes – you’re faster than them. Shoot while fleeing, reload, repeat.
Tip 20: Favorite build items
R on rails/furnace etc.; quick access skips menus.
Apply these 20 tips to chain commissions (e.g., Moon Energy Lv3 map, Griffits Lv2 pistol), automate rails, and explore freely.


