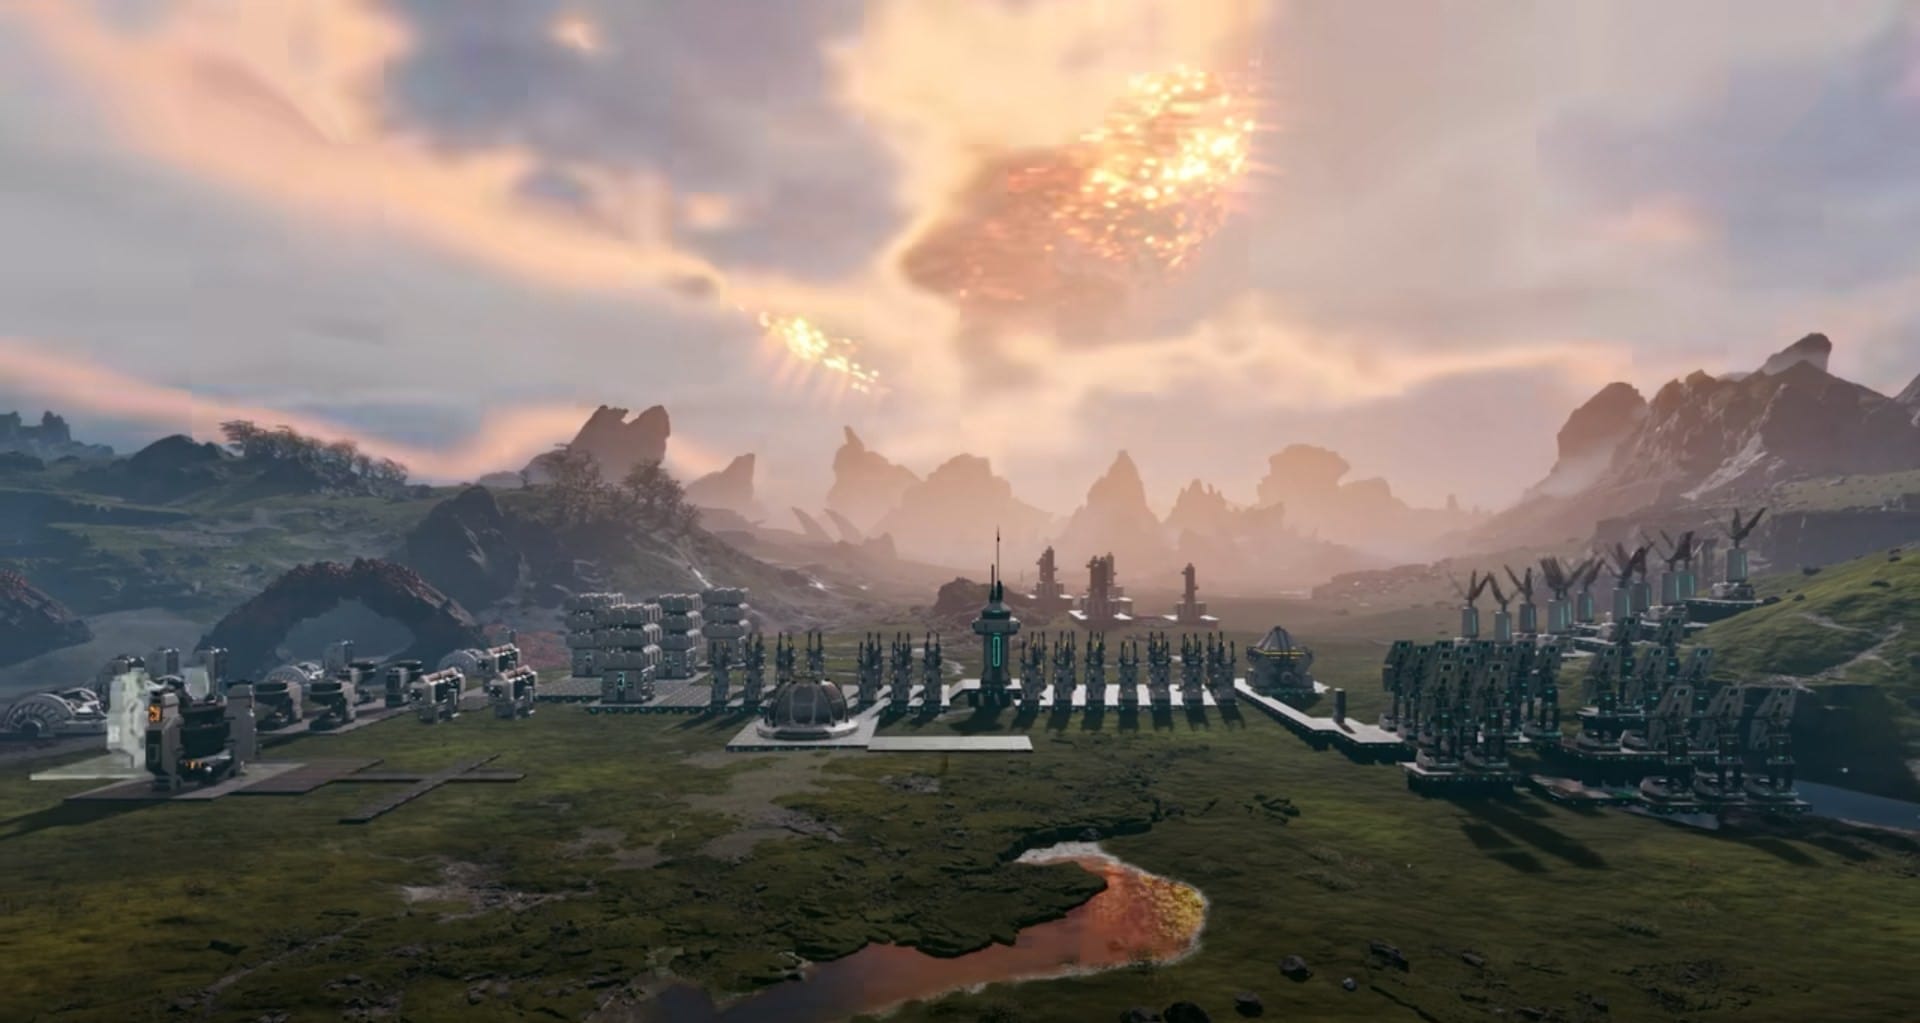
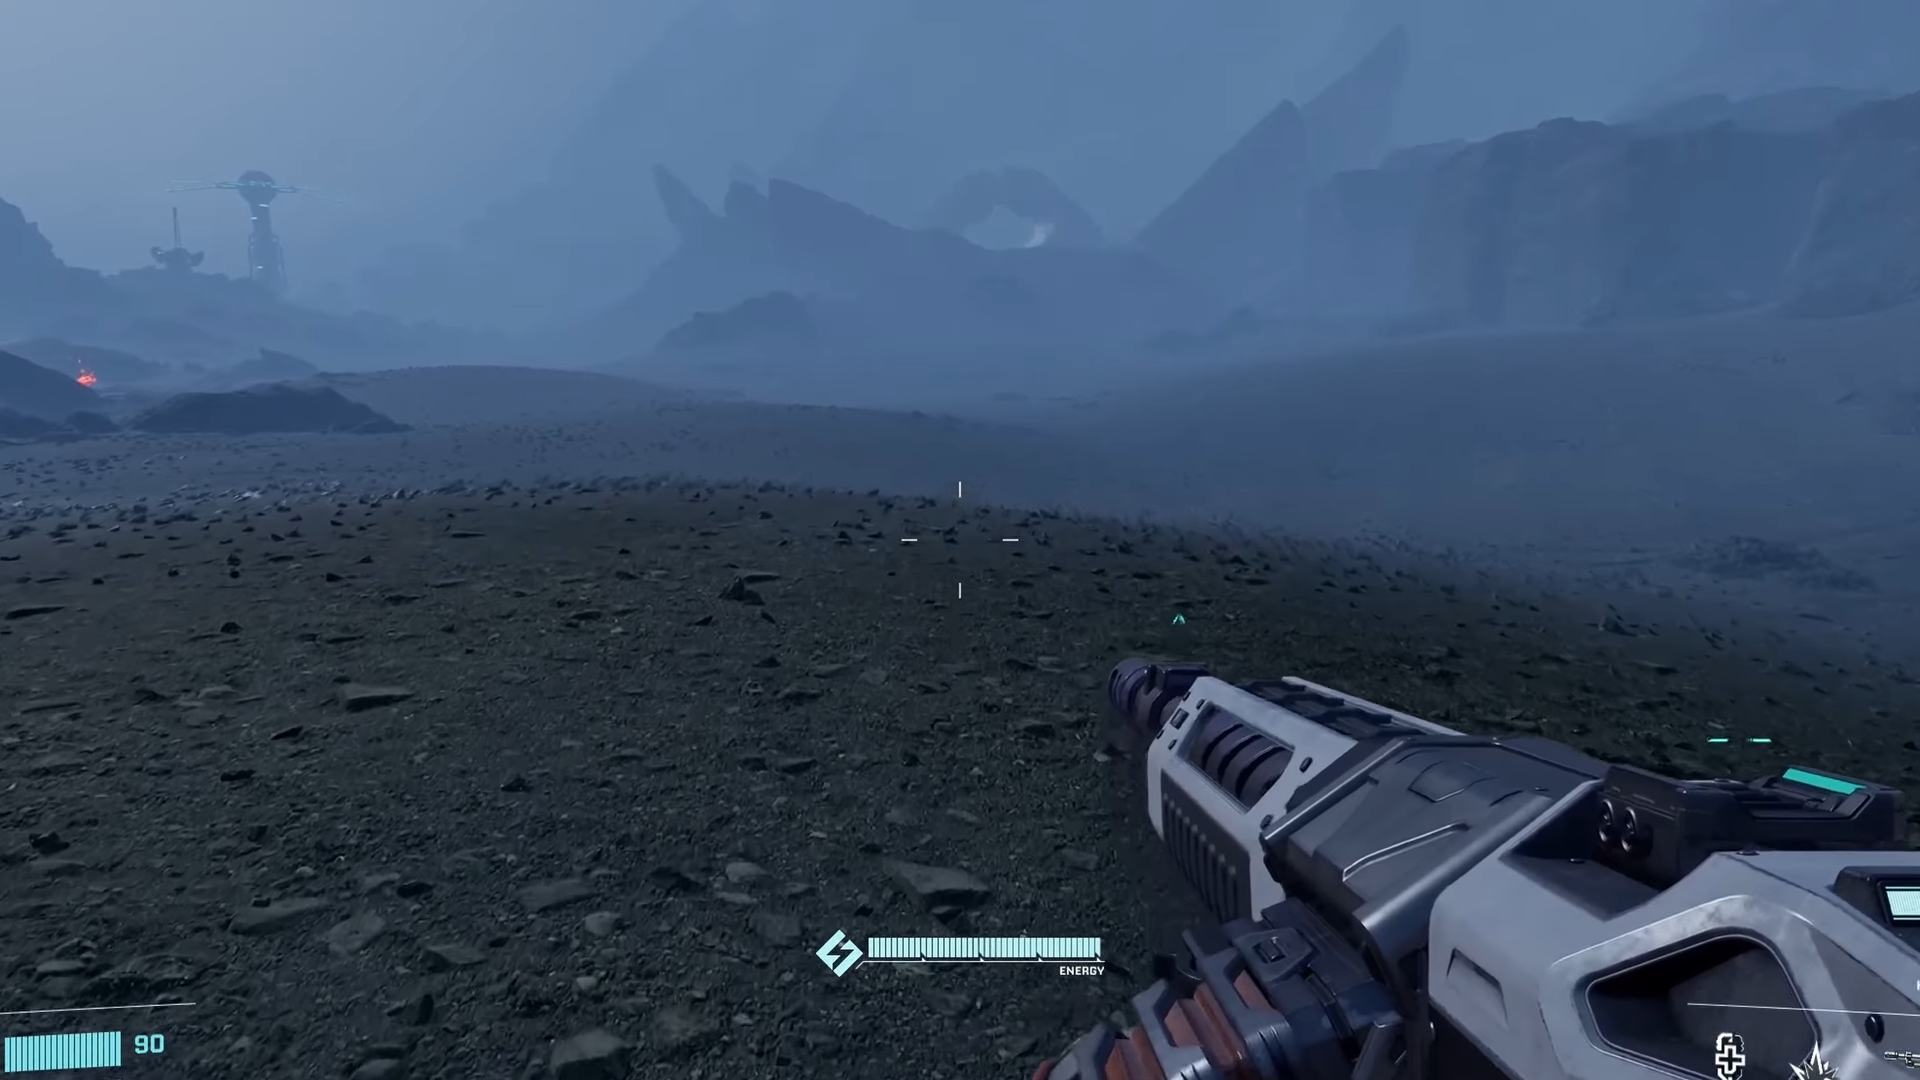
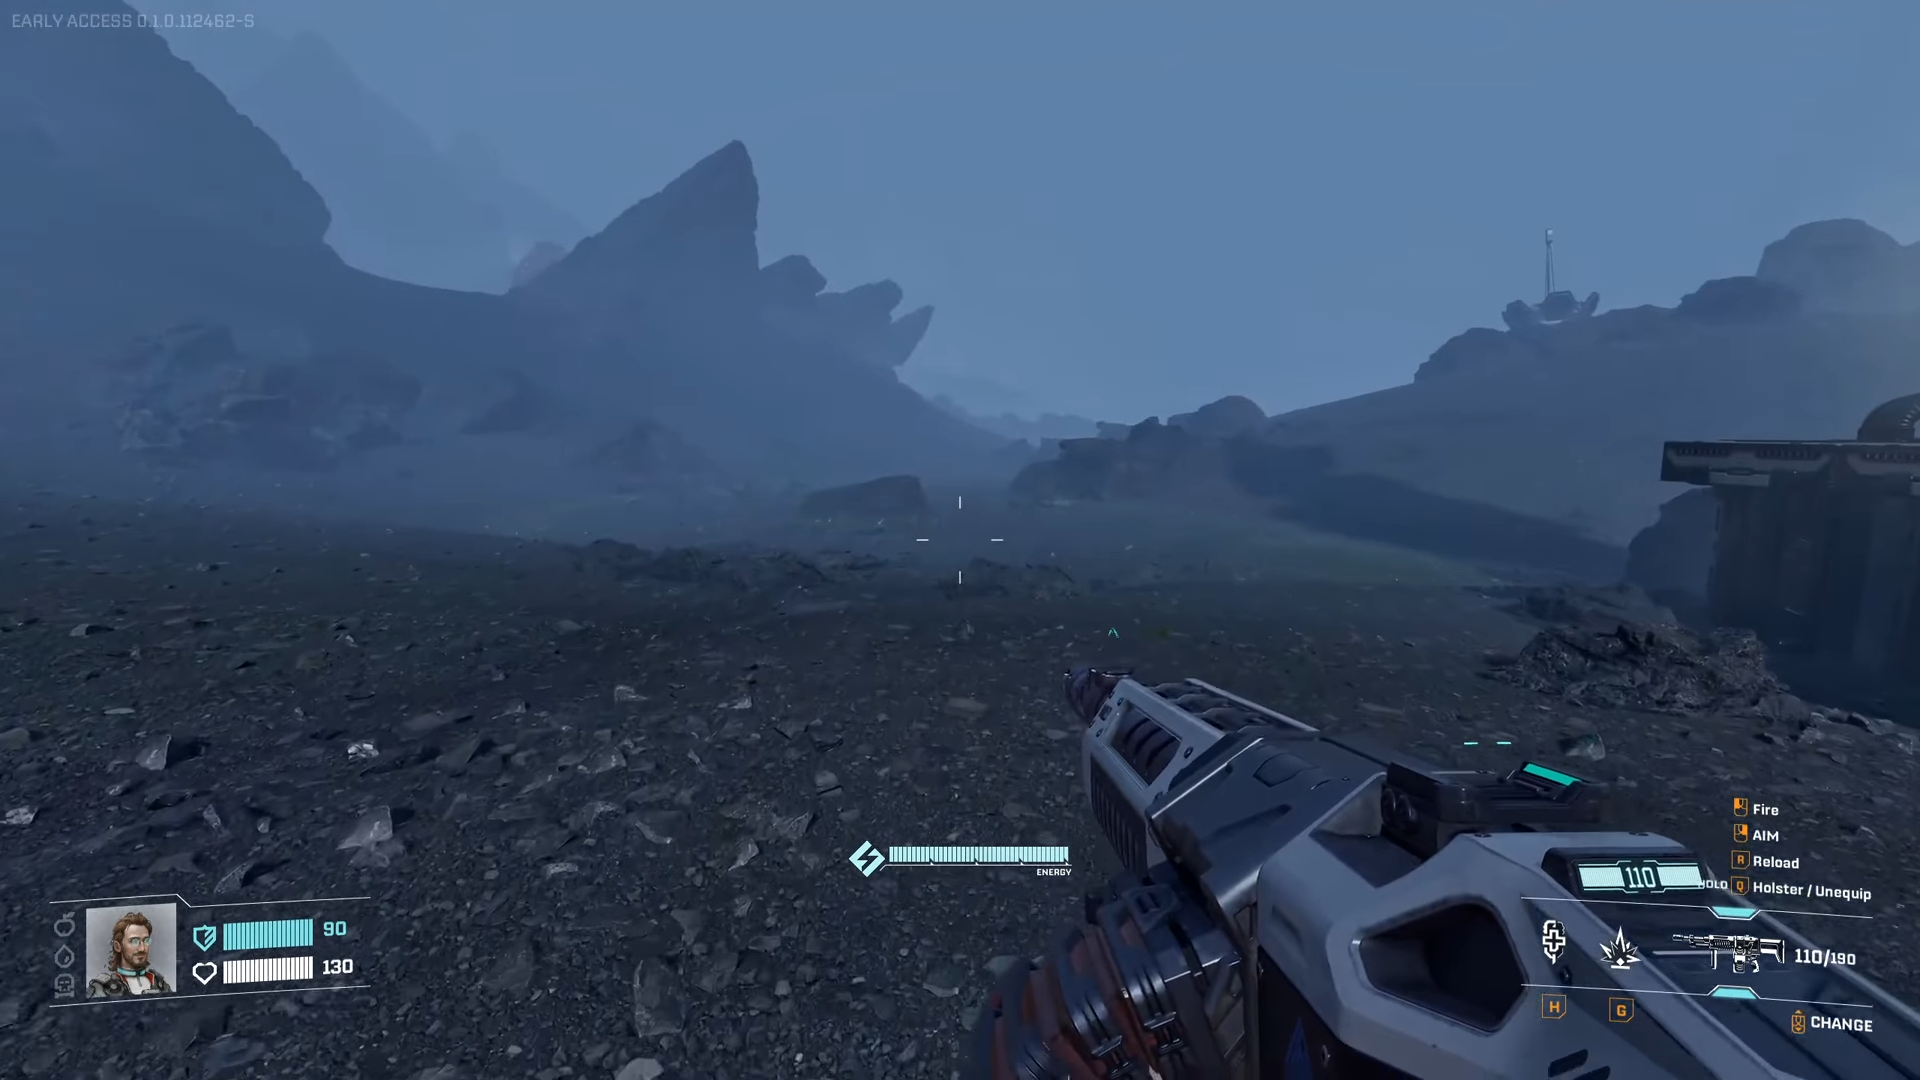
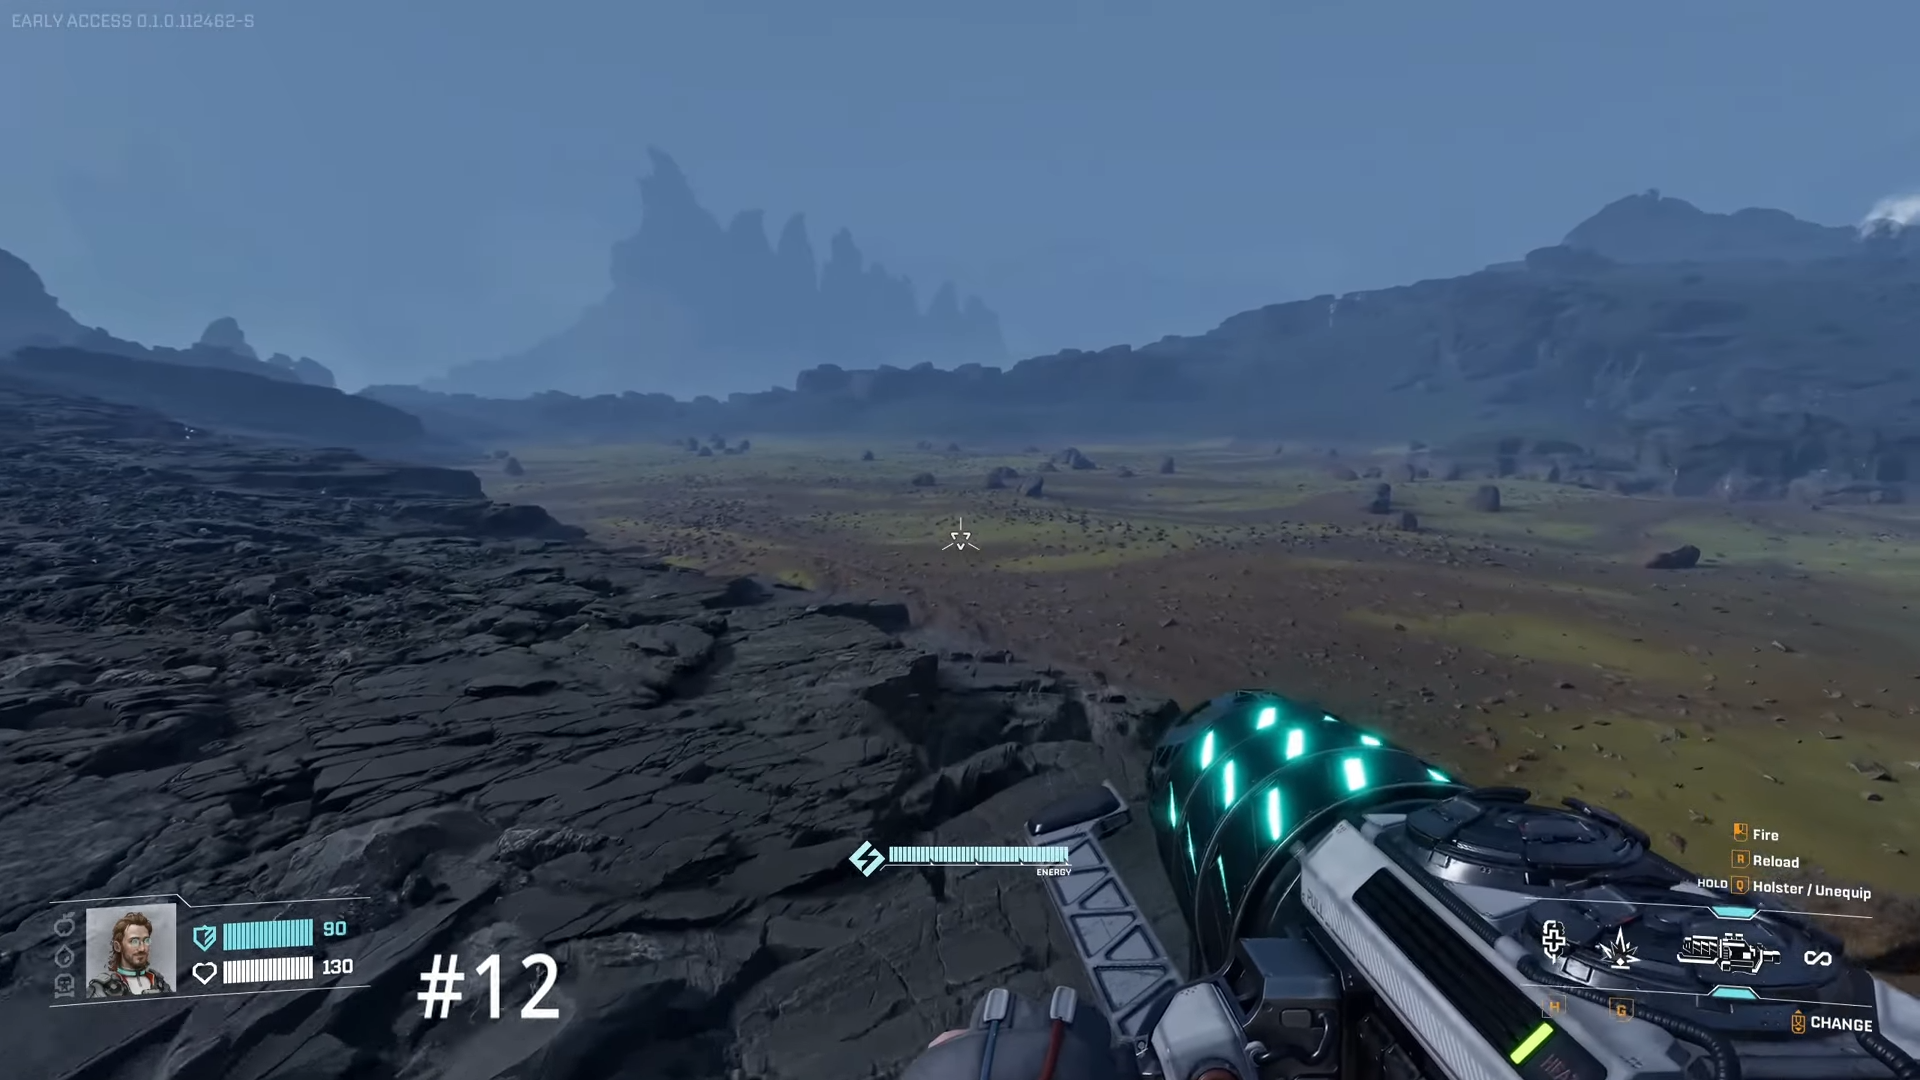
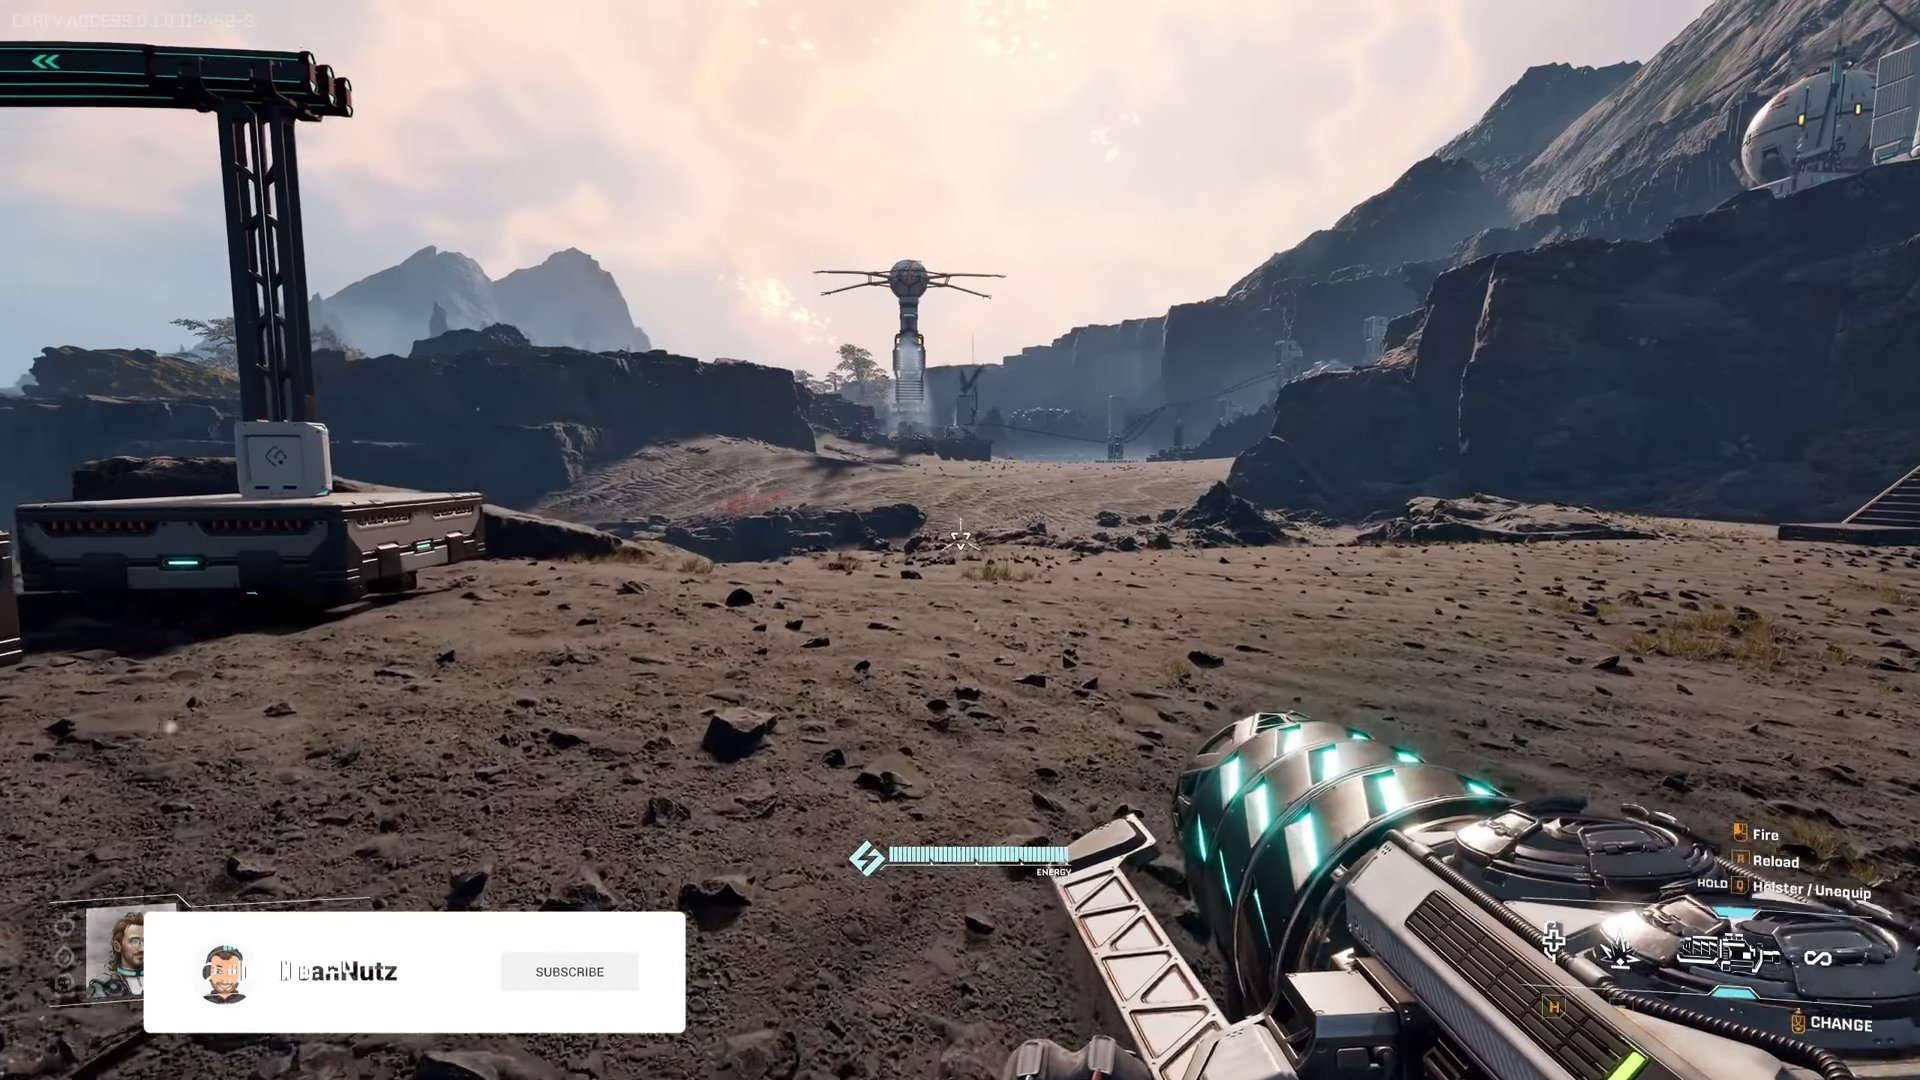
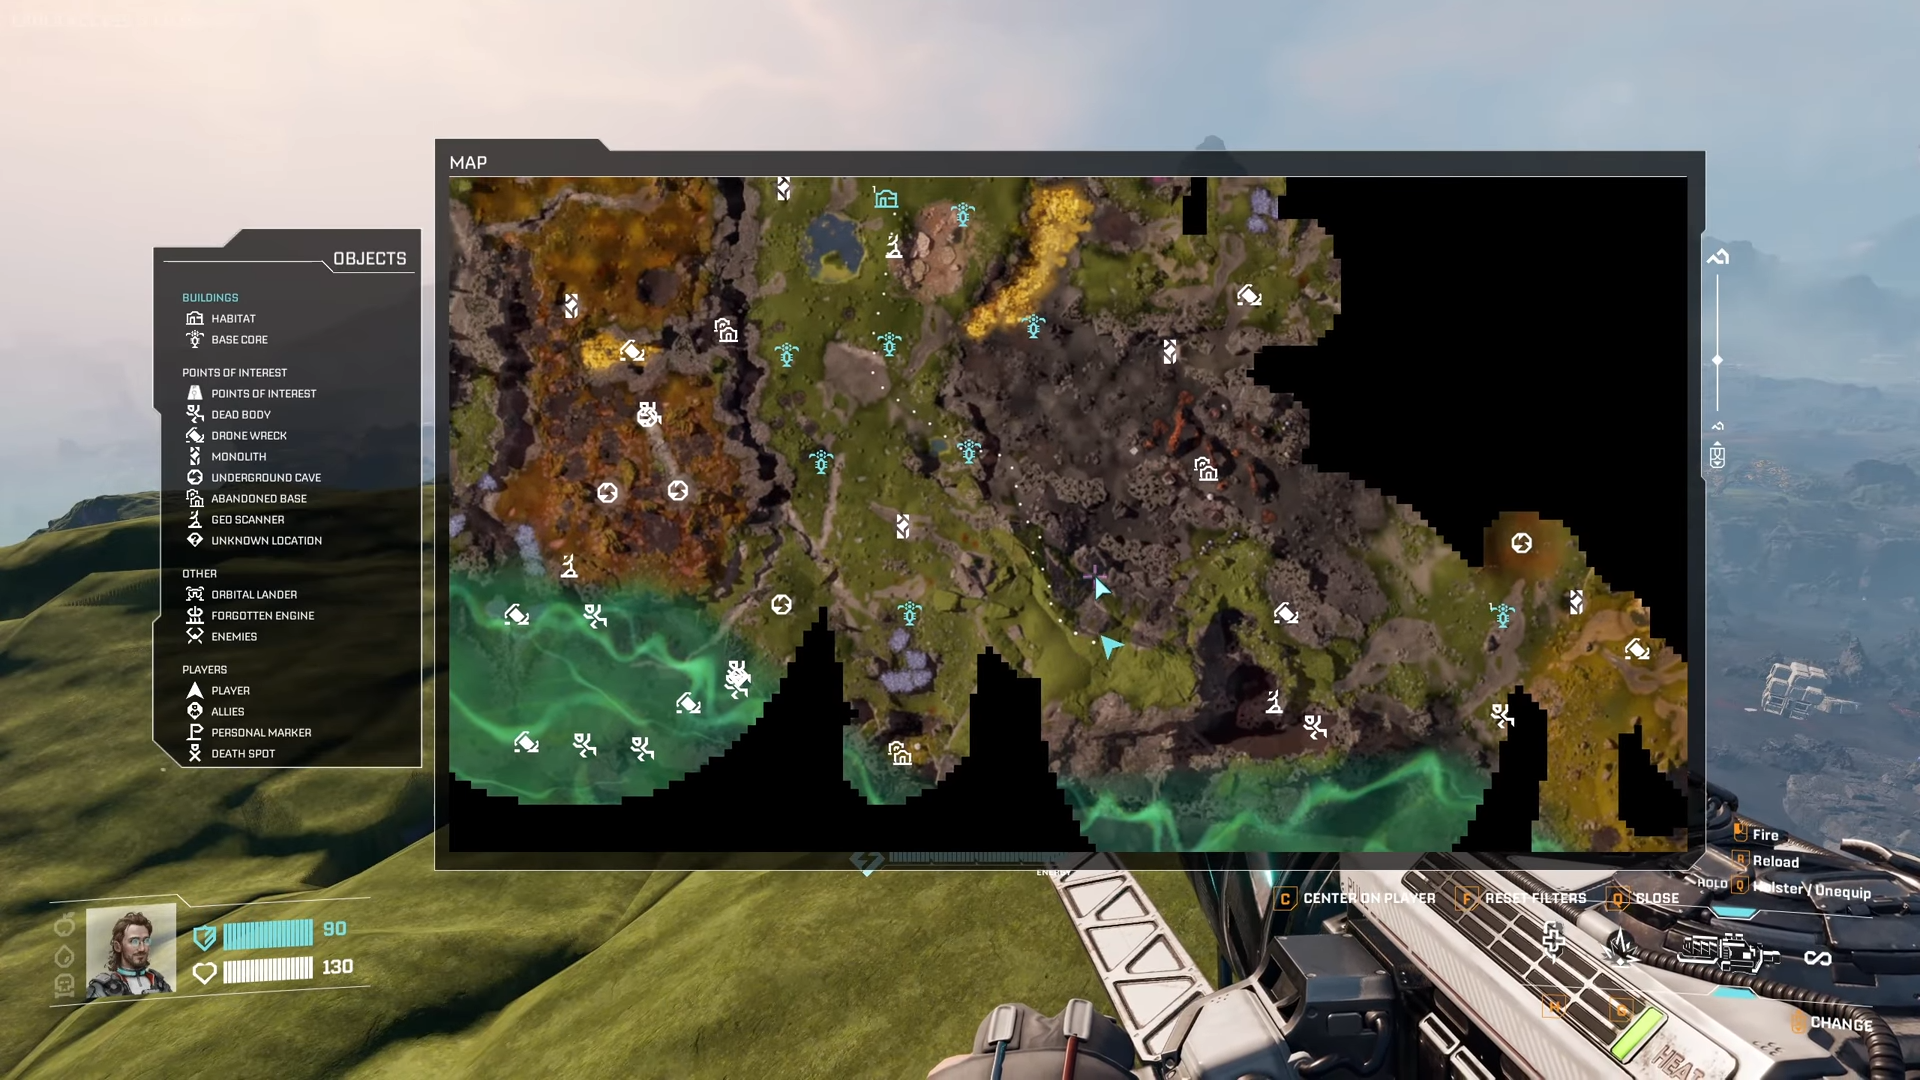
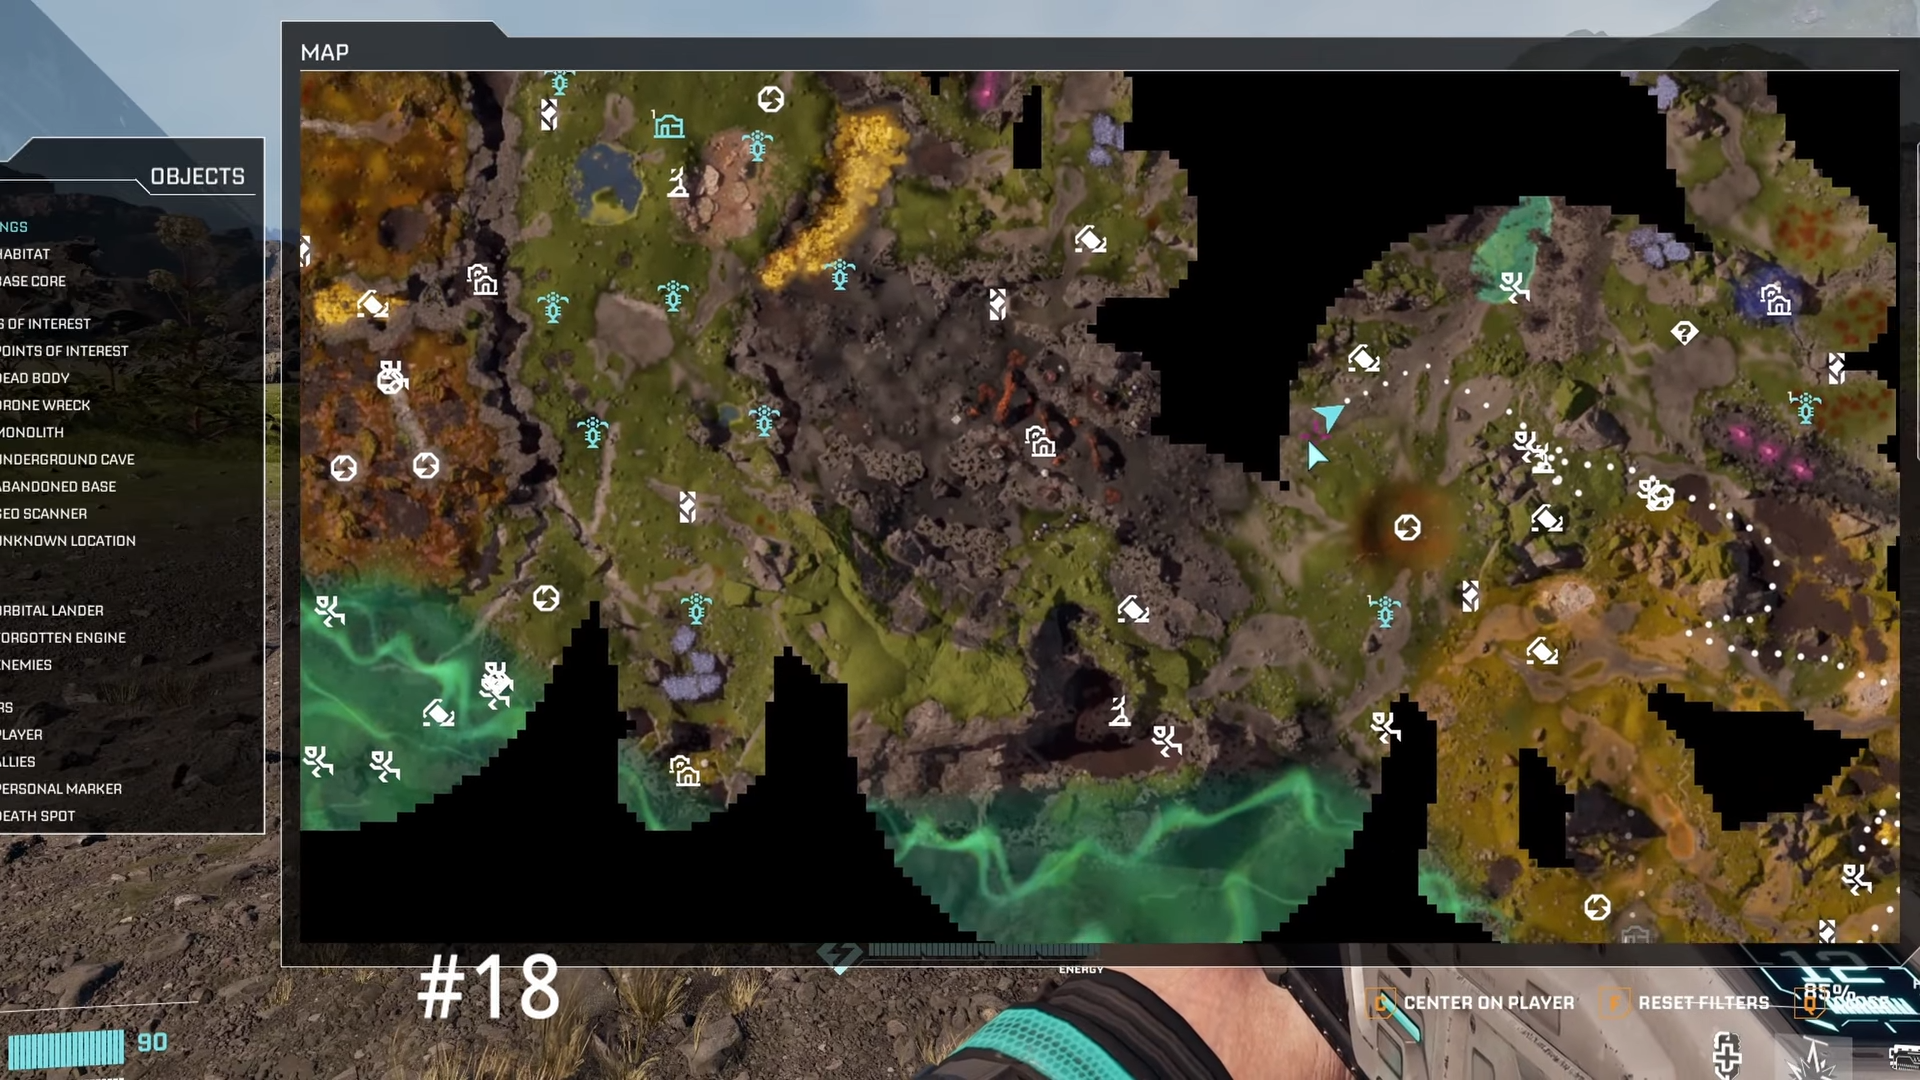
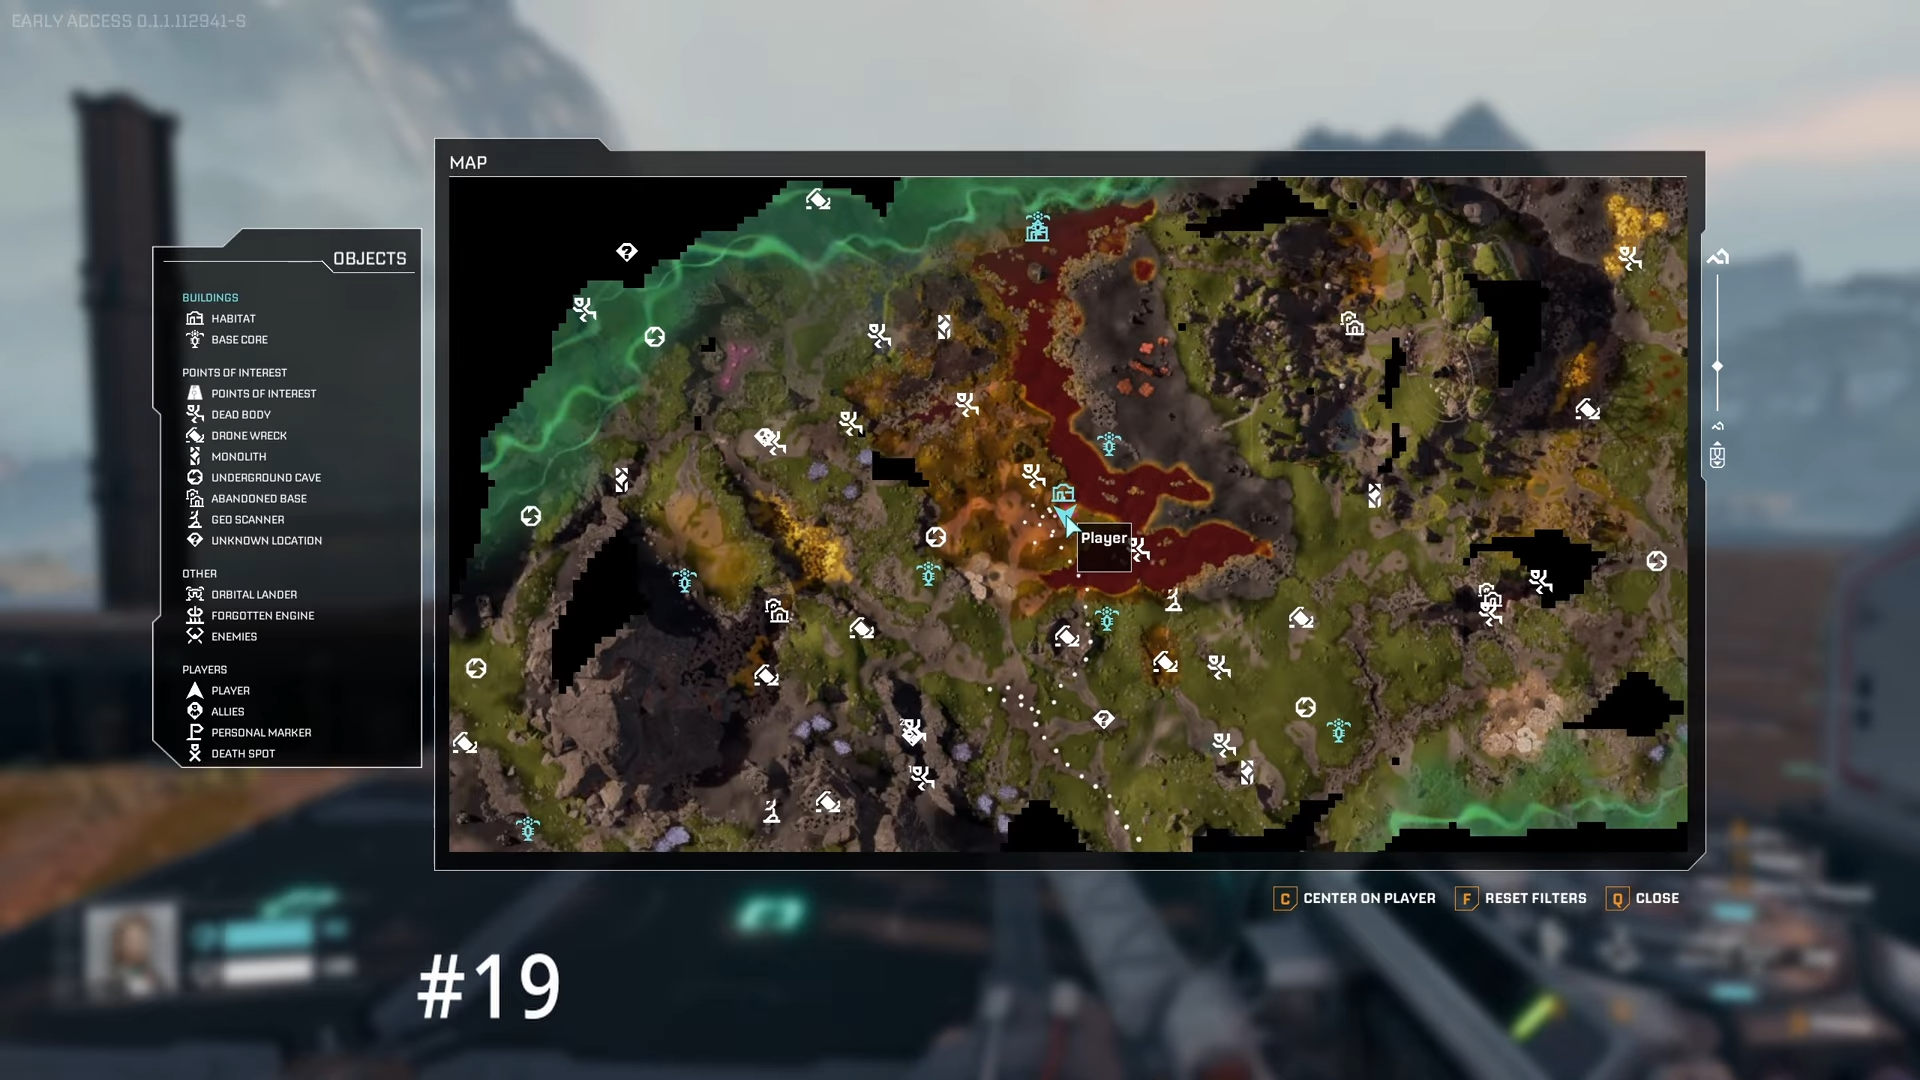
Uneven terrain frustrates StarRupture builders, but these 19 flattest spots let you snap platforms perfectly. You’ll access Titanium, Wolfram, and Helium while scaling to rail-linked empires effortlessly.
Start your journey at the orbital lander, then head east for early resource hubs or northeast to the massive red lake. Each spot balances flatness, proximity, and scale—perfect for your playstyle from solo survival to mega-factories.
- Spot 1: Titanium east of map
- Spot 2: Calcium east powerhouse
- Spot 3: Spore Rock Outpost haven
- Spot 4: Main engine pond north
- Spot 5: Red lake combat flat
- Spot 6: Titanium-Wolfram cluster
- Spot 7: Solar wind power farm
- Spot 8: Main base power bank
- Spot 9: Small sulfur outpost flat
- Spot 10: Pillar tip by lander
- Spot 11: Purple haze medium pad
- Spot 12: West spawn dried pond
- Spot 13: Lander plateaus multi-hub
- Spot 14: Wind turbine extension
- Spot 15: Your next main base
- Spot 16: An elevated secret
- Spot 17: Combat outpost siege
- Spot 18: Distant fighter flat
- Spot 19: Red lake mega-complex
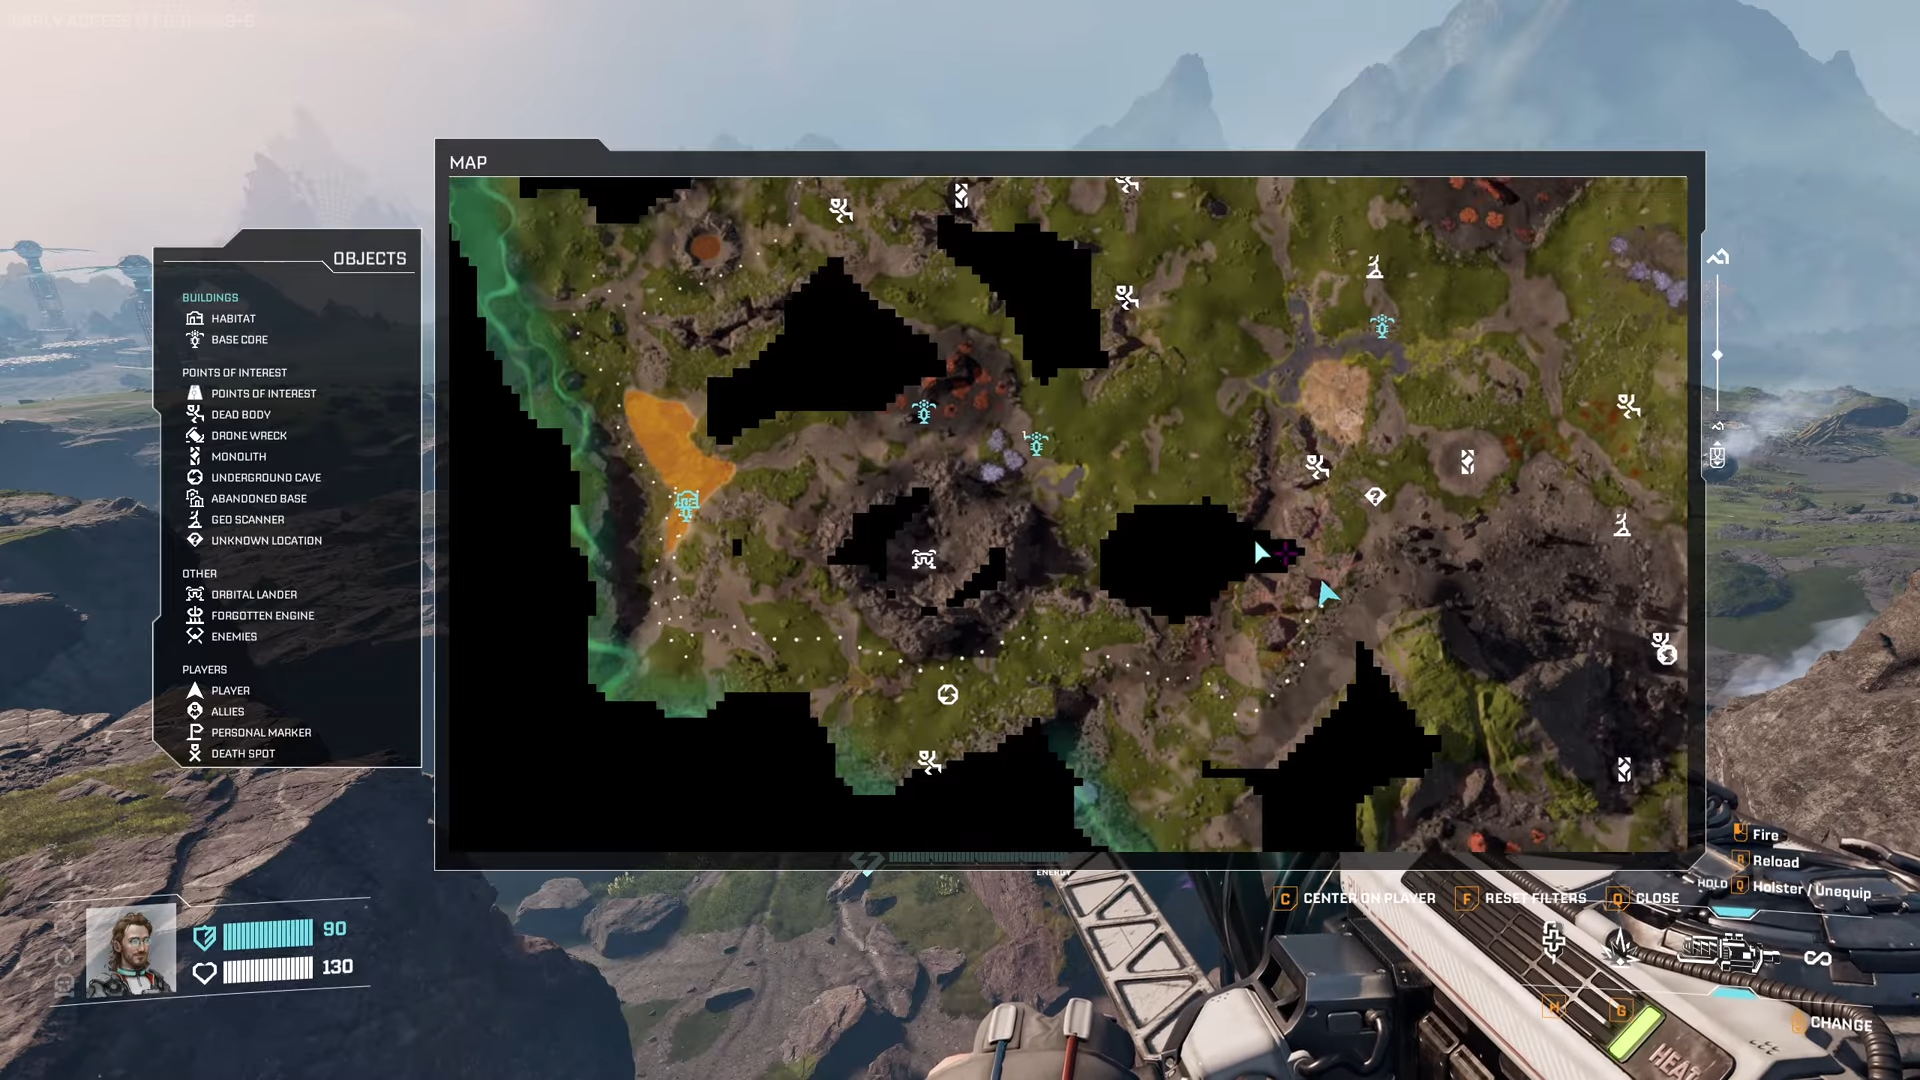
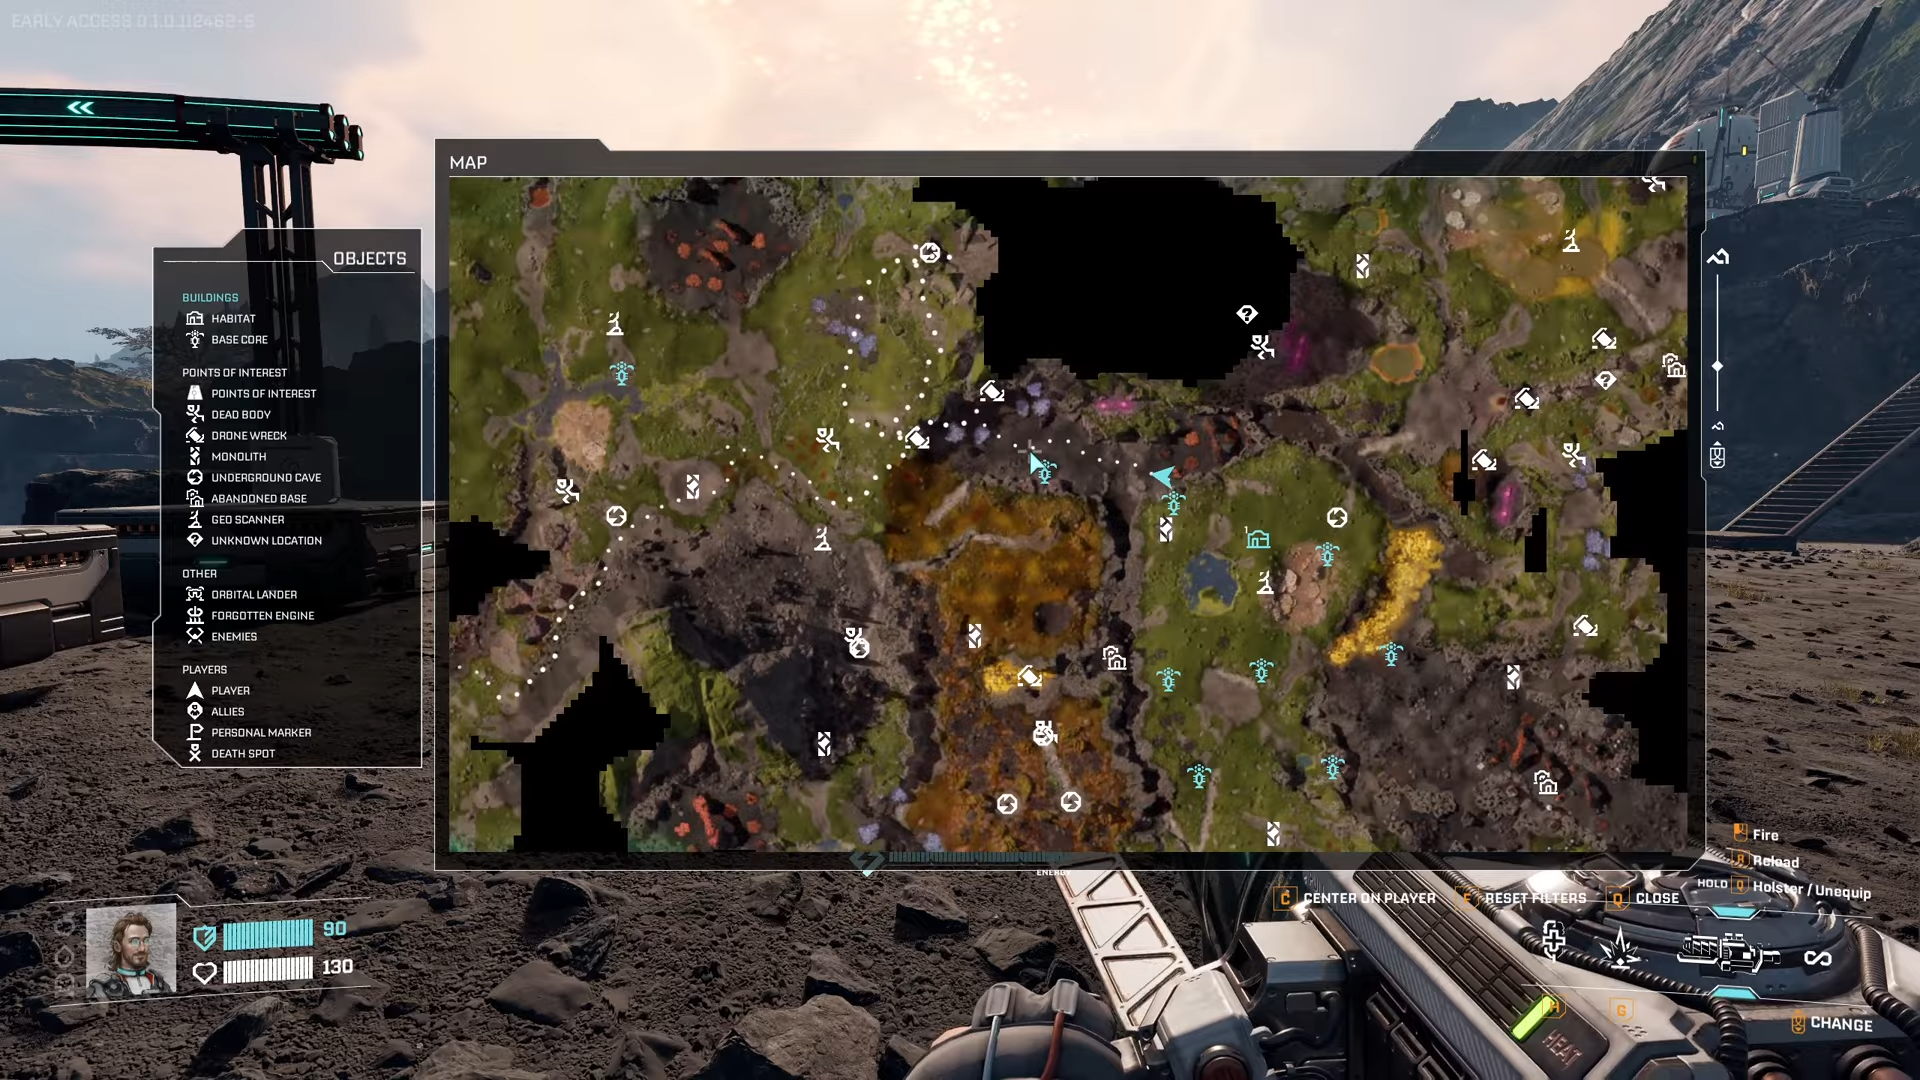
- How to scout and claim flats
- Resource gains by base type
- Tips for your best flattest build
Spot 1: Titanium east of map
Huge narrow strip by the eastern engine offers medium bases near Titanium and Calcium deposits. Radiation blocks further east, but spawns thin out with careful building.
Spot 2: Calcium east powerhouse
Massive flat expanse behind the engine provides endless room for cores and rails. Stand on Calcium nodes for instant access, mindful of respawning enemies.
Spot 3: Spore Rock Outpost haven
Pretty big scenic flat near the outpost, dodging caves and elephant trunks. Ideal for early outposts with natural defenses.
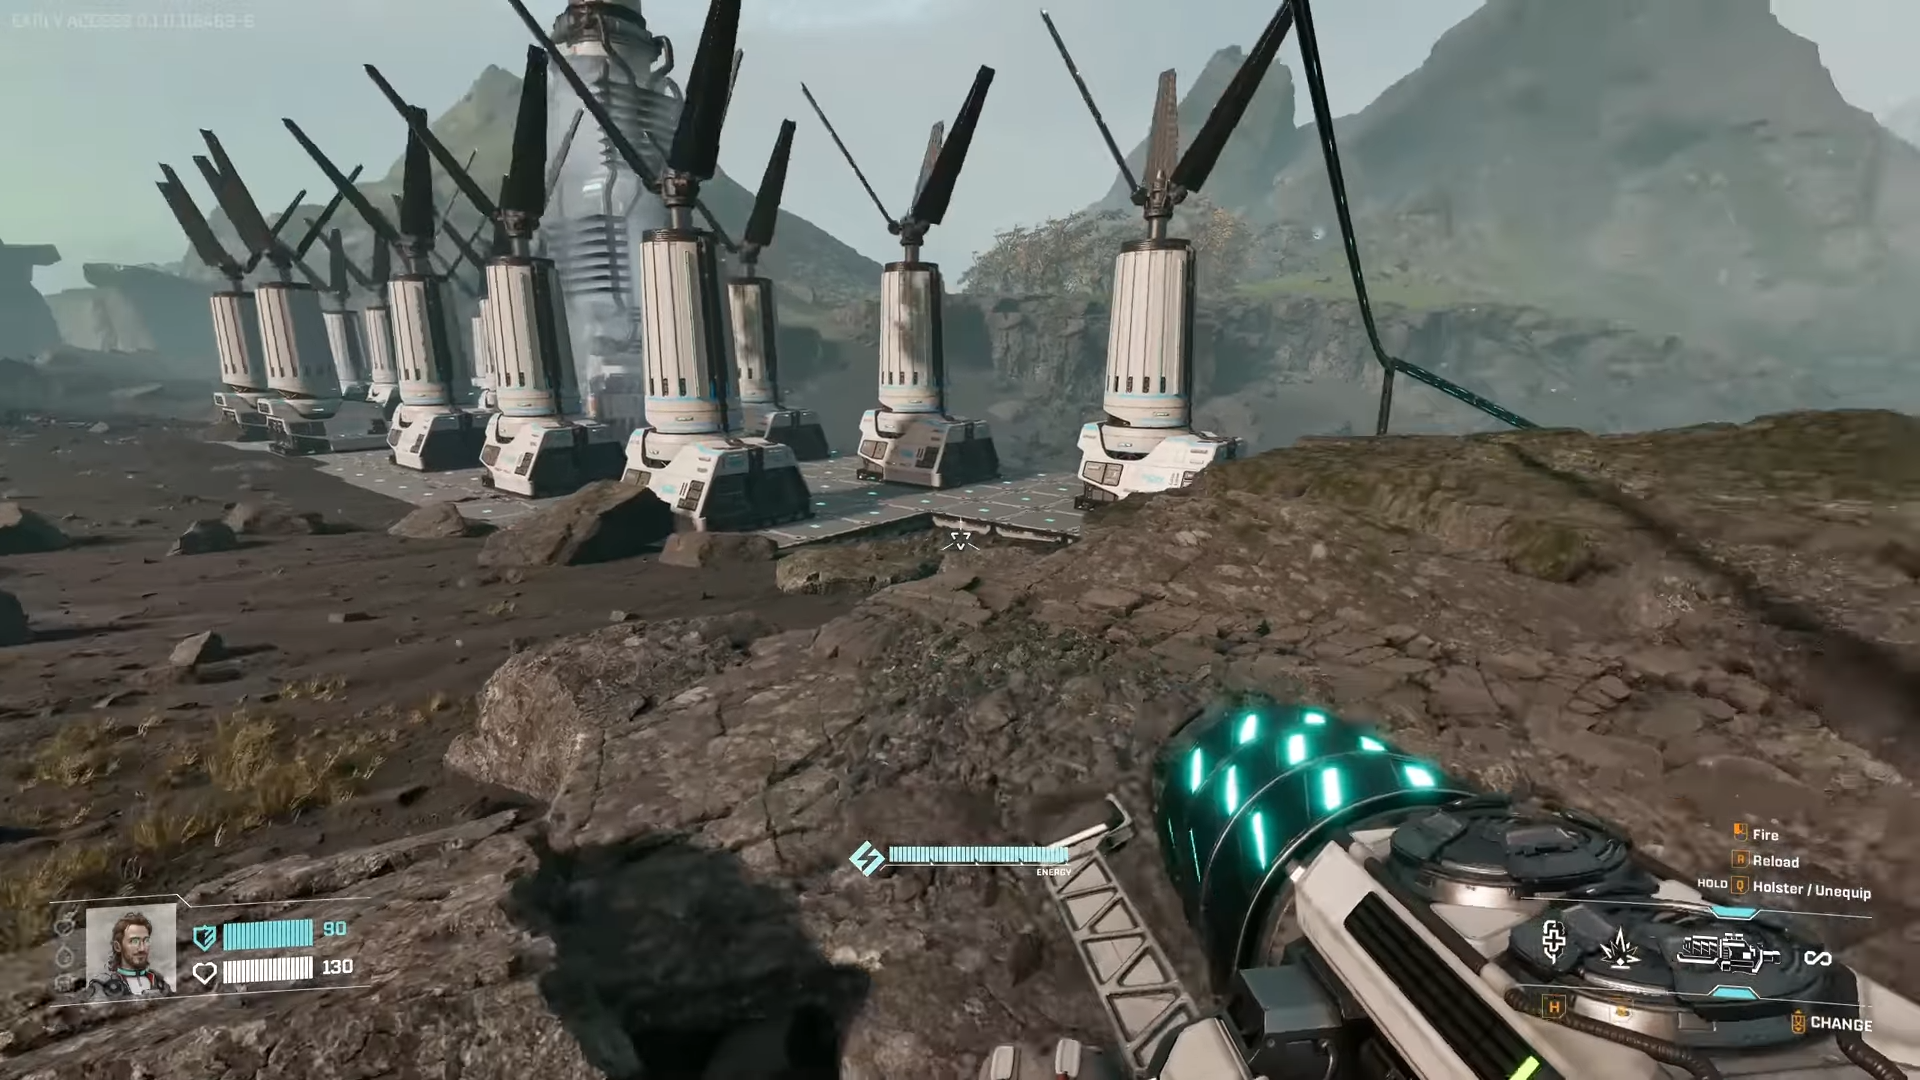
Spot 4: Main engine pond north
Tons of buildable flat north of the core pond blocks minor spawns but opens factory space. Quick access from spawn makes it beginner-friendly.
Spot 5: Red lake combat flat
Nice big area by the red lake suits aggressive builds, though drone combat locks occasionally. Expand freely once cleared.
Spot 6: Titanium-Wolfram cluster
Half-decent size near Titanium, Wolfram, Helium, and bugs—prime for solar farms feeding your main base. Resource density shines here.
Spot 7: Solar wind power farm
Tap Titanium while claiming ideal flats for wind/solar outposts. Rail power to cores without direct overload.
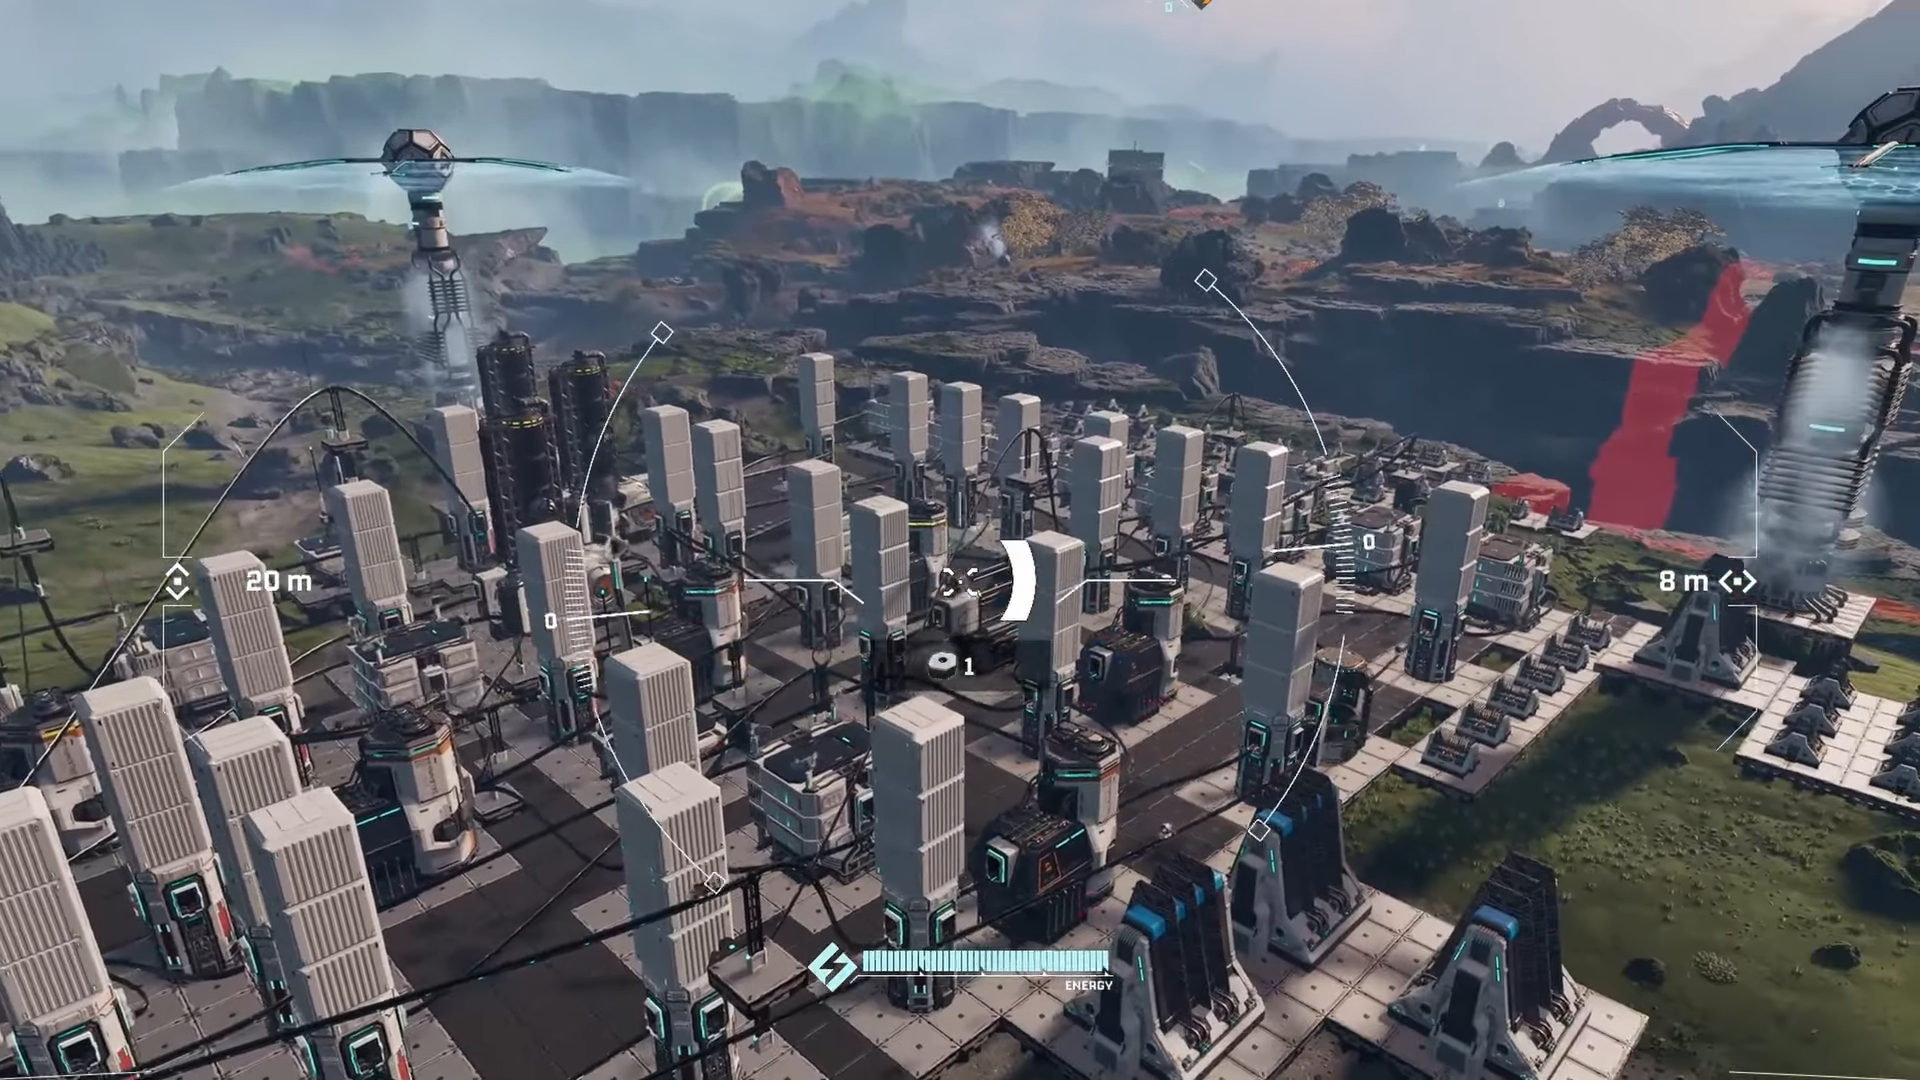
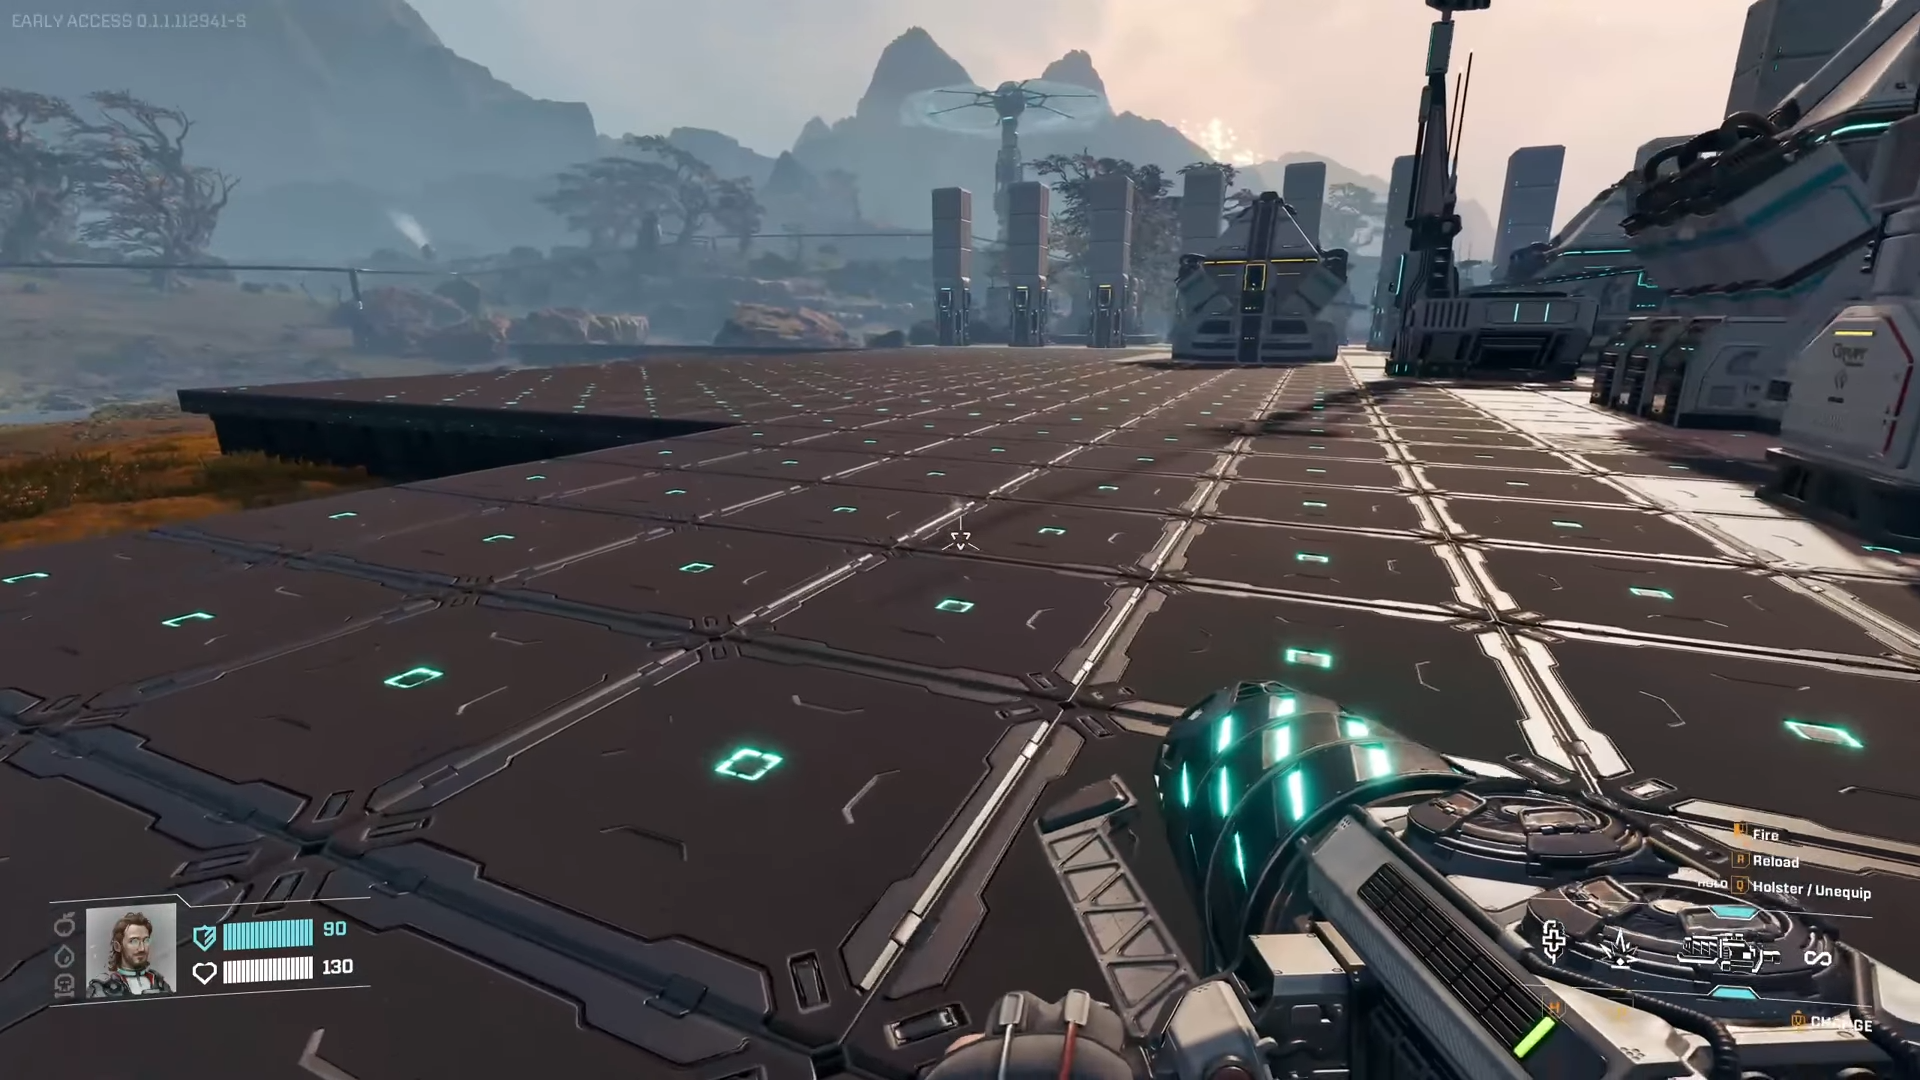
Spot 8: Main base power bank
57×60 foundation monster demands spread cores for heat control. Rail links power distant hubs seamlessly.
Spot 9: Small sulfur outpost flat
Compact spot near sulfur piles, caves, and outposts for early game. Not massive, but flattest starter option.
Spot 10: Pillar tip by lander
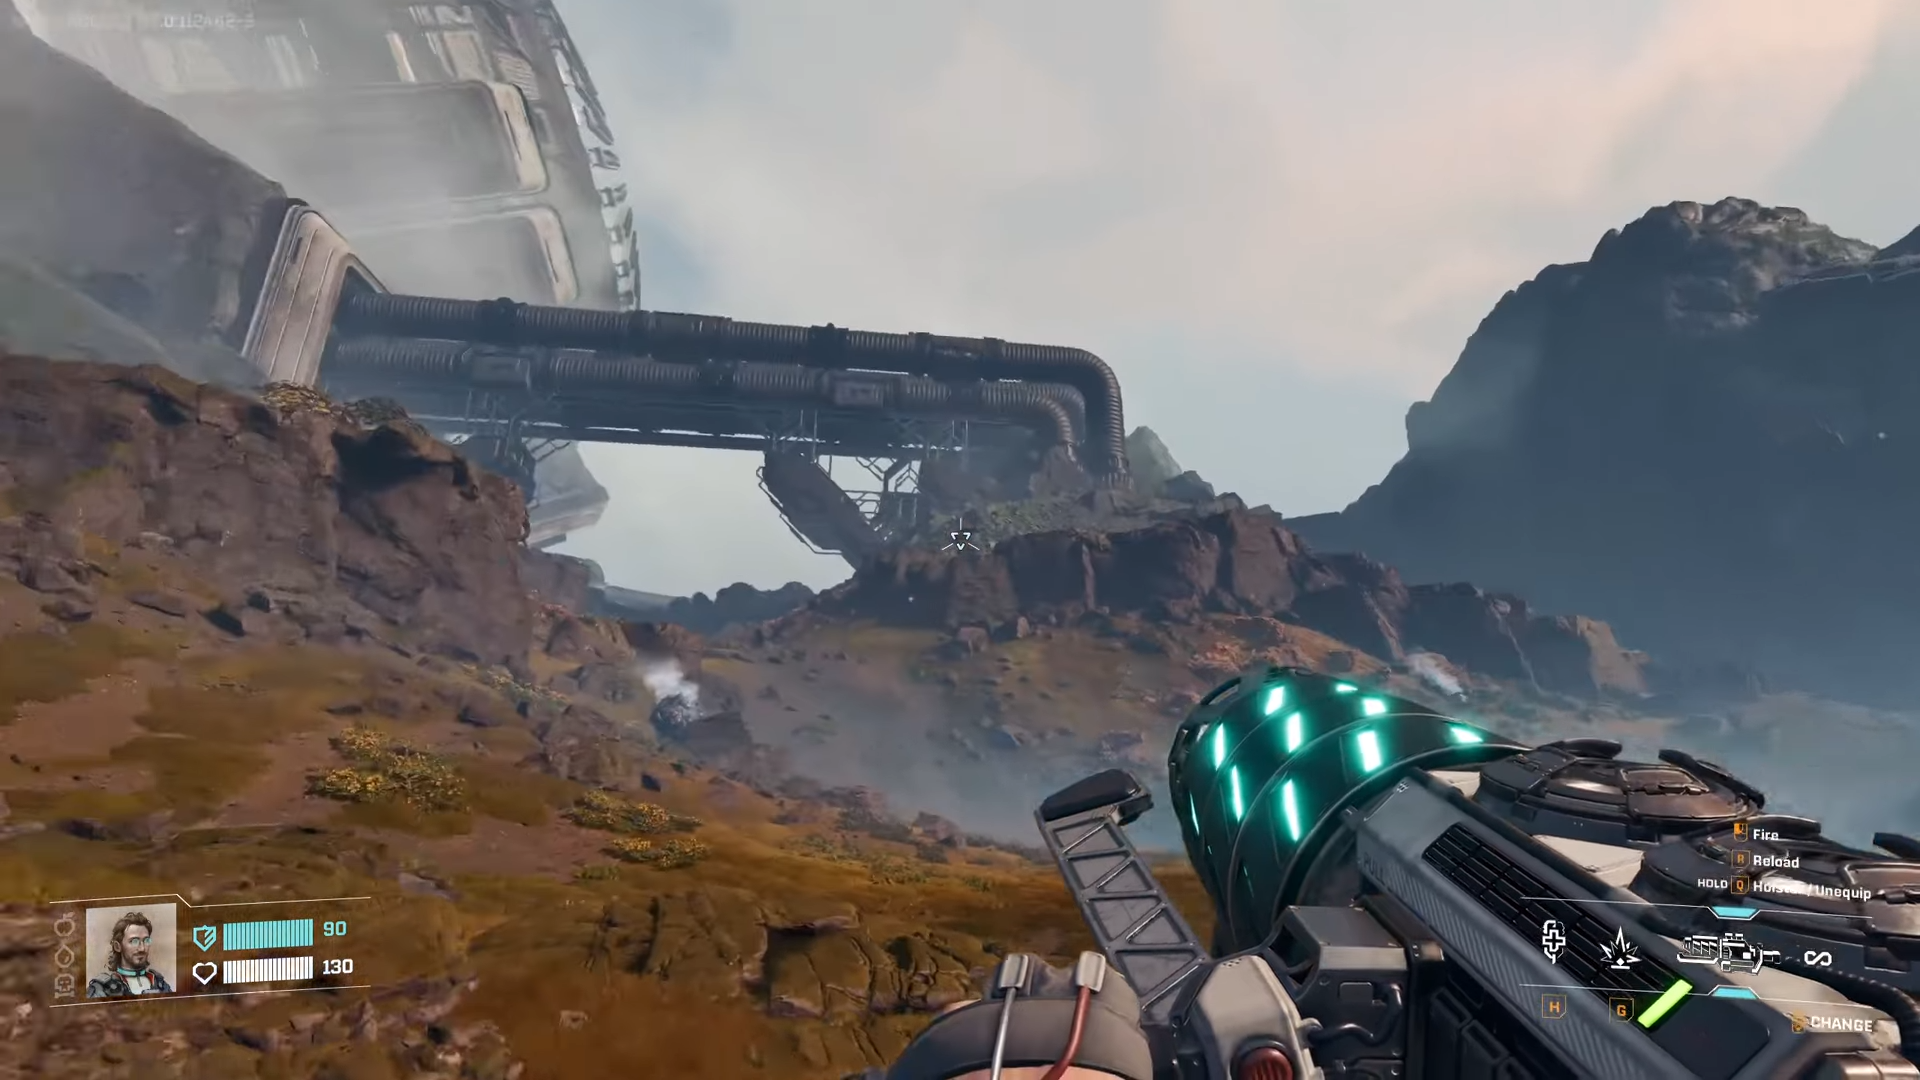
Enormous flat from orbital lander straight ahead—Titanium and Wolfram await. Rocks need minor ramps.
Spot 11: Purple haze medium pad
Beauty spot with Calcium nearby; pillar curving edges and hit Y to auto-level. Medium base potential.
Spot 12: West spawn dried pond
Huge mid/endgame space in the dried-up lake near spawn. Low resources but unmatched room.
Spot 13: Lander plateaus multi-hub
Pillar over boulders for multi-base plateaus close to lander. Serpent roots spawn nearby—build high.
Spot 14: Wind turbine extension
Flat from wind farm to 30 foundations wide, pillaring up over terrain shifts. Scale as needed.
Spot 15: Your next main base
Second-largest at 30×60 foundations—pillar strategically for mega expansion.

Spot 16: An elevated secret
Pillar to this high-view stunner; potentially restricted but huge if accessible. Keep it hushed.
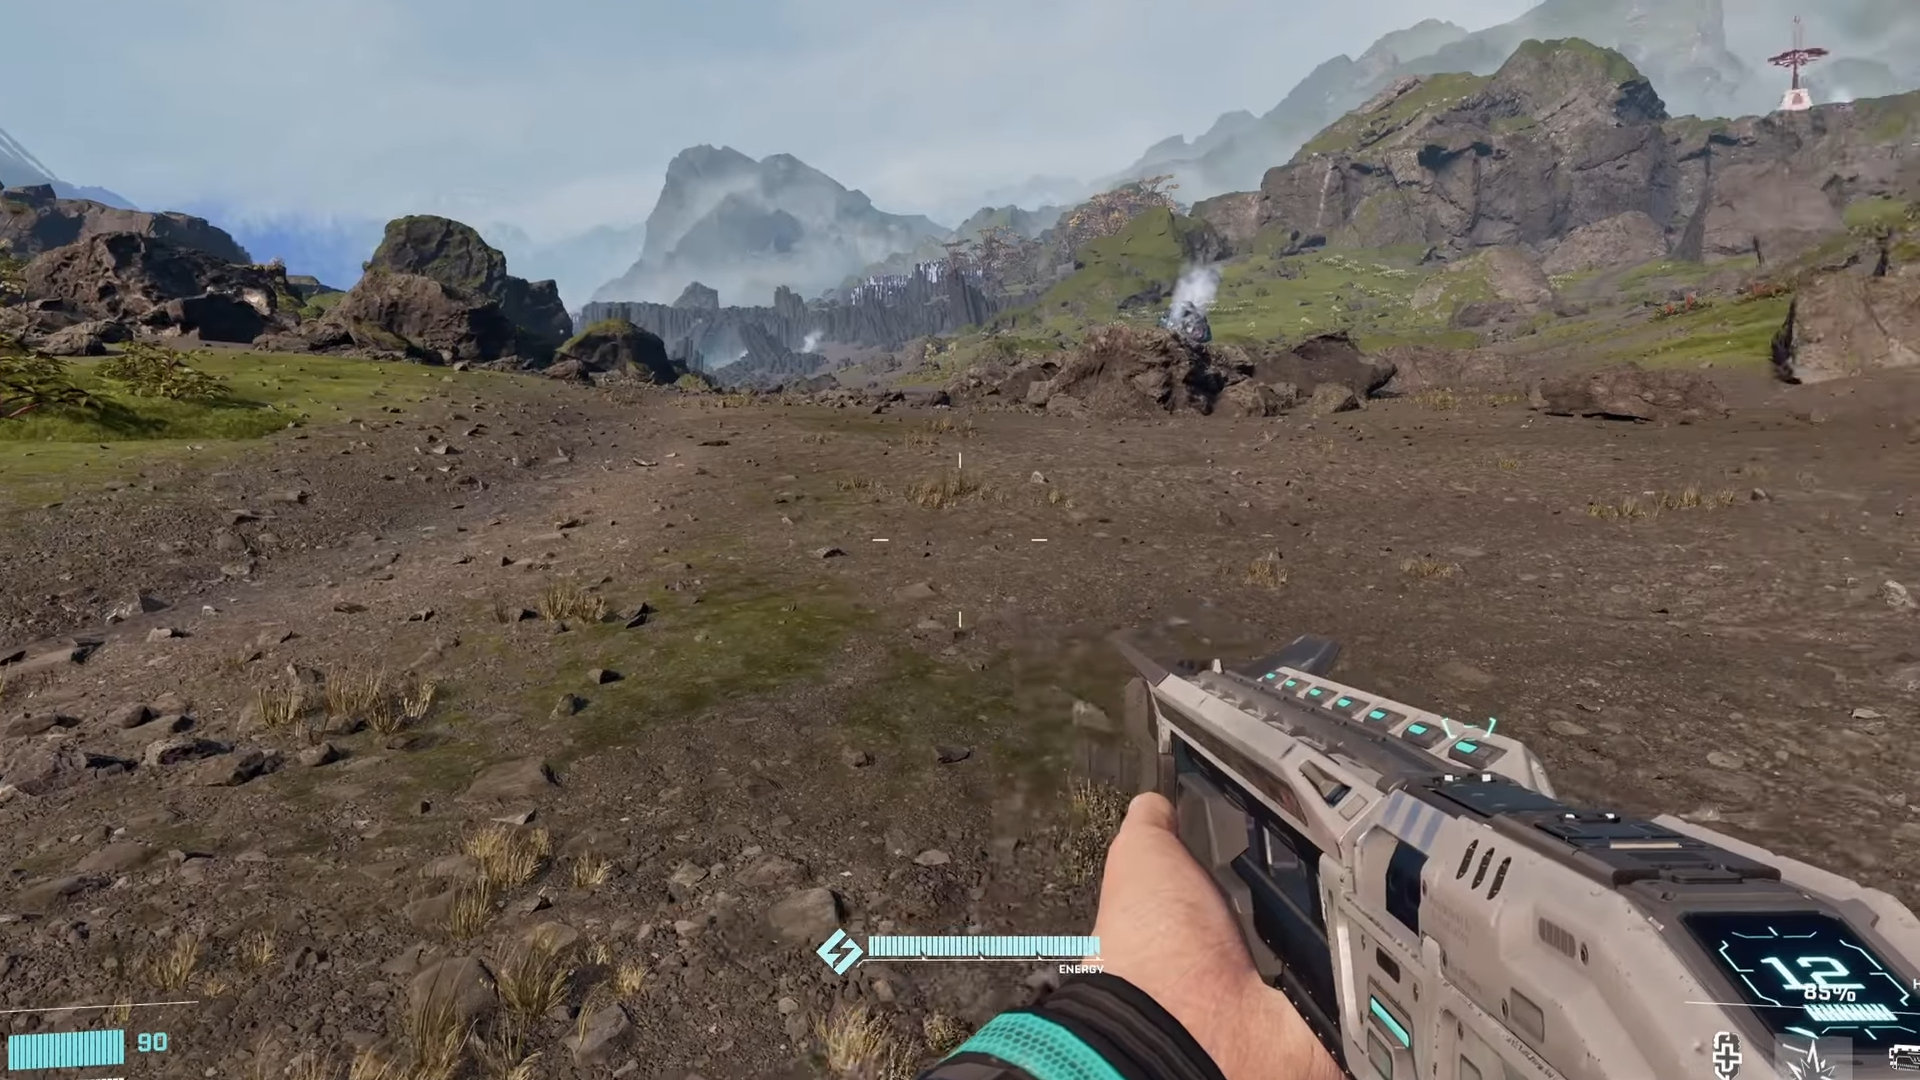
Spot 17: Combat outpost siege
Very flat but enemy-bombed—turret the edges and build above. Far from lander, high risk/reward.
Spot 18: Distant fighter flat
Large remote spot demands turrets for constant outpost raids. Stretch builds down slopes.
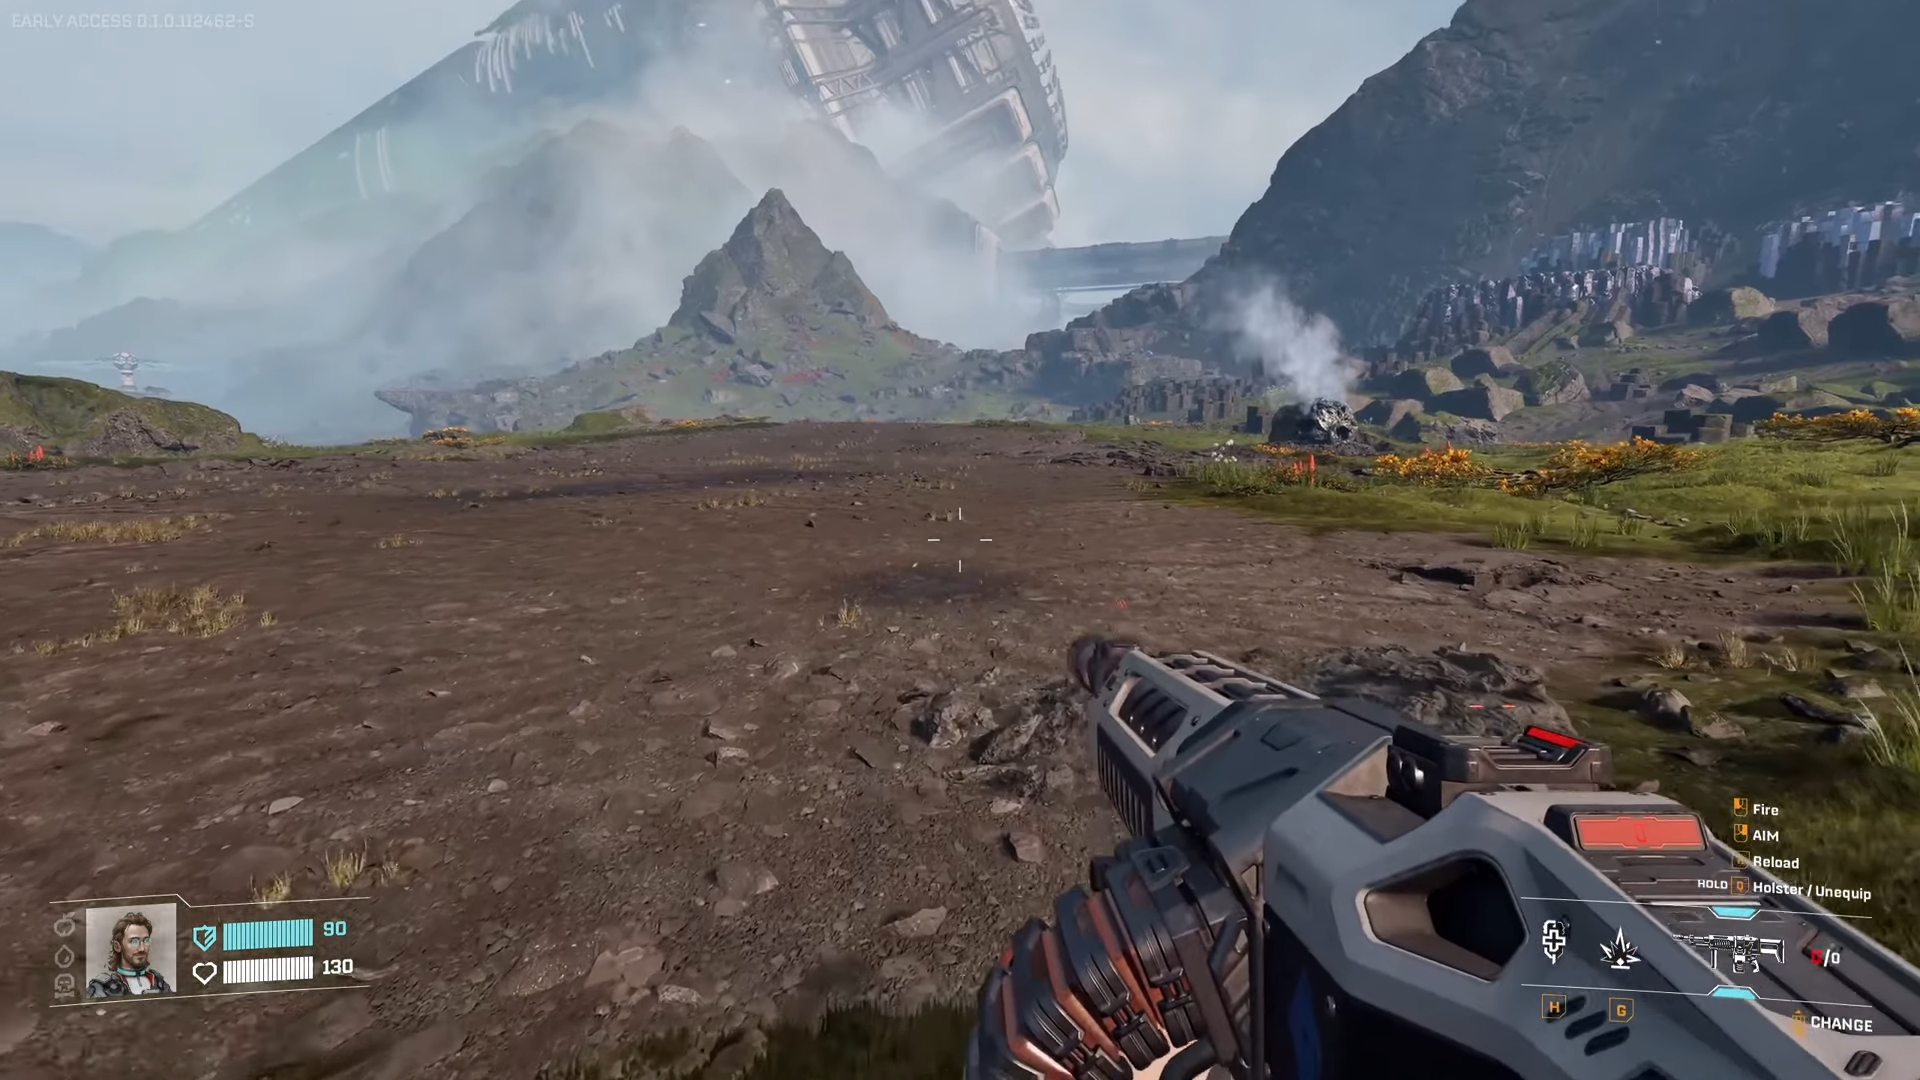
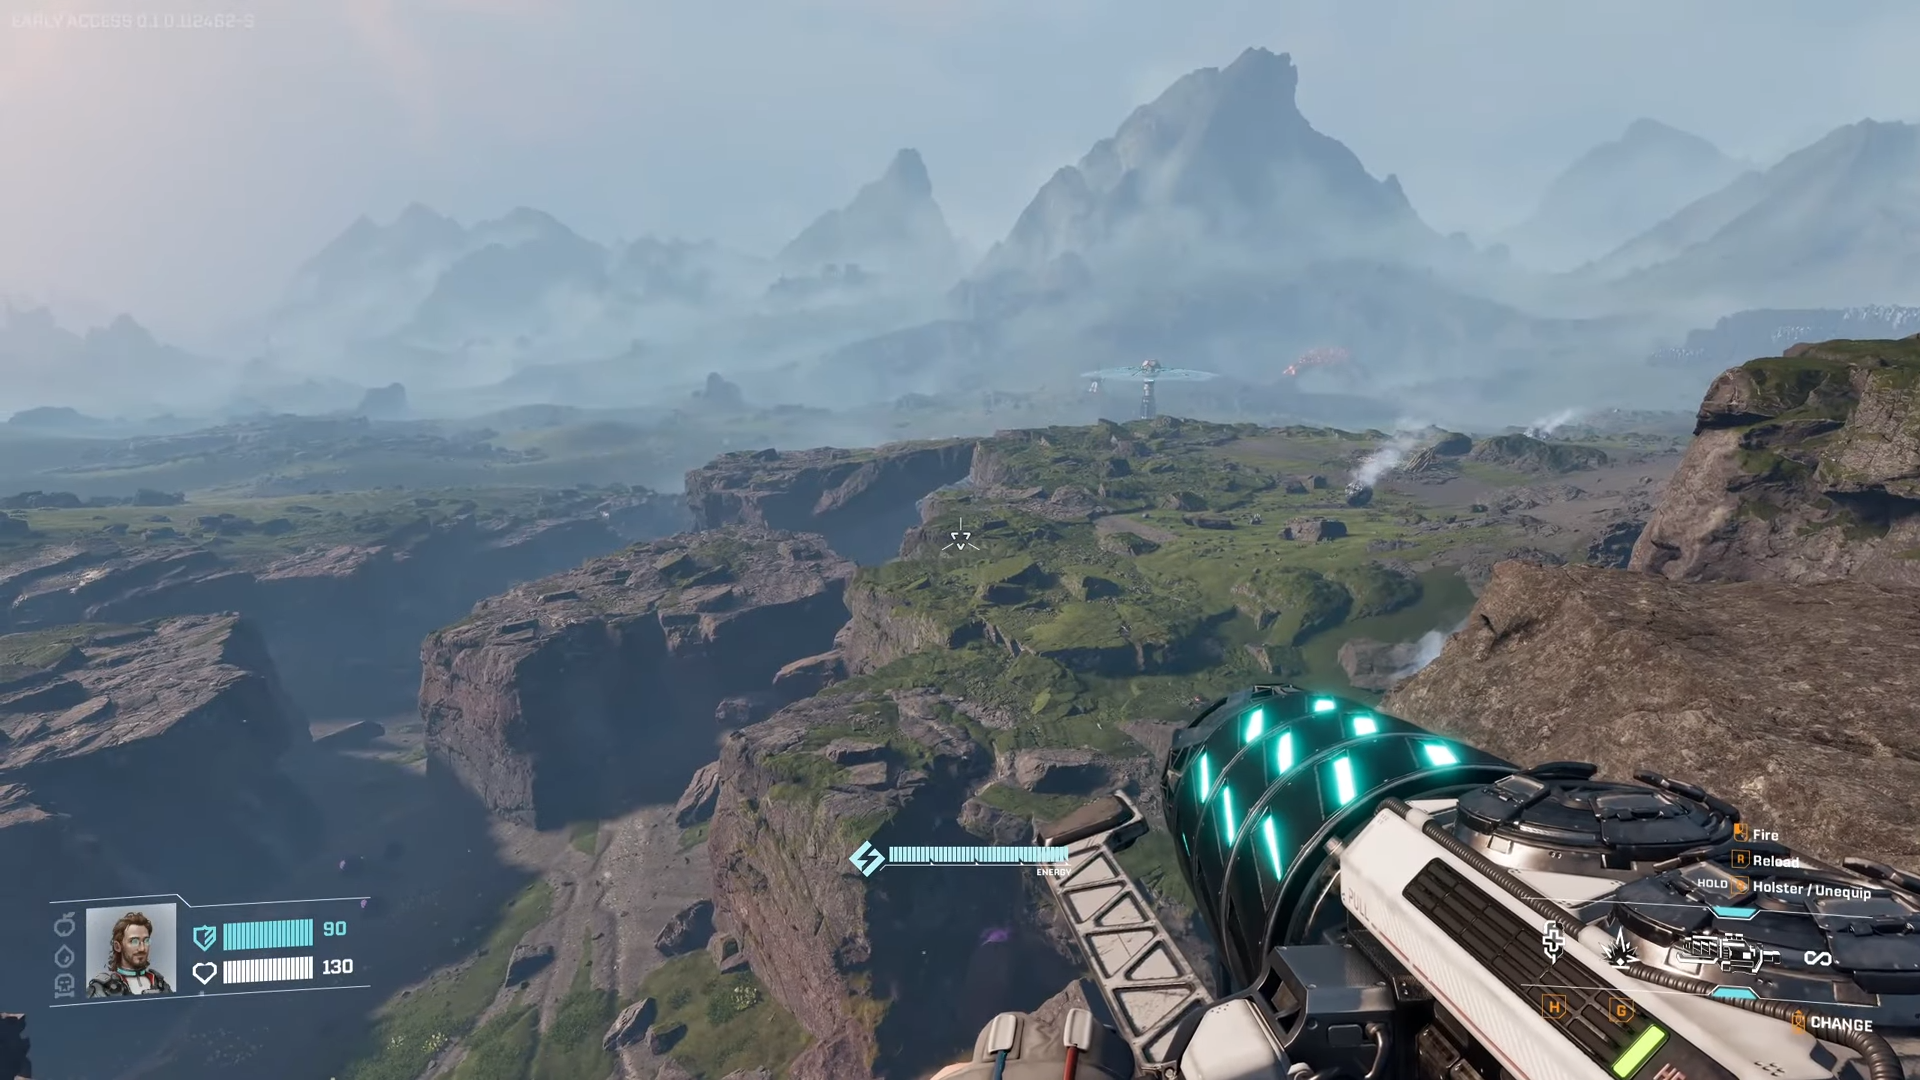
Spot 19: Red lake mega-complex
Northeast masterpiece spans 40×70 foundations by the big red lake. Wind farm up top, endless scaling—ultimate pick.
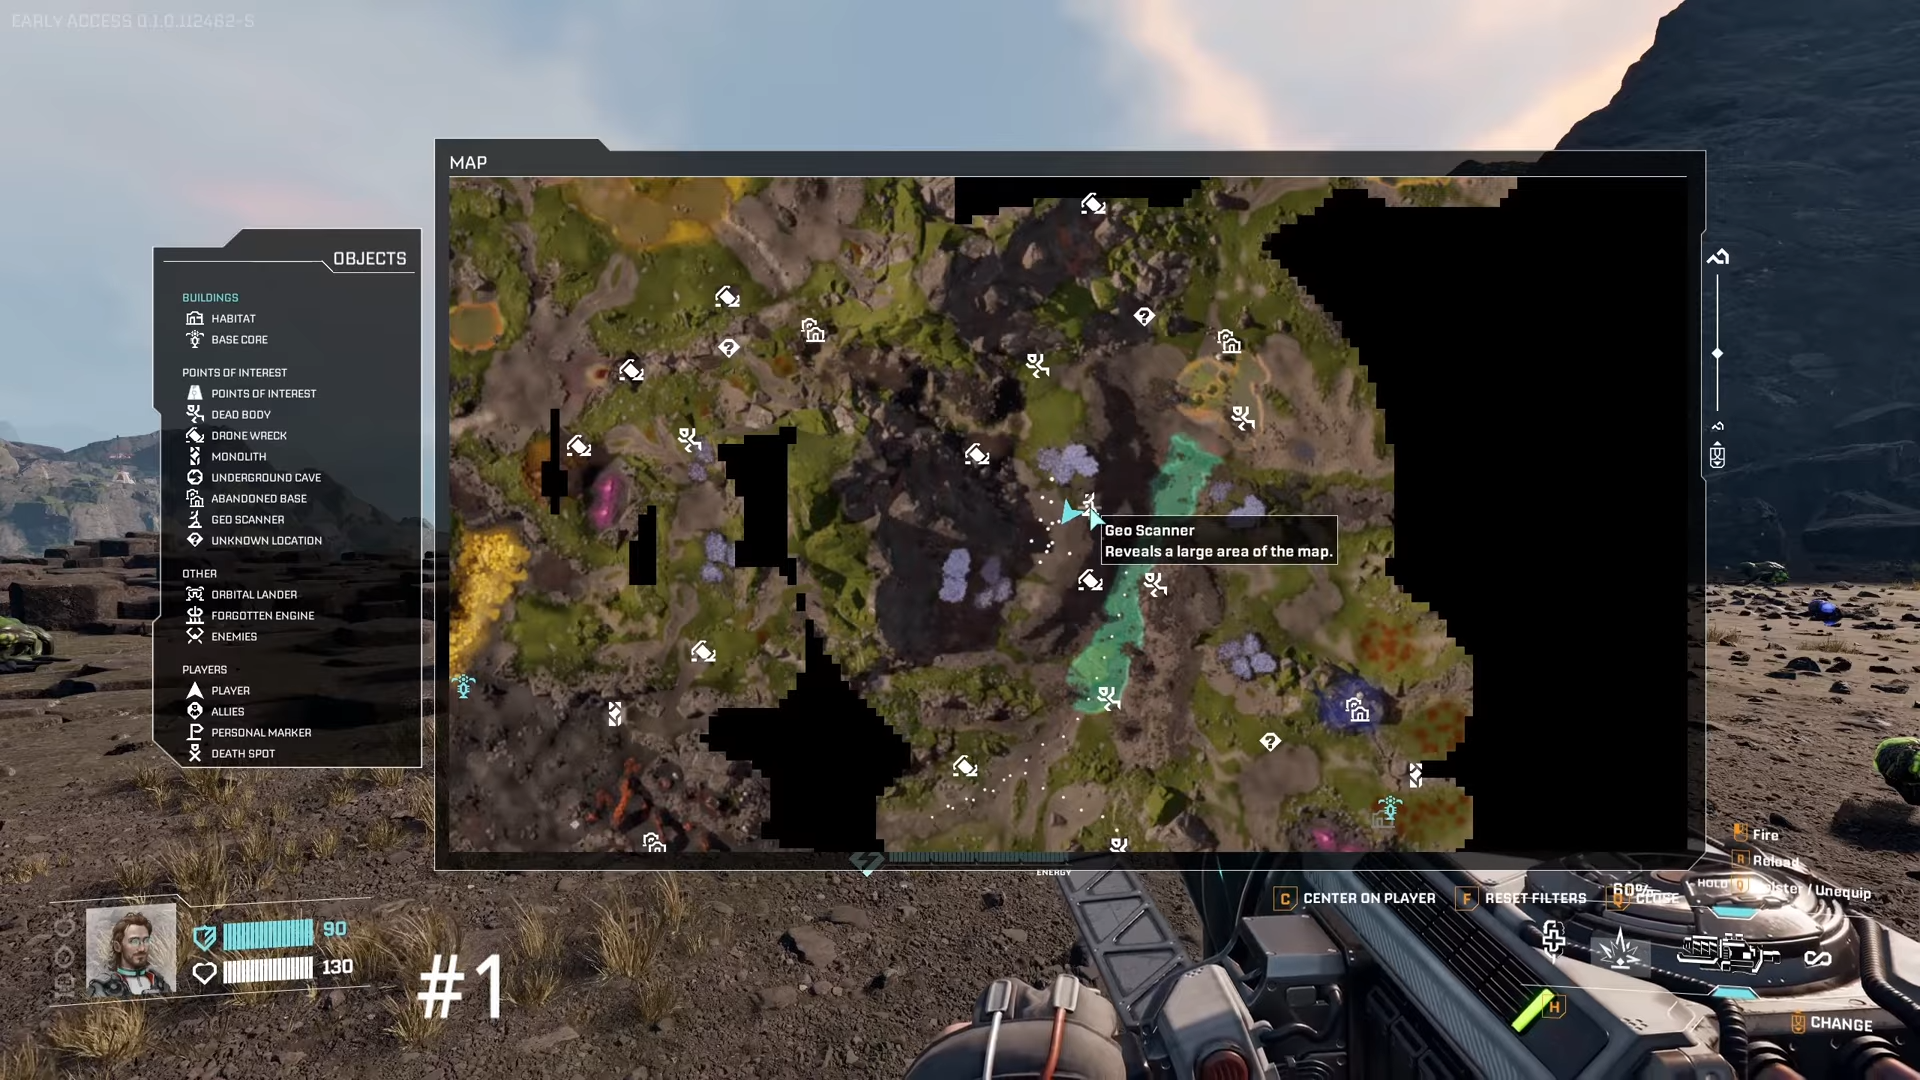
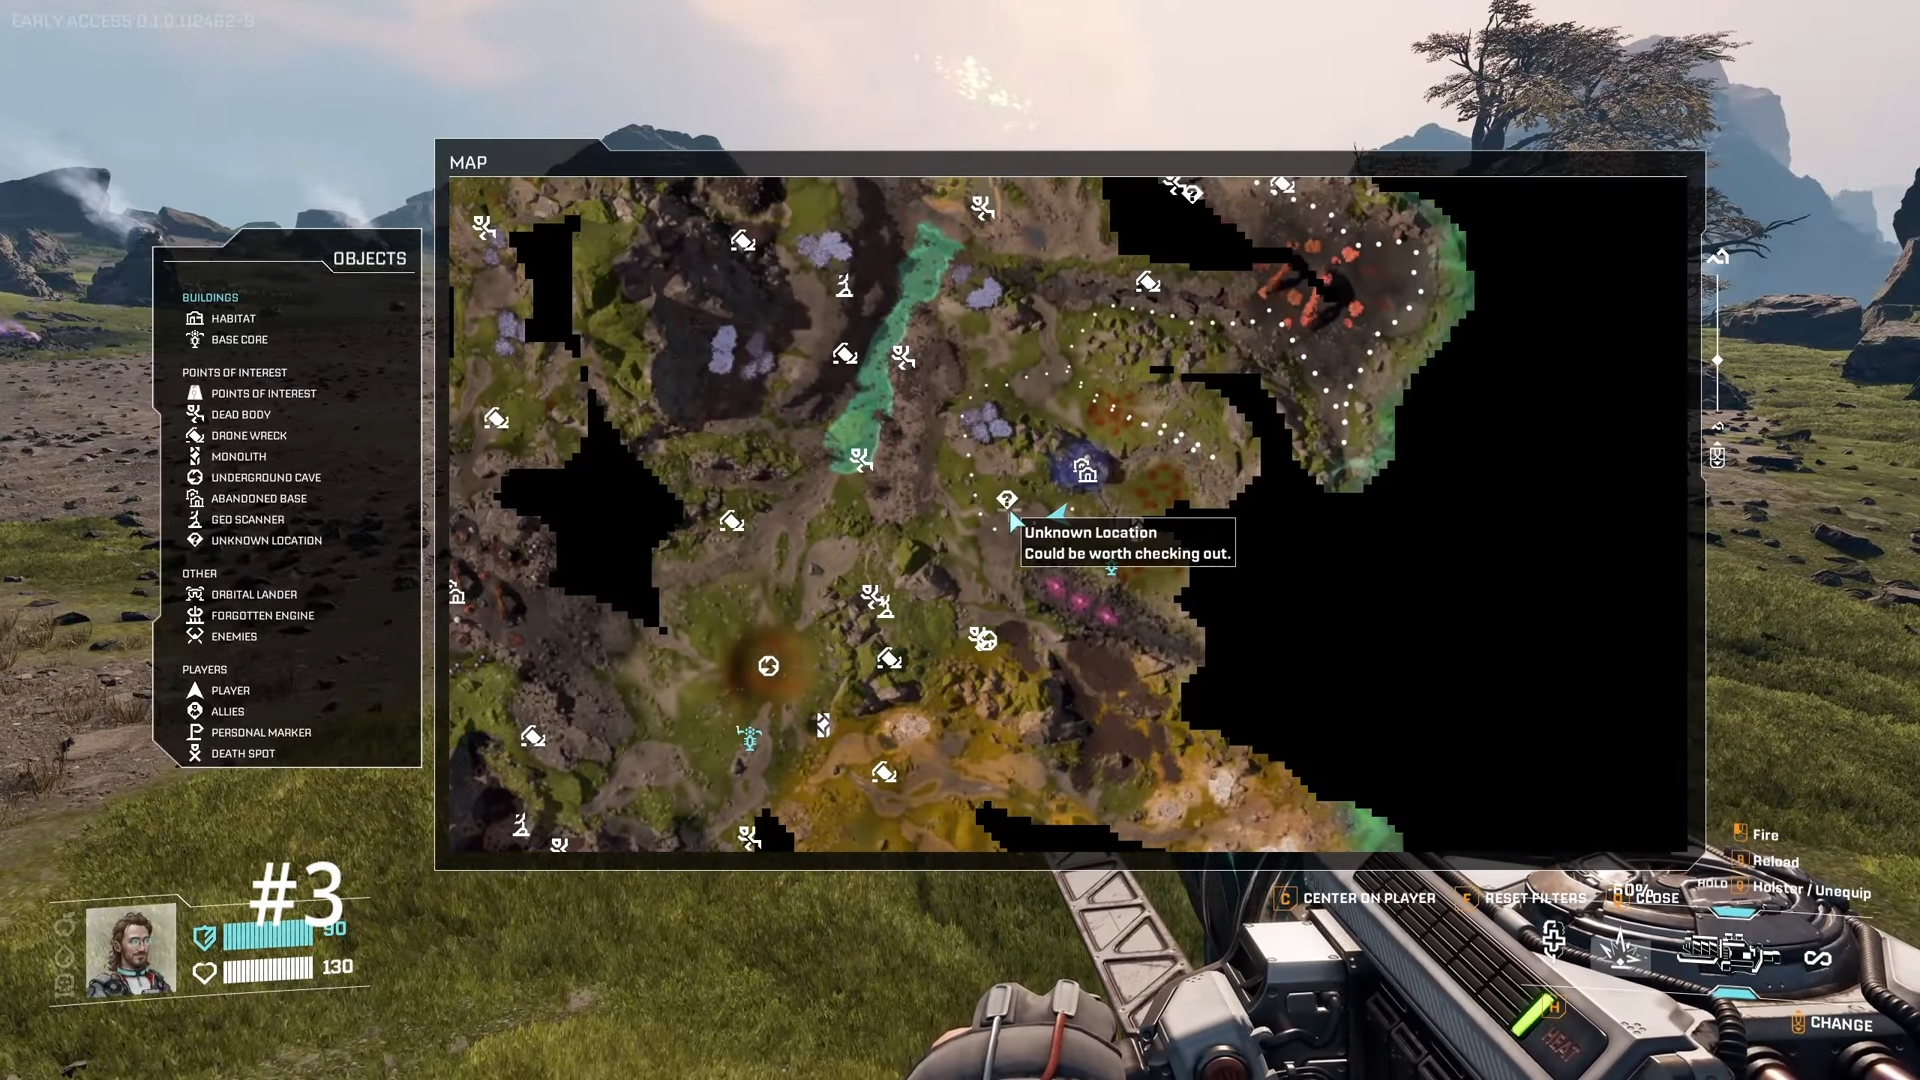
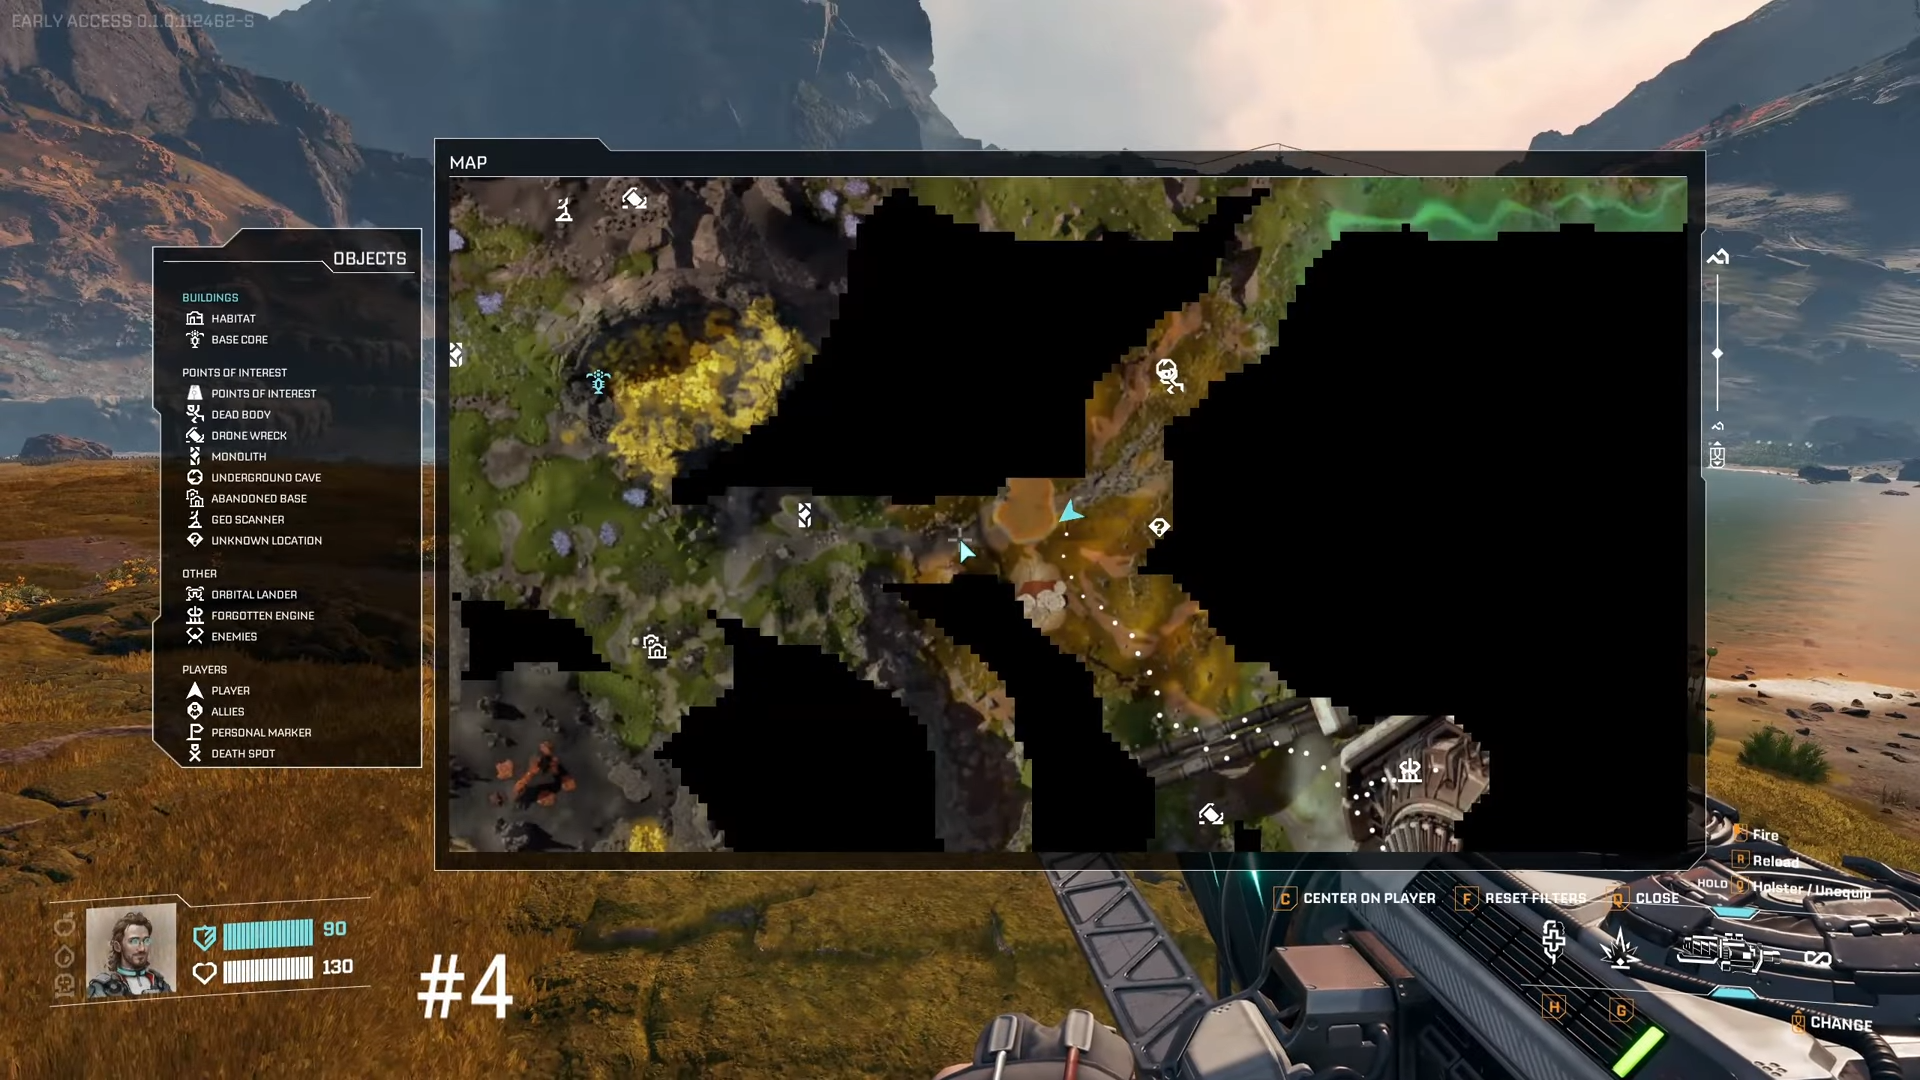
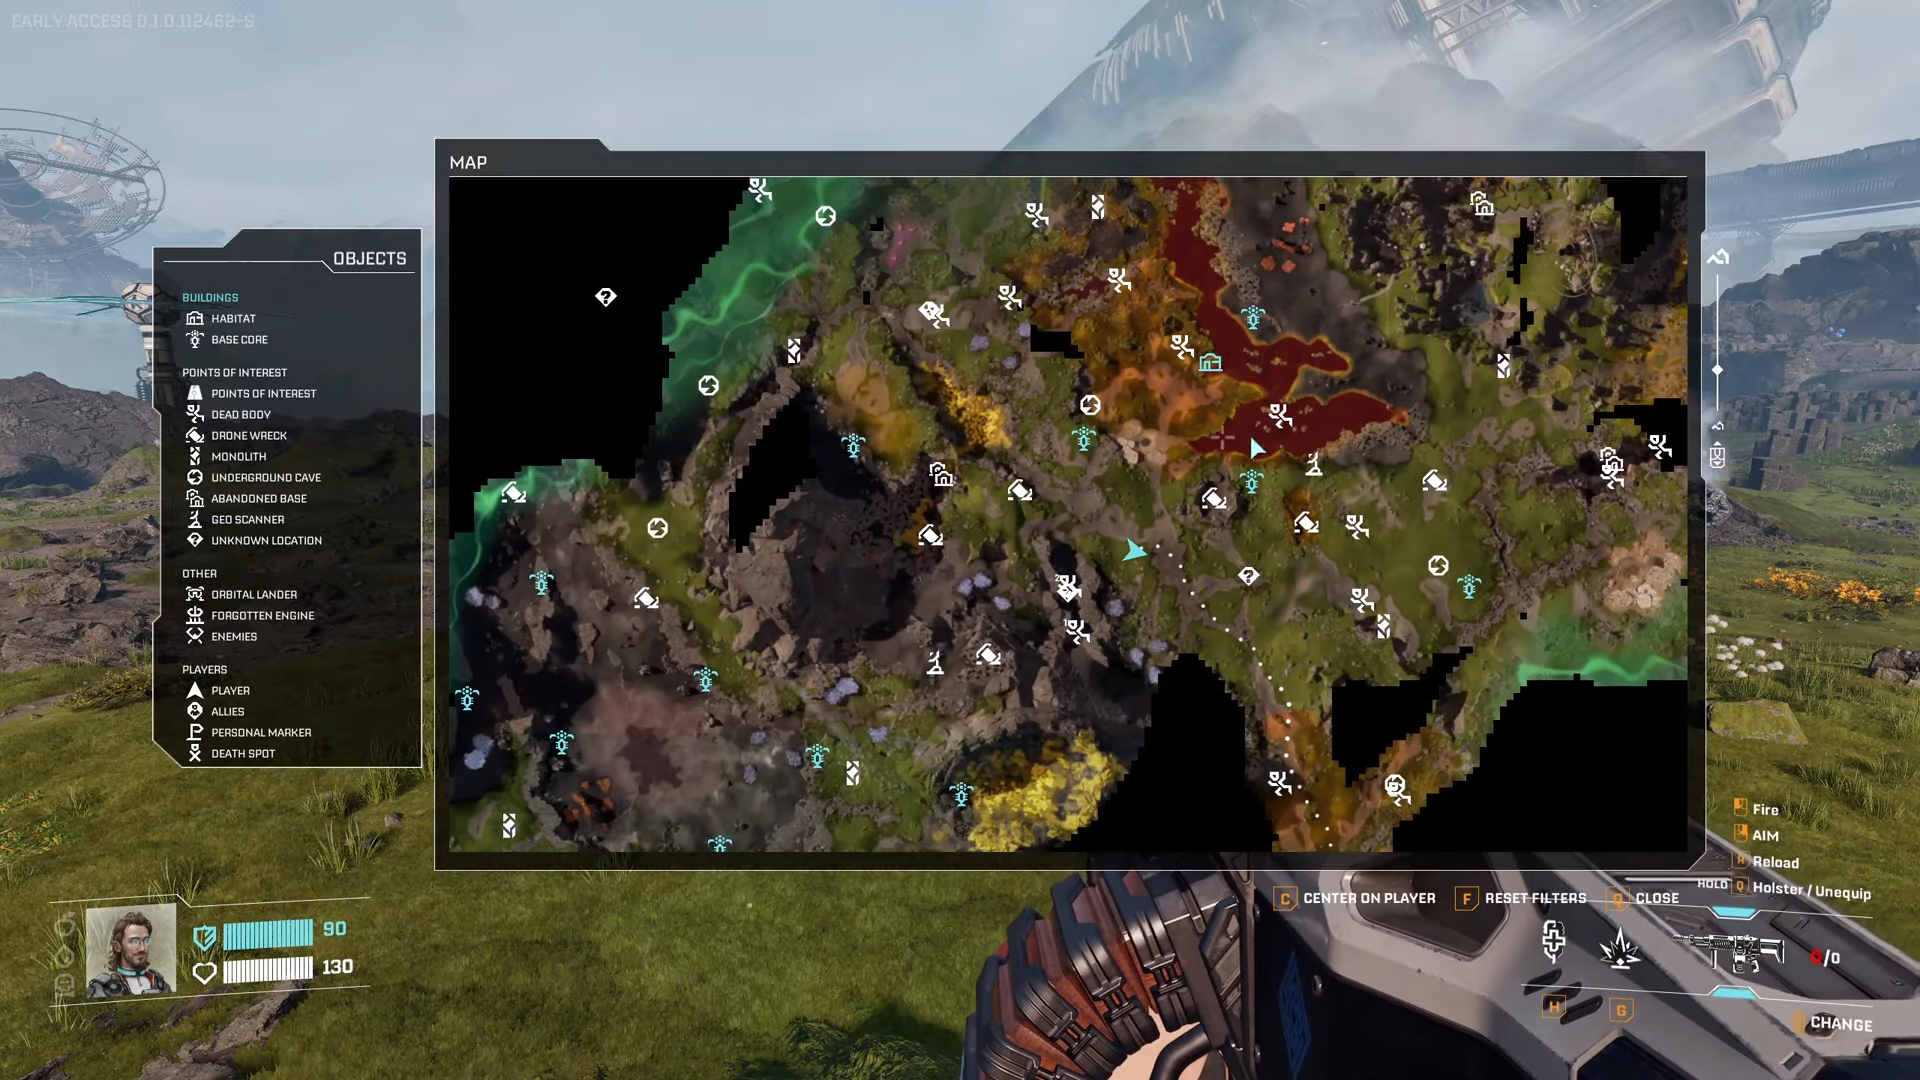
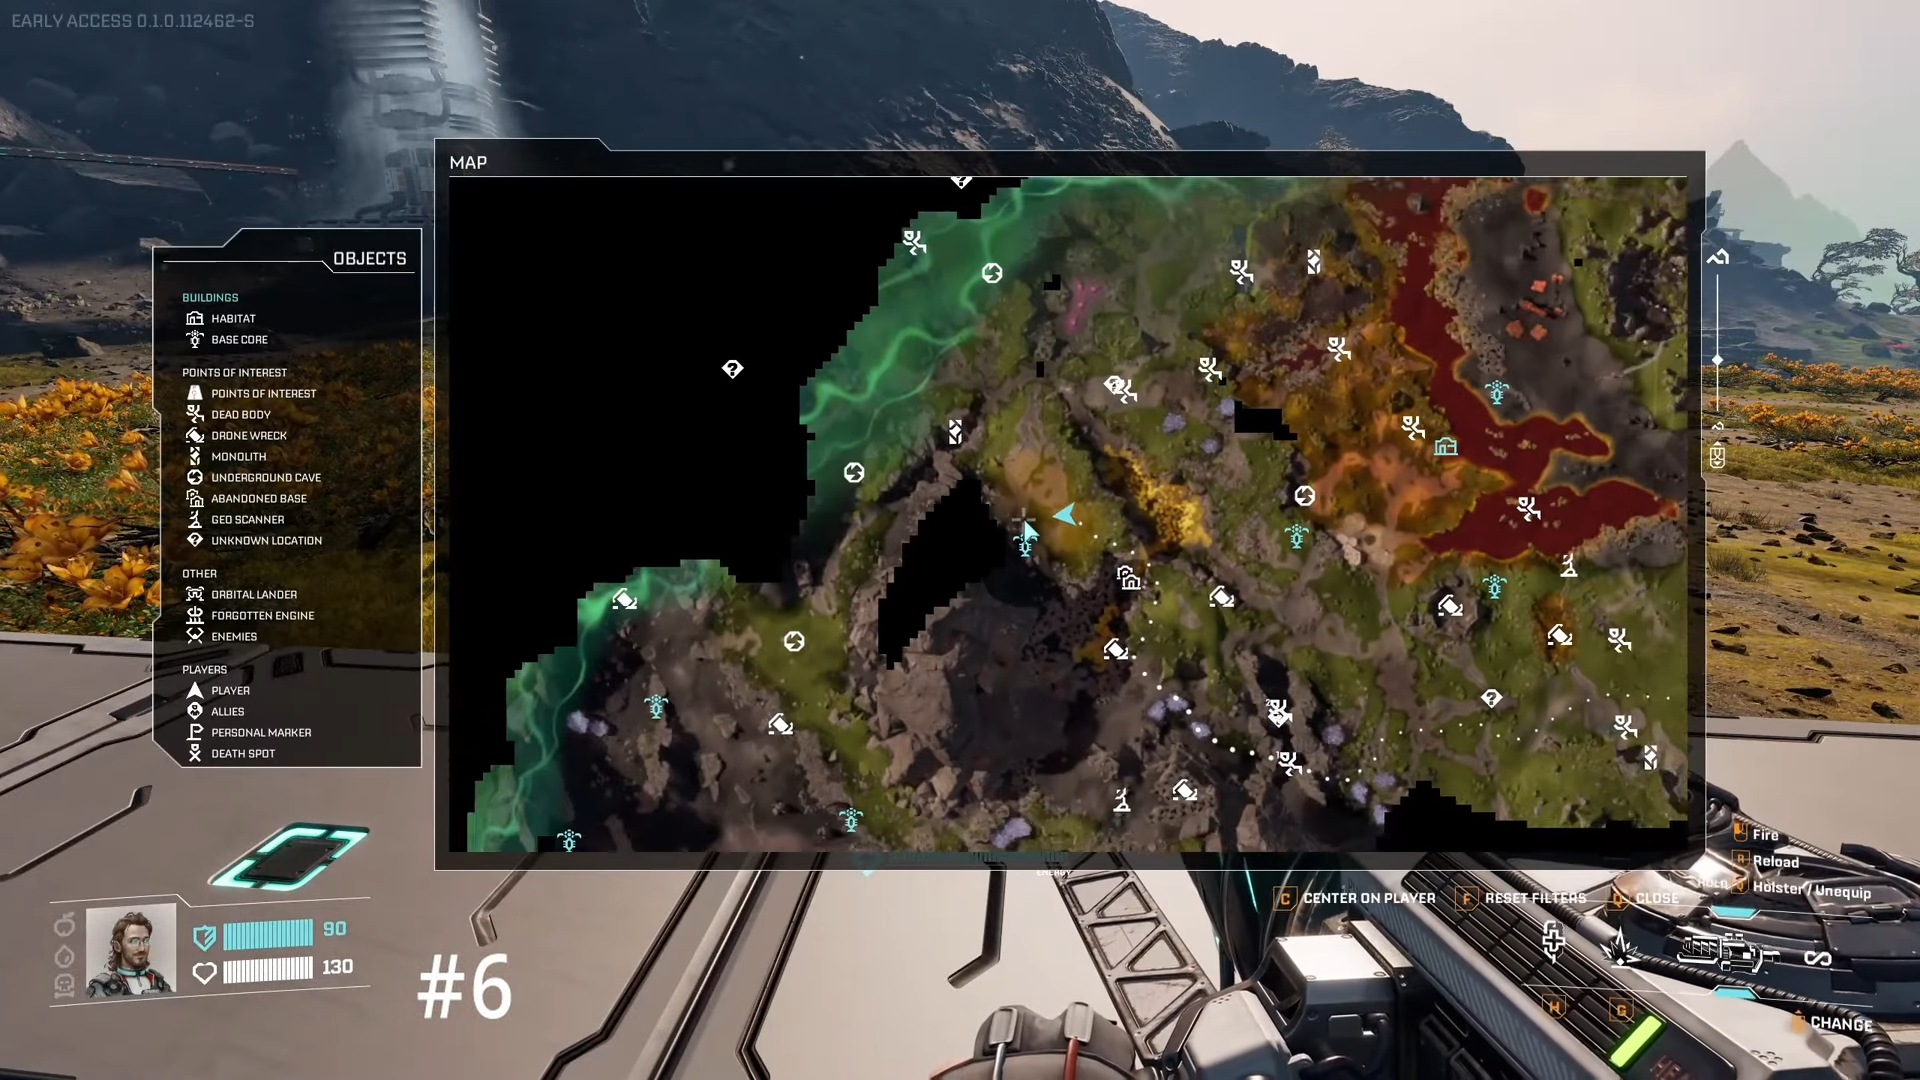
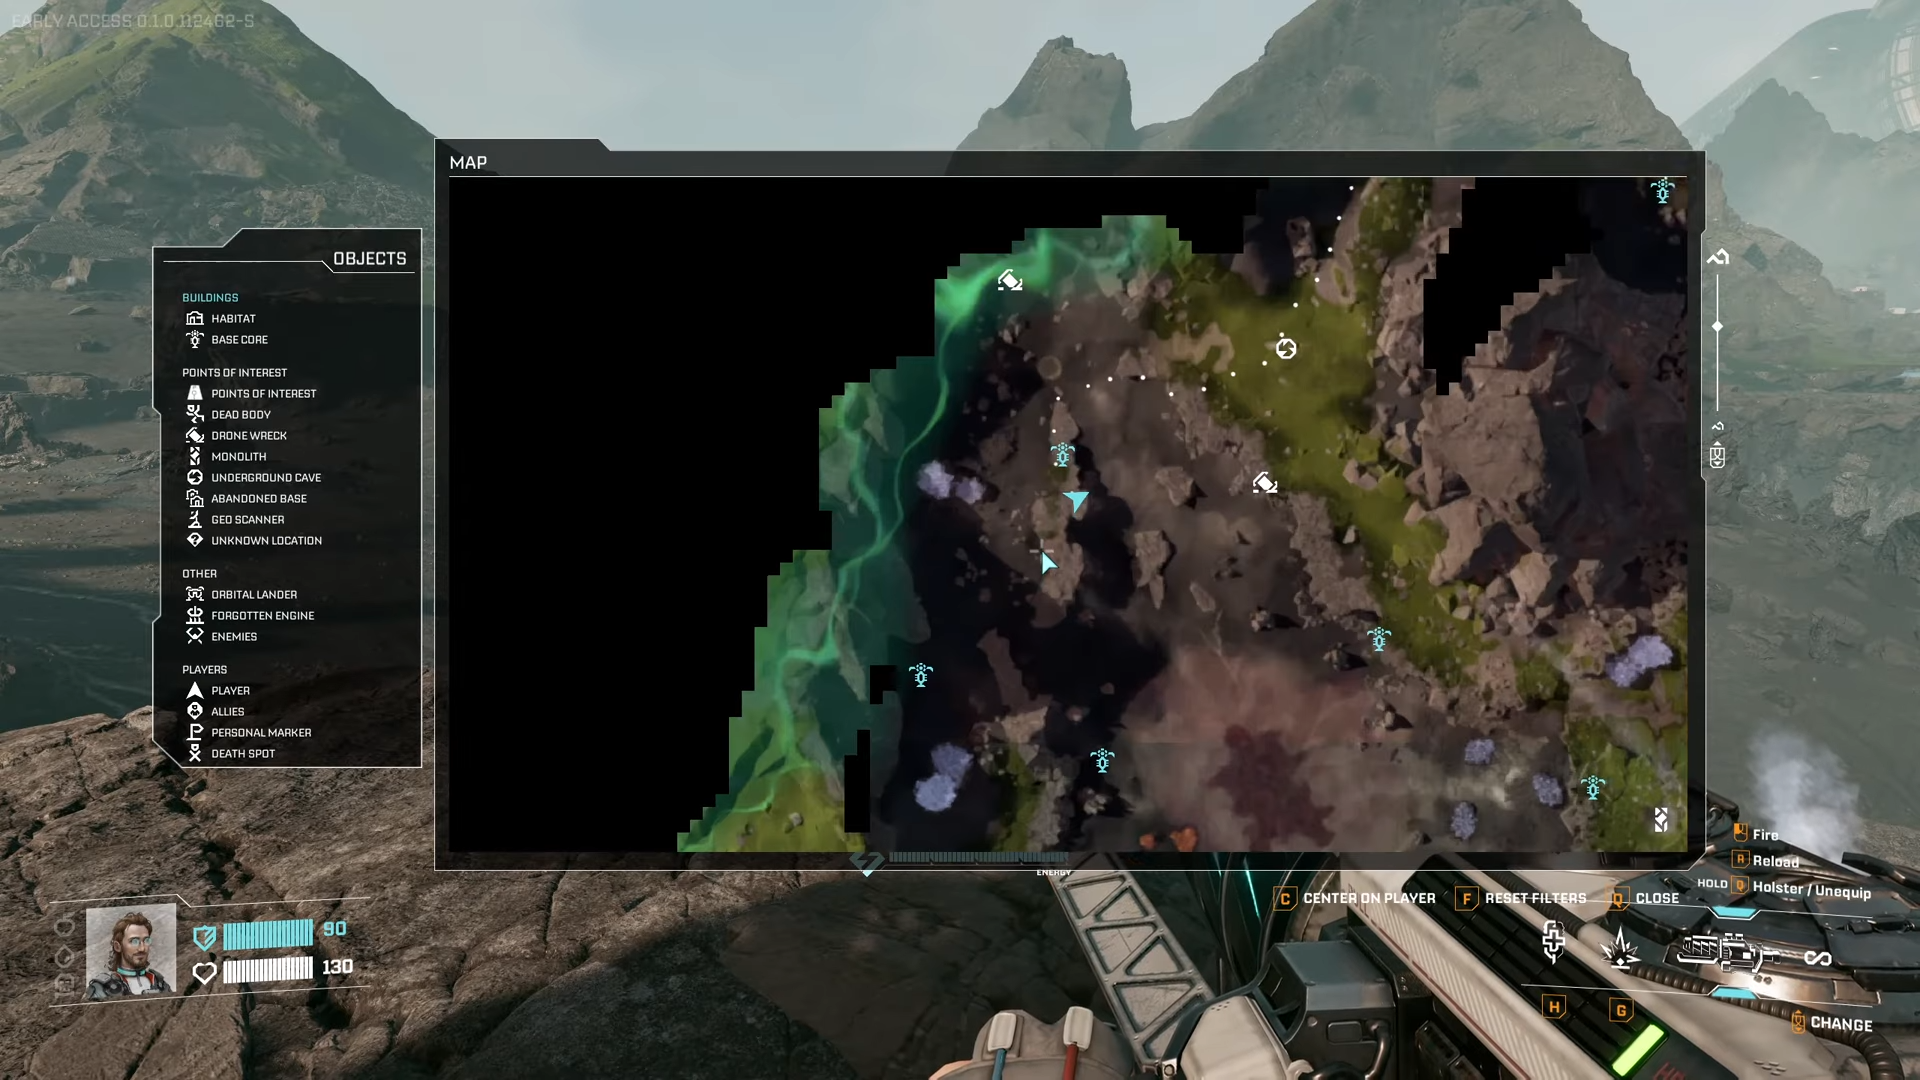
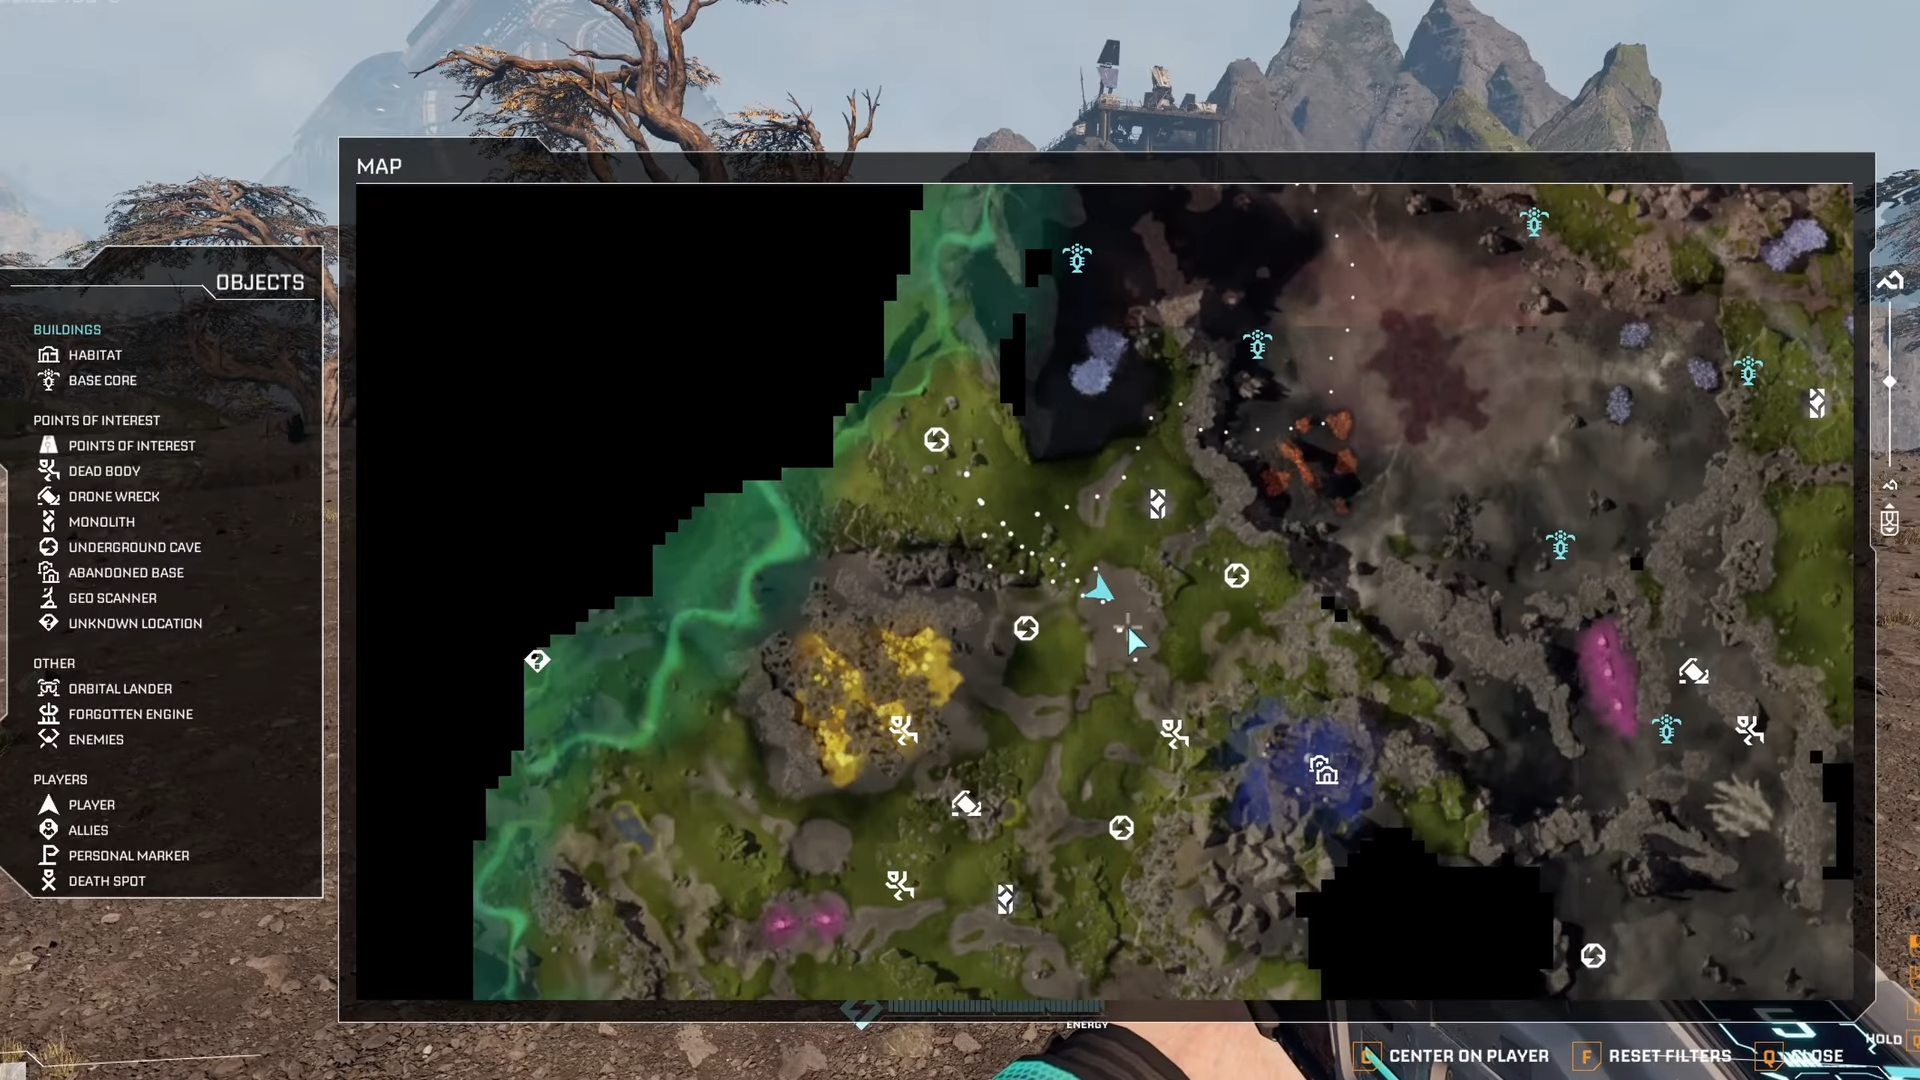
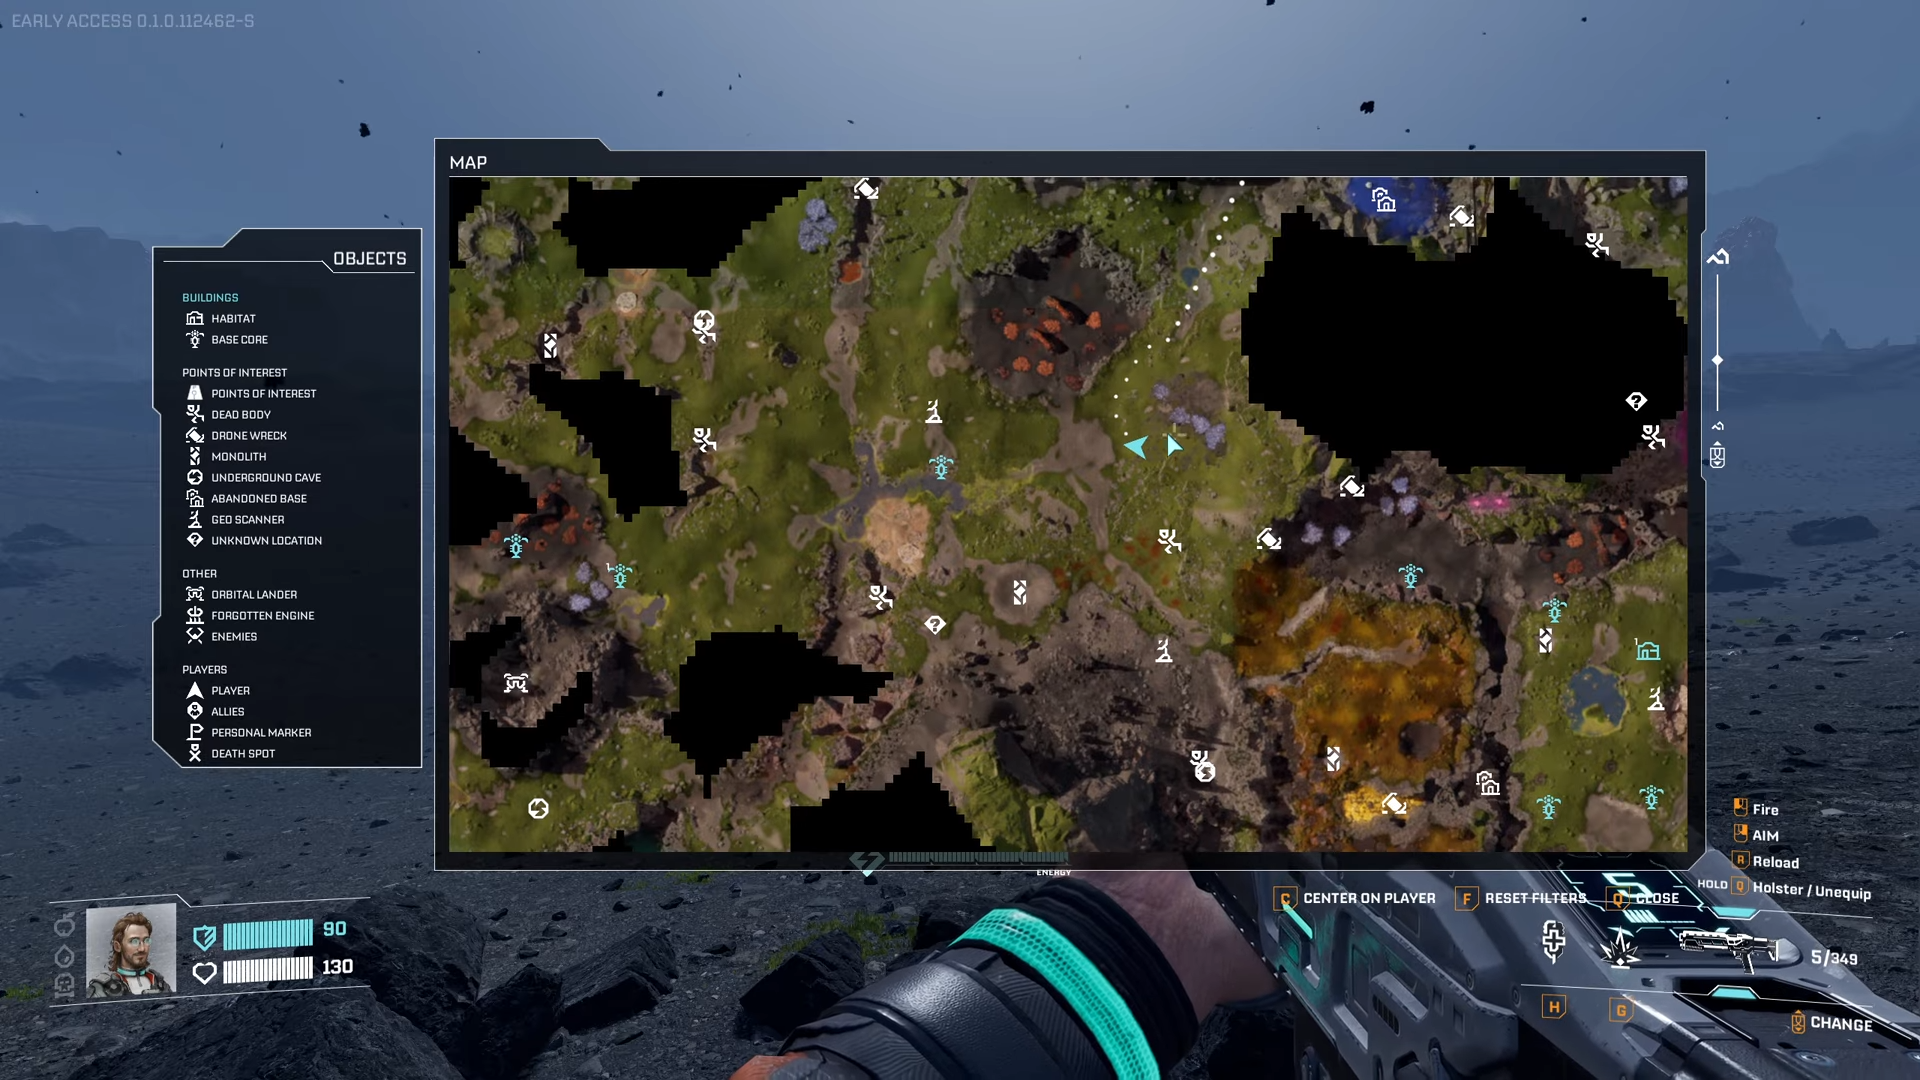
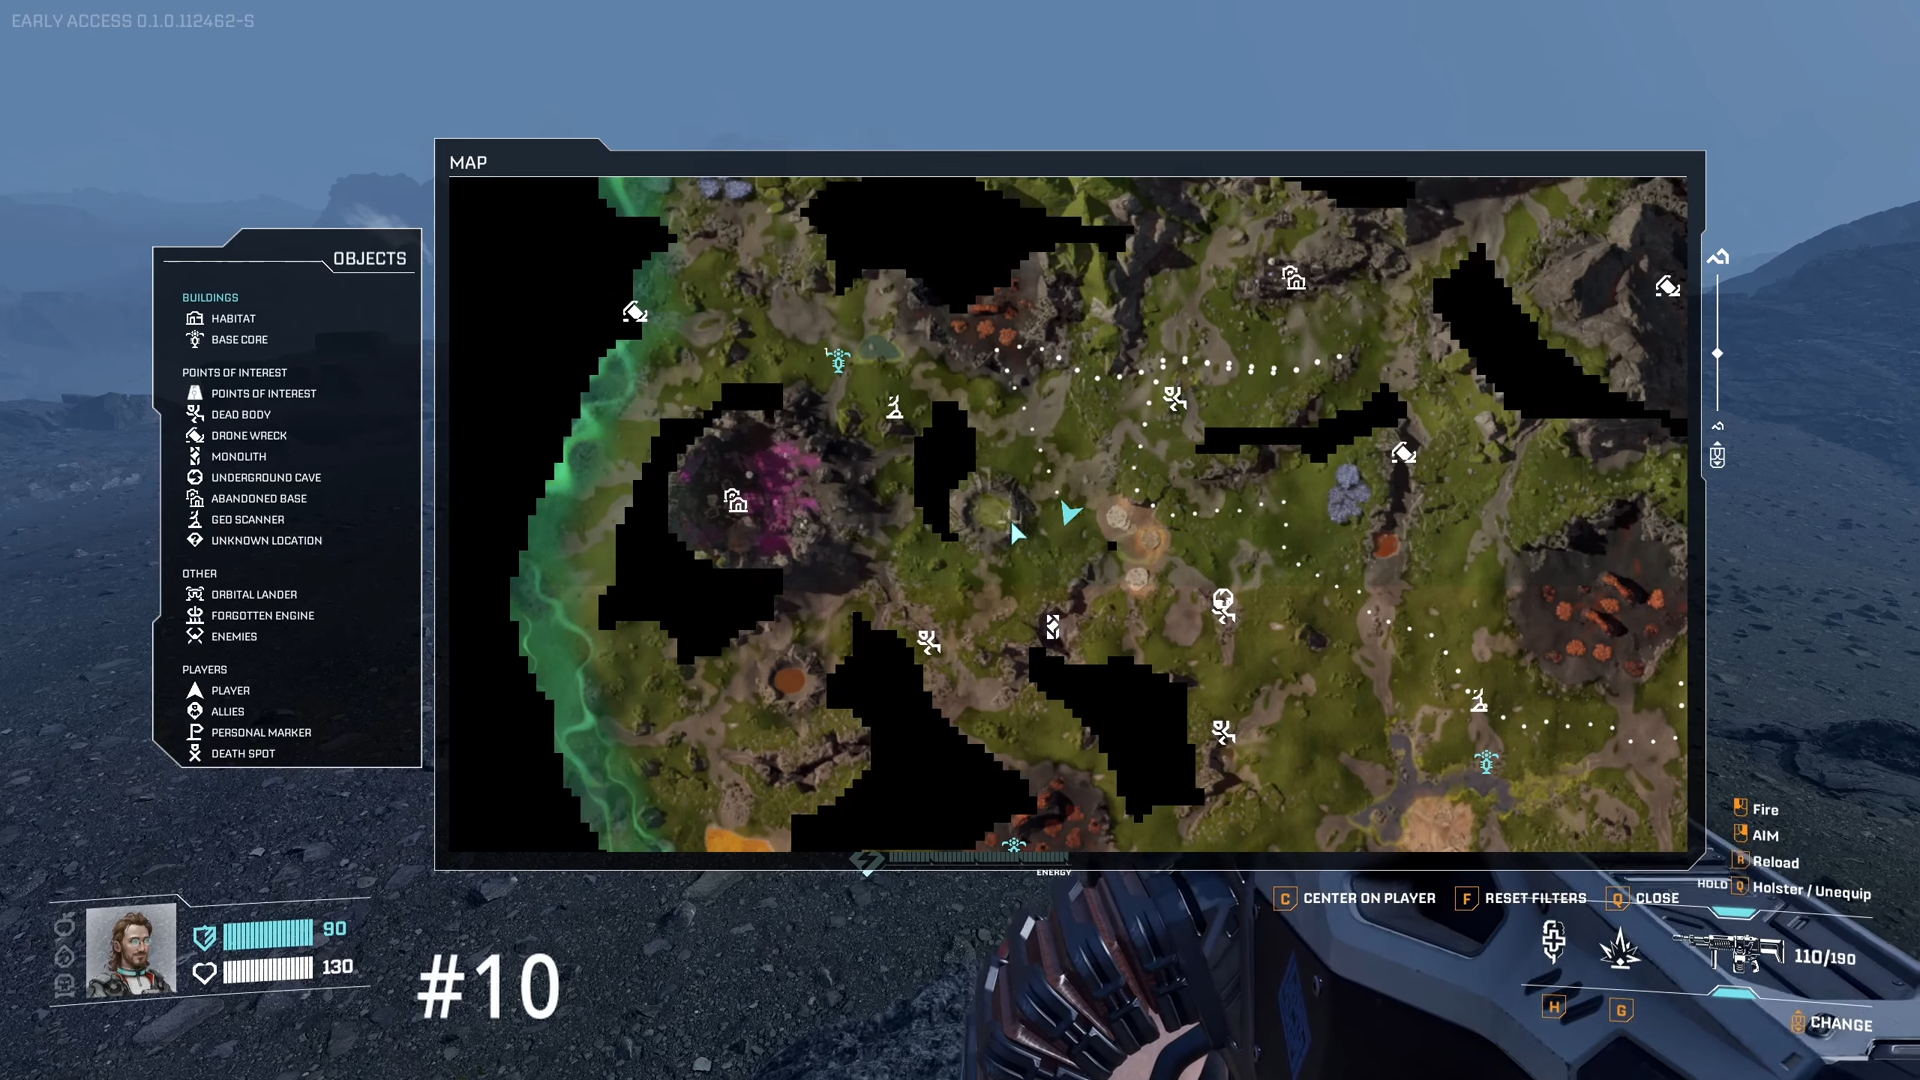
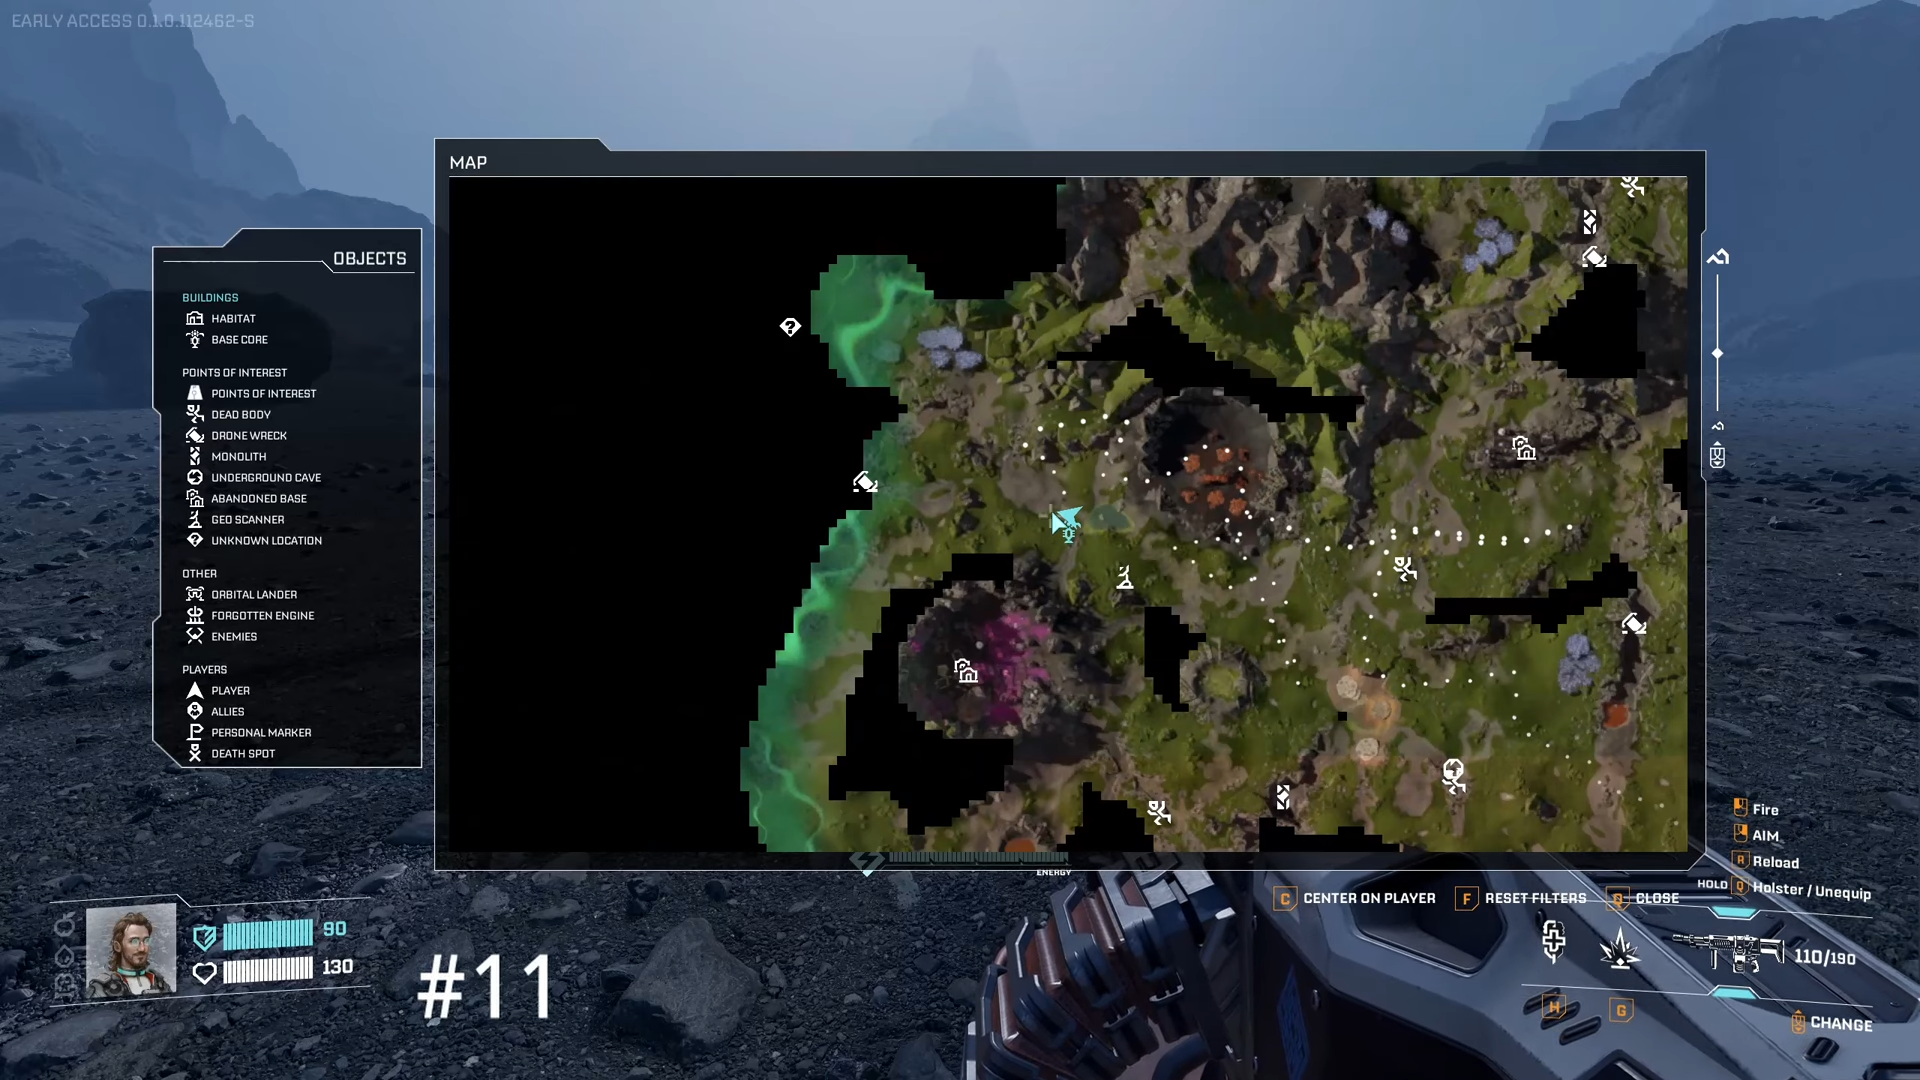
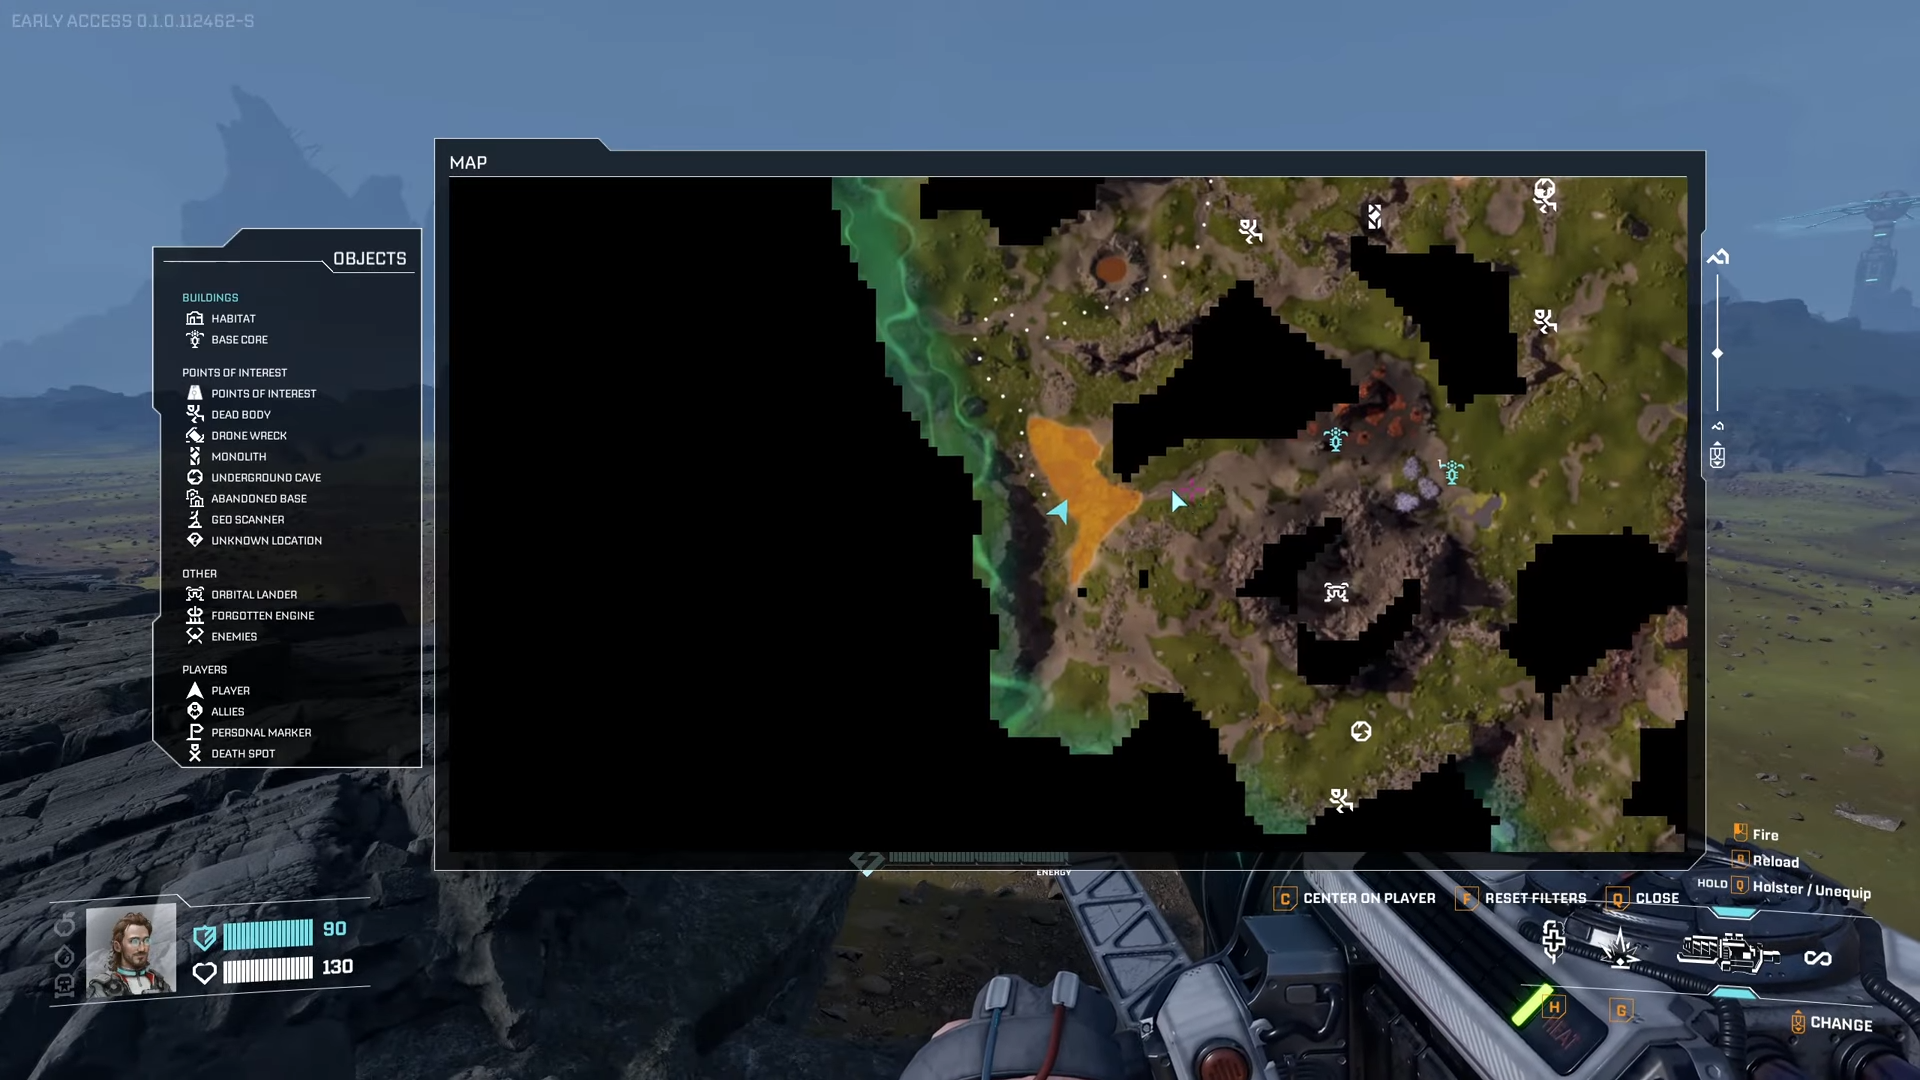
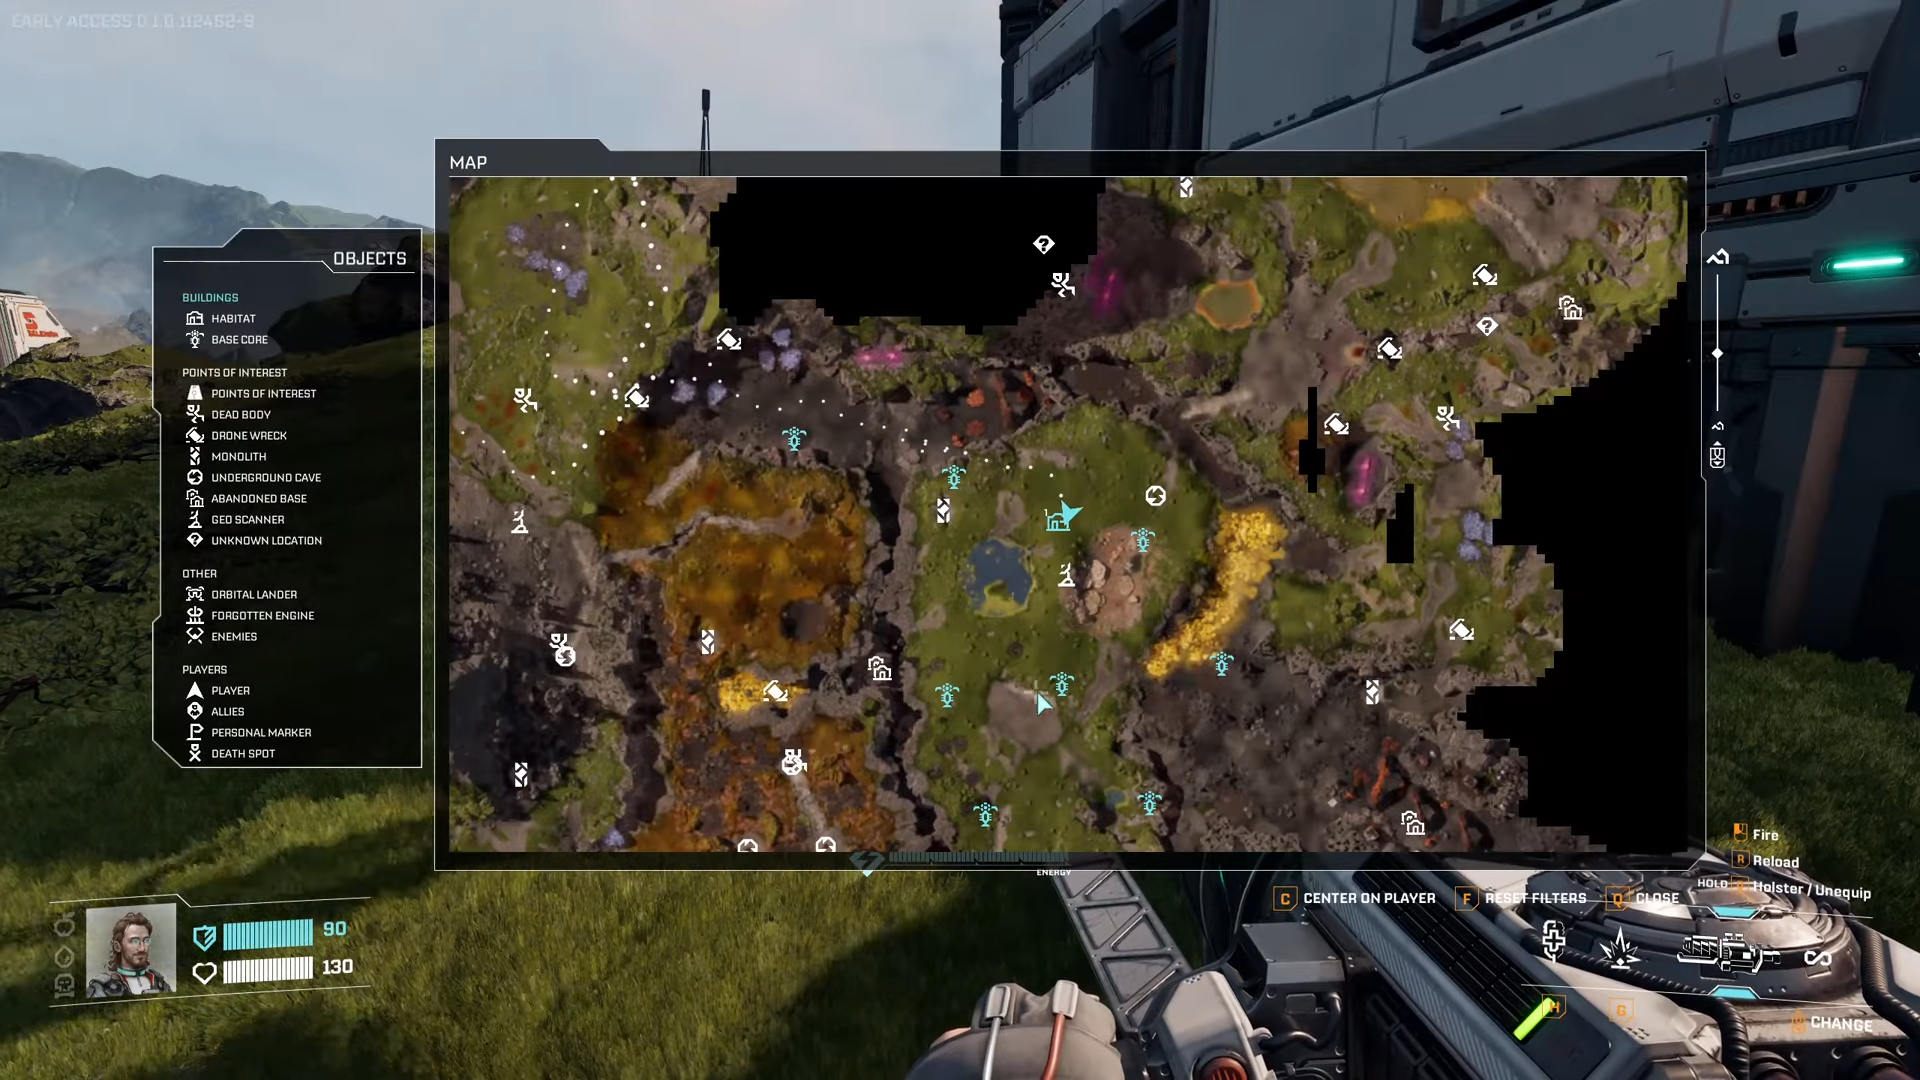
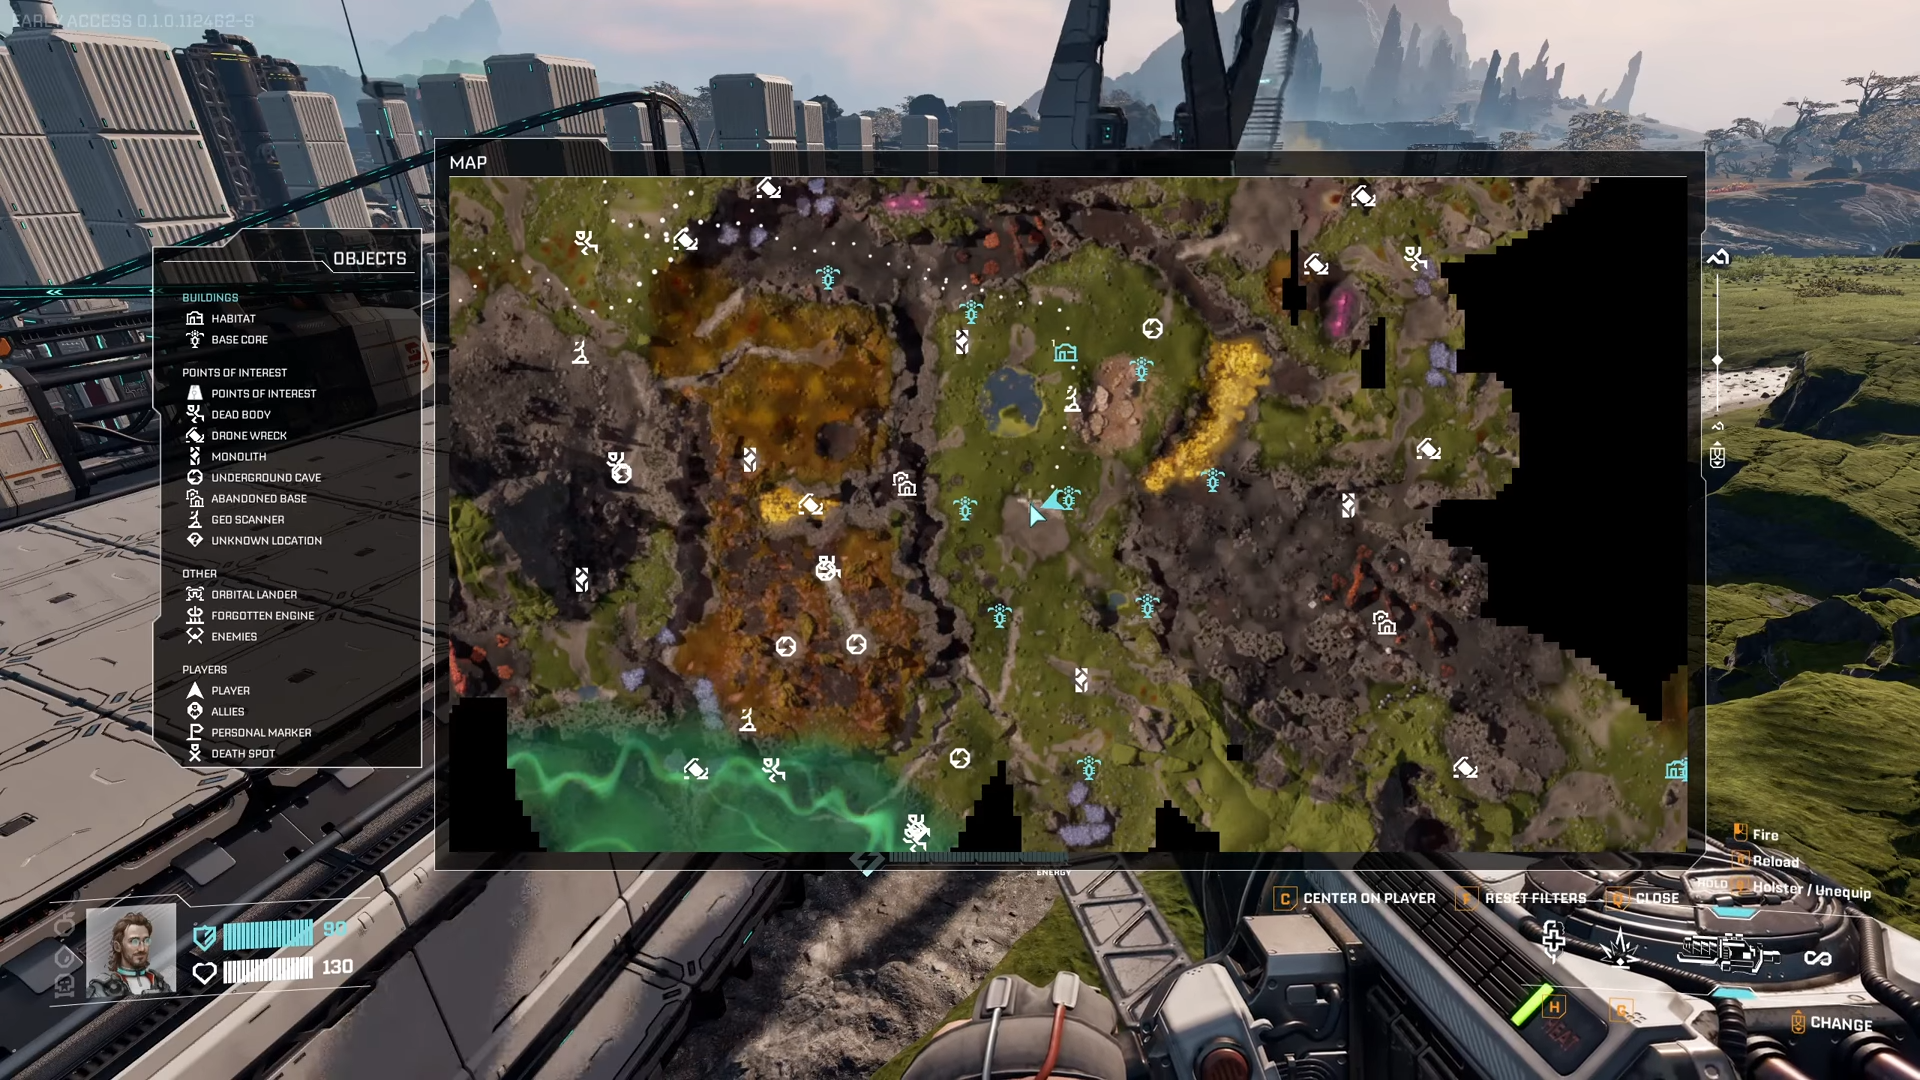
How to scout and claim flats
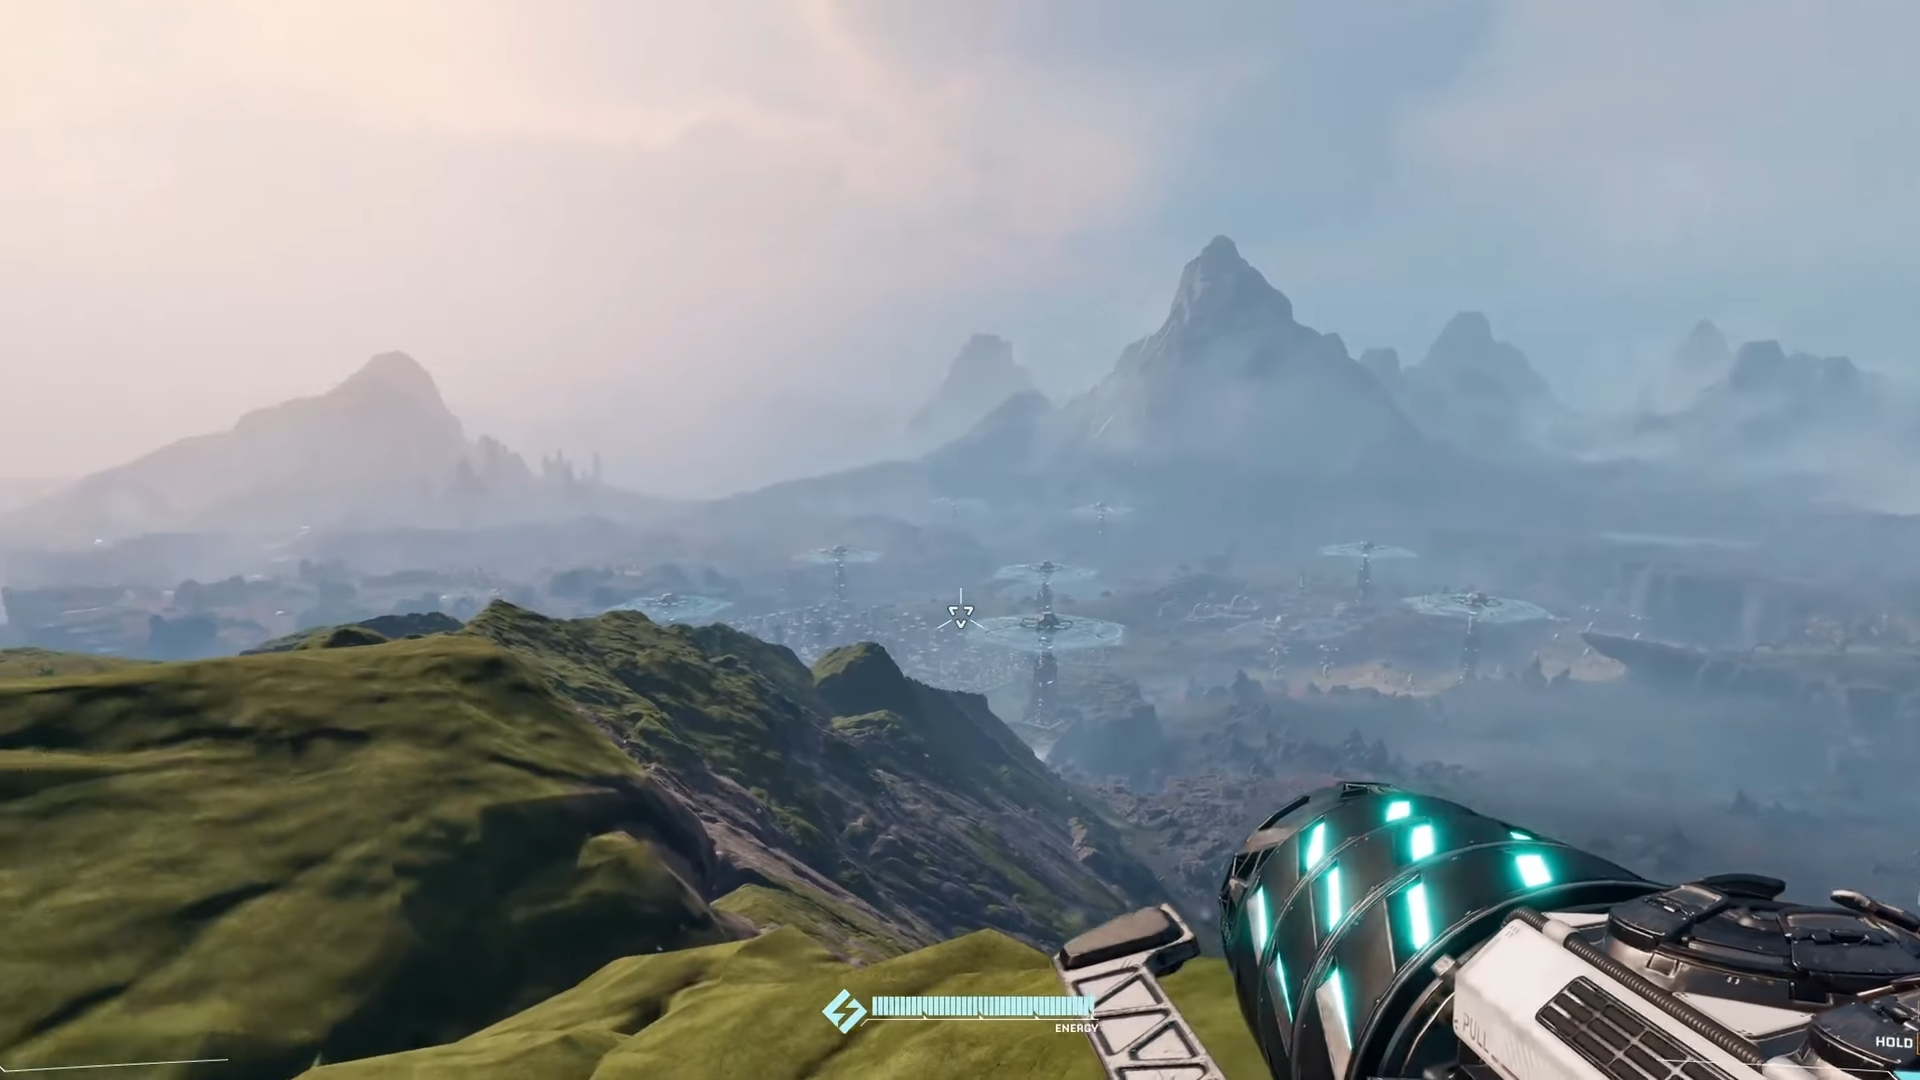
Launch from orbital lander and scanner-scan blue/red lakes for hints. Drone east to engines (spots 1-3), northeast peaks to red lake (19), or west for plateaus.
Step 1: Scanner activation
Deploy near lakes to ping flats and POIs—filter Titanium/Calcium nodes first.
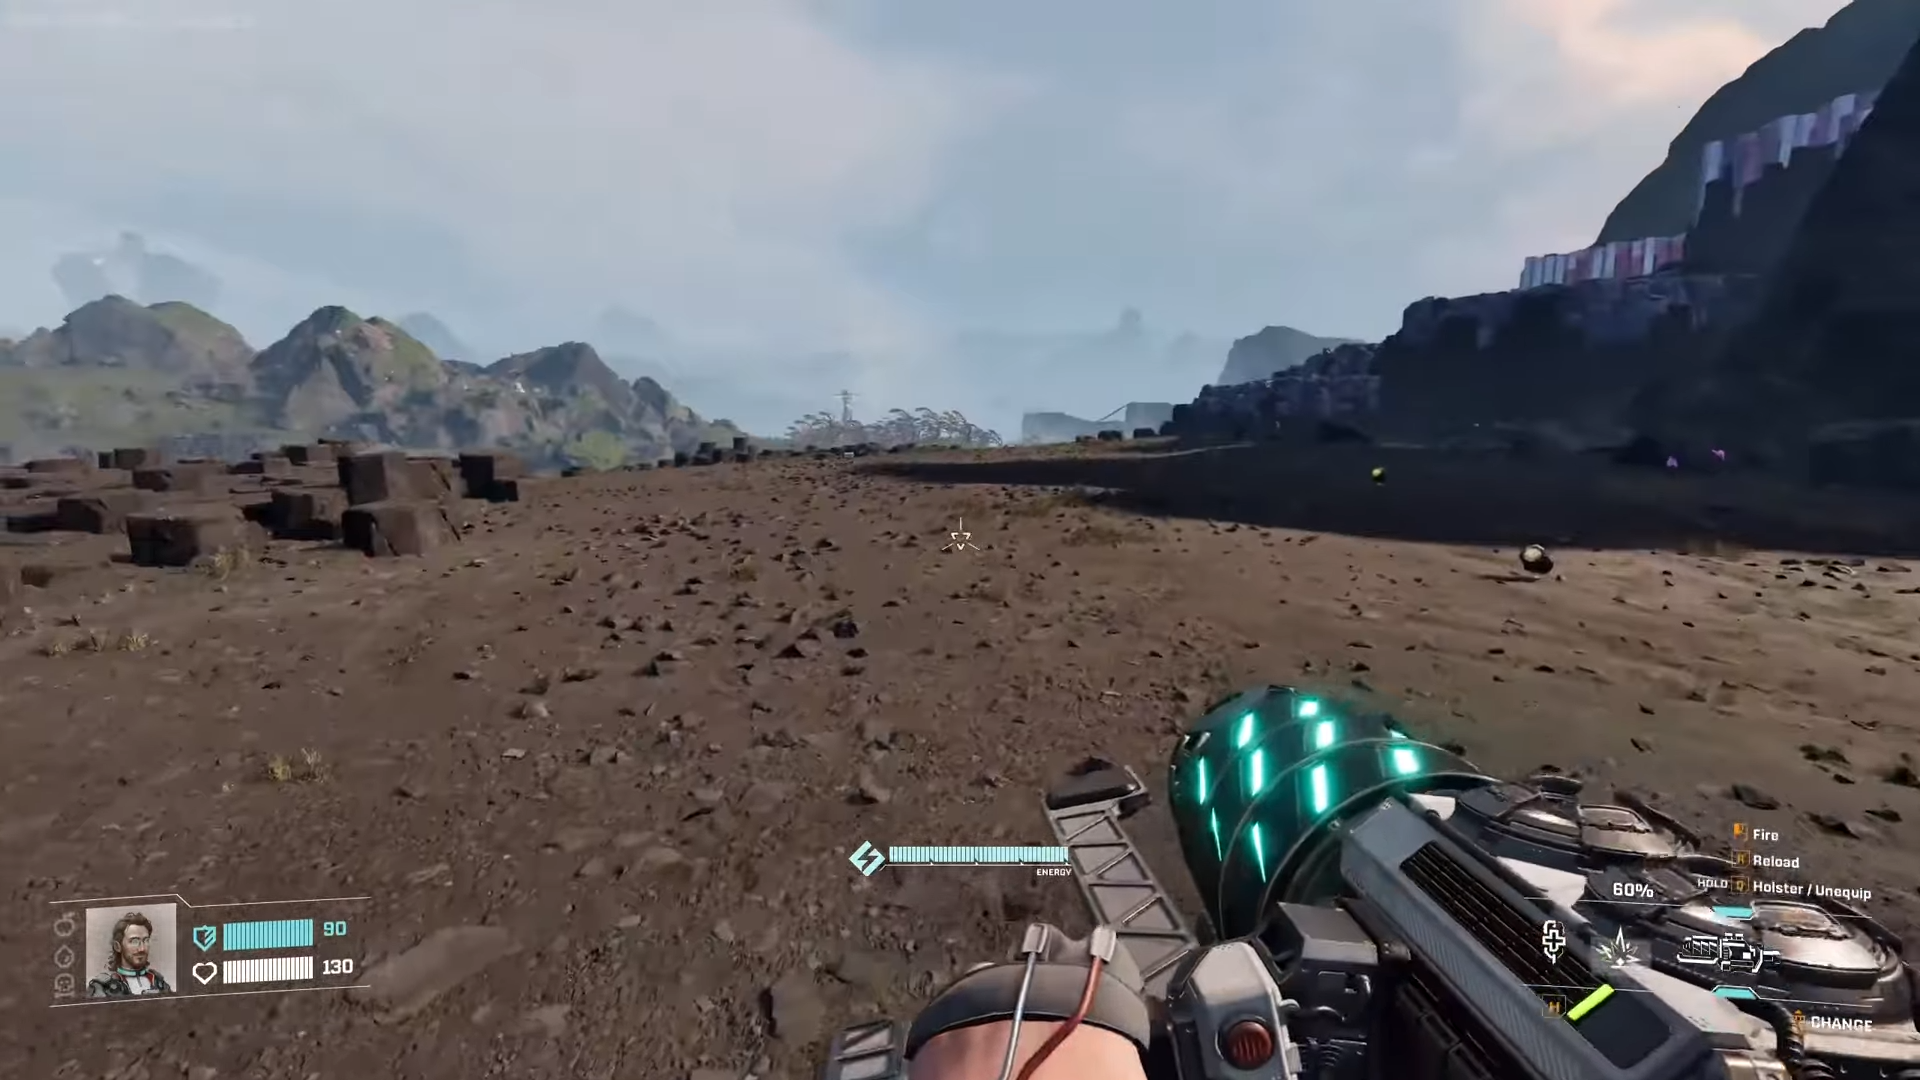
Step 2: Drone reconnaissance
Fly east past radiation for engines/Spore Rock, northeast for red lake vastness.
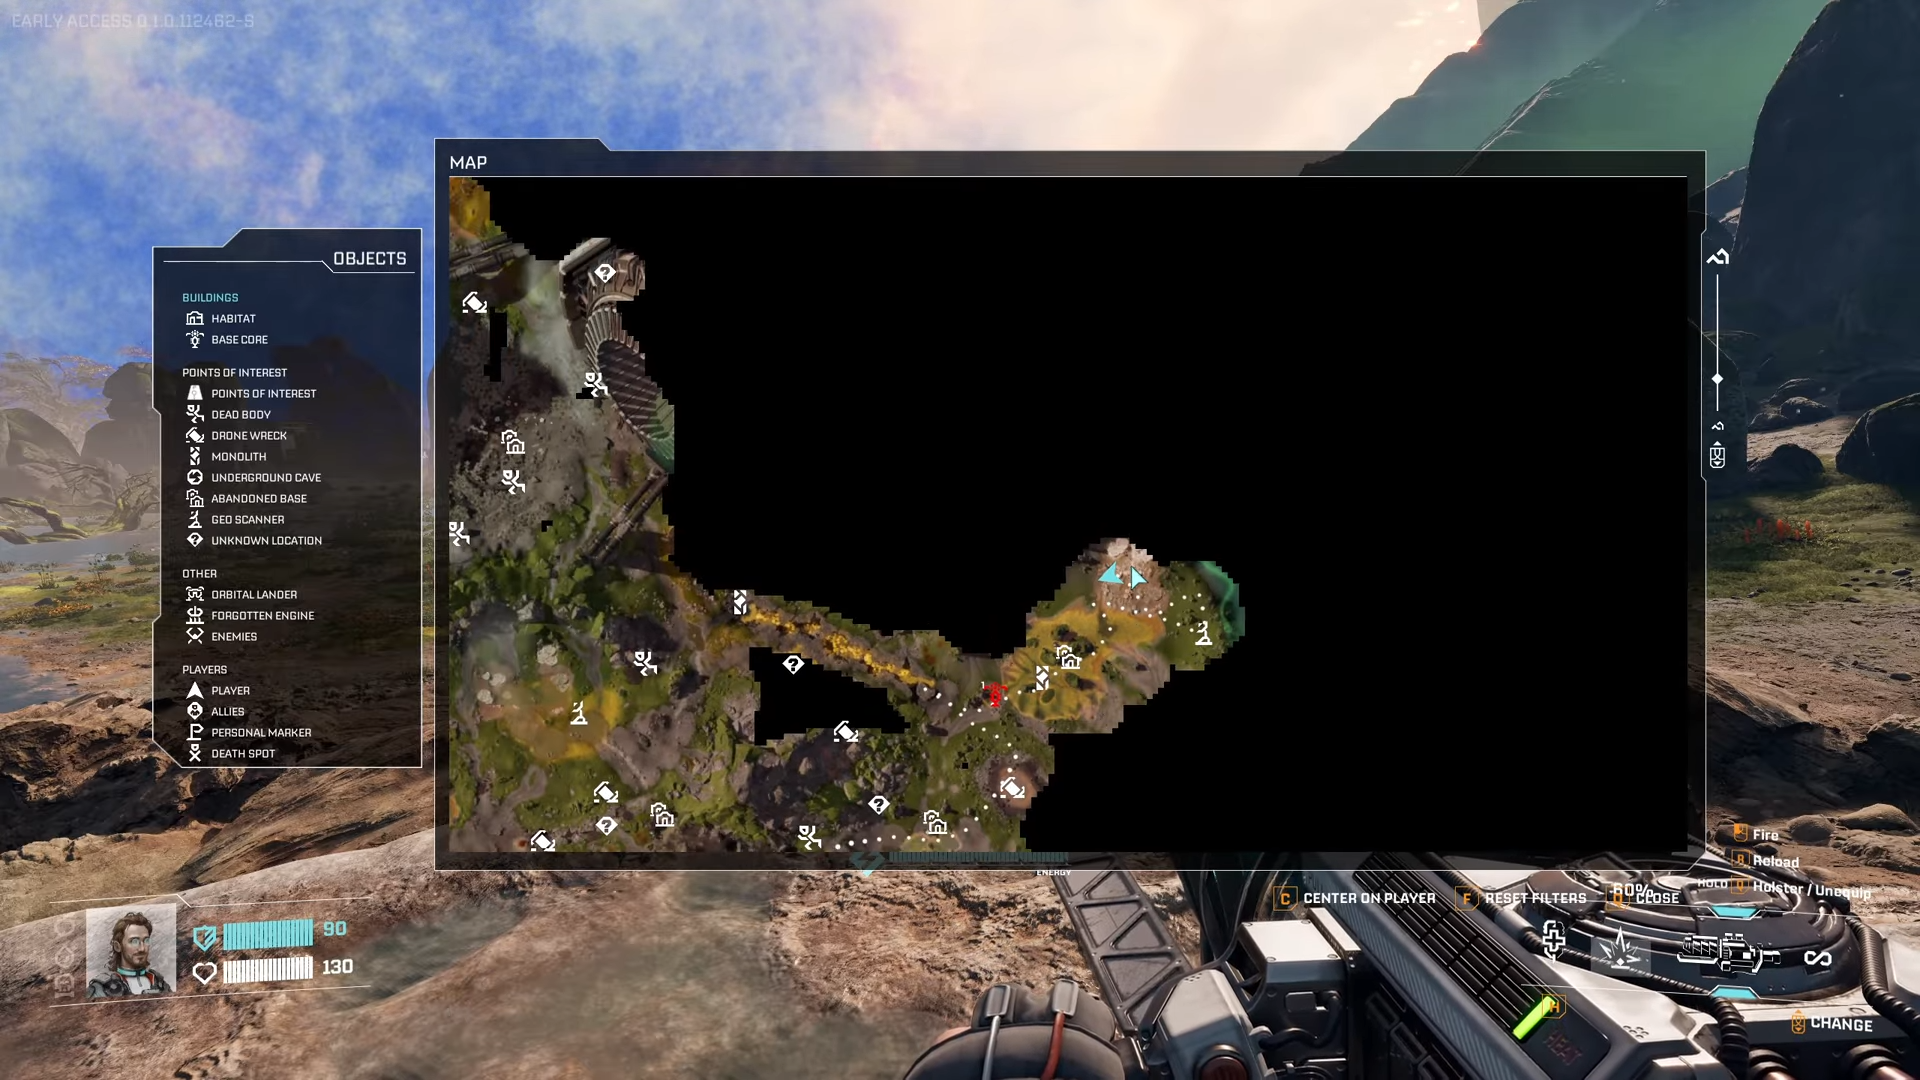
Step 3: Ground verification
Walk spawn areas (10-13); test foundations to confirm snap-free flats.
Step 4: Pillar terrain tweaks
On bumps, pillar up and press Y for auto-level. Spread Base Cores wide.
Step 5: Defend and power up
Turrets on edges, rails from solar/wind for remote juice—avoid spawn blocks.
Resource gains by base type
Early spots from 1 to 10 give quick access to Titanium and Calcium. Mid spots 11 to 15 add Helium and Sulfur plus power farms. Endgame spots 16 to 19 let you fly in rare materials easily.
Tips for your best flattest build
Raise Habitats inside base cores to protect against Ruptura events. Connect everything with rails. The northeast red lake works best for true empires.
Start with spot 10 for fast beginner progress. Move to spot 19 to build your dynasty. Pillar confidently, rail everything smartly, and master StarRupture’s terrain.


